How to Install Trex Hidden Deck Fasteners: Step‑by‑Step Guide for a Seamless Deck Finish
Are you ready to give your deck a clean, seamless look without visible screws? Installing Trex hidden deck fasteners is the secret to achieving that sleek finish.
But how do you make sure you get it right the first time? This guide will walk you through every step, making the process simple and stress-free. By the end, you’ll know exactly how to install Trex hidden deck fasteners like a pro, saving you time and frustration.
Keep reading to transform your deck into a smooth, stylish outdoor space you'll love.
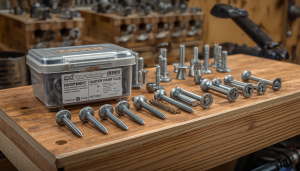
Choosing The Right Fasteners
Choosing the right fasteners for your Trex deck is crucial. The correct fasteners ensure a strong hold and a clean look. Using the wrong fasteners can cause damage or reduce the deck’s lifespan. It is important to select fasteners made for Trex materials. These fasteners resist corrosion and fit perfectly between deck boards.
Consider the deck’s location and exposure to weather. Outdoor decks need fasteners that withstand moisture and temperature changes. Some fasteners are easier to install, saving time and effort. Picking the right type helps maintain your deck’s beauty and safety.
Types Of Trex Hidden Deck Fasteners
- Standard Hidden Fasteners:Designed for typical deck installations, these provide a seamless finish.
- Start Clips:Used to secure the first board to the joist, ensuring proper spacing.
- Universal Fasteners:Fit most Trex decking profiles, offering flexibility.
- Stainless Steel Screws:Resist rust and corrosion for long-lasting durability.
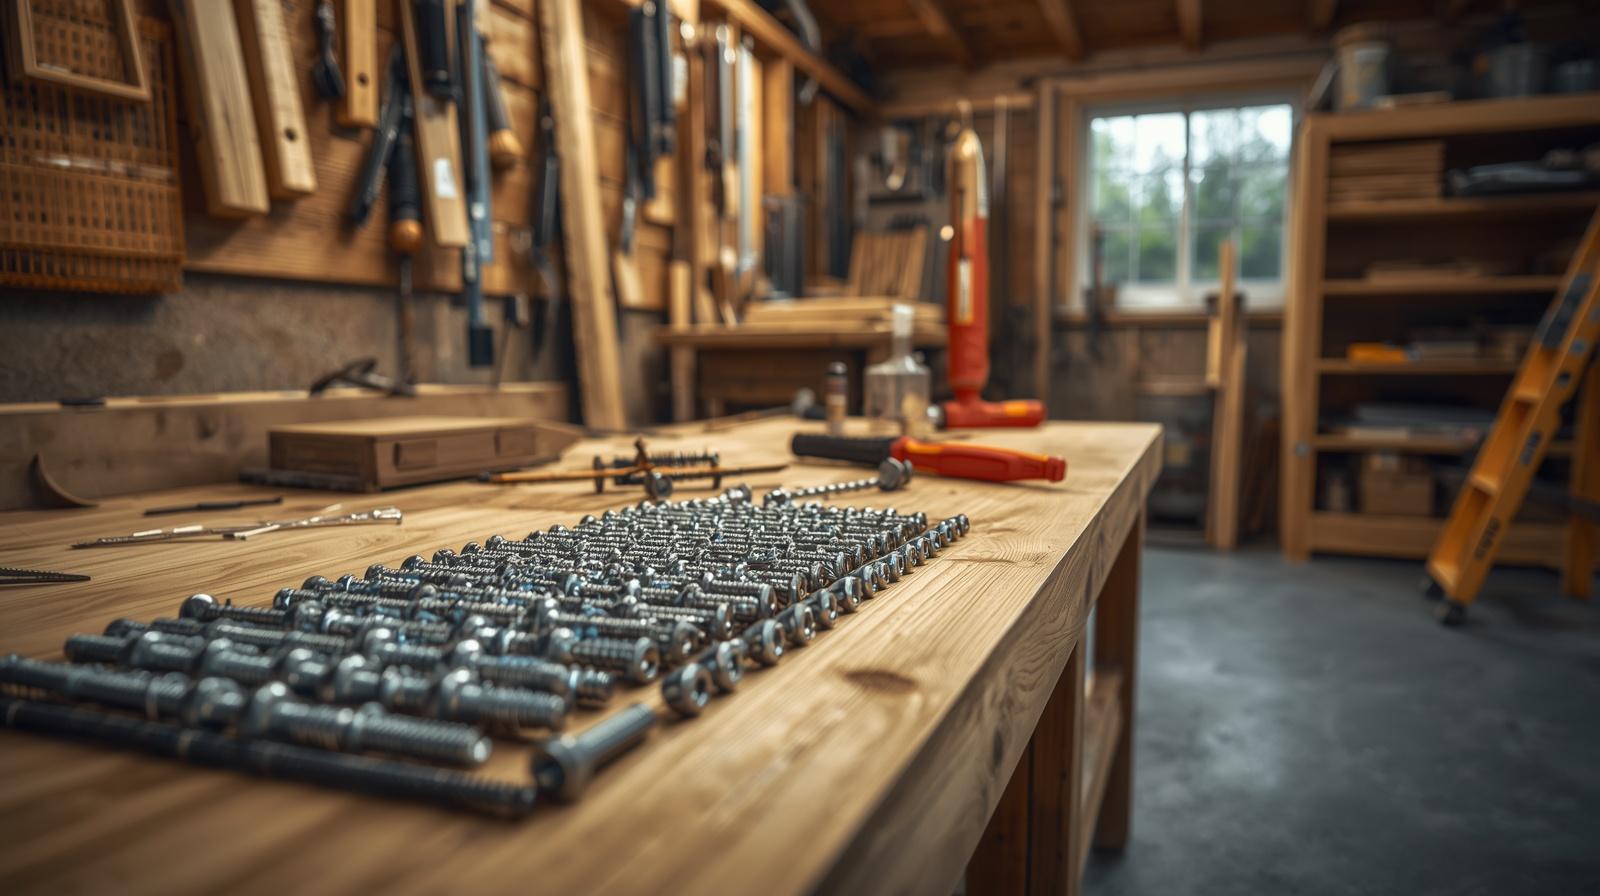
Tools And Materials Needed
- Drill with screwdriver bit
- Impact driver
- Measuring tape
- Carpenter’s pencil or chalk line
- Trex hidden deck fasteners kit
- Safety glasses and gloves
- Level to ensure even spacing
Preparing The Deck Surface
Preparing the deck surface is crucial before installing Trex hidden deck fasteners. A clean and well-measured deck ensures the fasteners fit correctly and the deck looks great. Taking time to prepare prevents problems later.
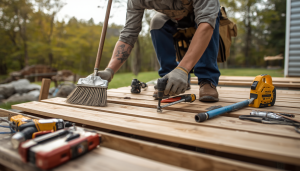
Cleaning And Inspecting Deck Boards
Start by removing dirt, leaves, and debris from the deck boards. Use a broom or leaf blower for a quick clean. Check each board for damage like cracks, splinters, or rot. Replace any boards that are weak or broken. Smooth rough spots with sandpaper to avoid uneven fastening.
Measuring And Marking For Fasteners
Measure the length and width of each deck board carefully. Mark where fasteners will go using a pencil. Space marks evenly, following Trex's guidelines for hidden fasteners. Use a square tool to keep lines straight and ensure alignment. This step helps keep the deck boards secure and visually uniform.
Installing Starter Clips
Installing starter clips is the first key step in using Trex hidden deck fasteners. These clips hold the first decking boards firmly in place. Proper placement ensures a straight, sturdy deck edge. Take care to position each clip accurately along the ledger board. This helps maintain even spacing and alignment for the entire deck.
Starter clips also allow the decking boards to expand and contract naturally. They secure boards without visible screws on the surface. This creates a clean, smooth deck look. Follow simple guidelines to install the clips correctly. This sets a solid foundation for the rest of the deck.
Aligning Clips On The Ledger Board
Start by measuring the ledger board length. Mark positions for the clips about 12 inches apart. Keep the marks consistent to avoid gaps between boards. Place each starter clip flush against the ledger. The clip's edge should align with the ledger's outer edge. Check alignment with a level or straight edge. Adjust clips to make a straight line across the ledger board.
Securing Clips With Screws
Use corrosion-resistant screws made for decking. Position screws through the holes in the starter clips. Drive screws straight into the ledger board. Tighten screws until clips sit firmly but do not bend. Avoid over-tightening, which can damage the clips. Double-check the clip alignment after securing. Properly fastened clips keep boards stable and secure.
Laying The First Deck Board
Laying the first deck board sets the foundation for the entire project. Accuracy here ensures a smooth and even deck surface. Taking time to position and attach it properly makes the next steps easier and faster. Below are key points to consider when laying the first board.
Positioning The Board Correctly
Place the first board parallel to the house or starting edge. Leave a small gap of about 1/4 inch between the board and the wall. This gap allows for wood expansion and drainage. Align the board so it is straight and flush with the deck frame. Use a carpenter’s square or straight edge to check the alignment. Proper positioning avoids uneven gaps and a crooked deck.
Attaching Boards To Starter Clips
Use Trex starter clips to secure the first board. Slide the clip under the board’s edge and fasten it to the joist with screws. Ensure the clip holds the board firmly without gaps. Do not over-tighten screws to avoid damaging the board. Repeat this process along each joist for consistent support. Starter clips keep the board stable and ready for hidden fasteners on the next boards.
Fastening Subsequent Boards
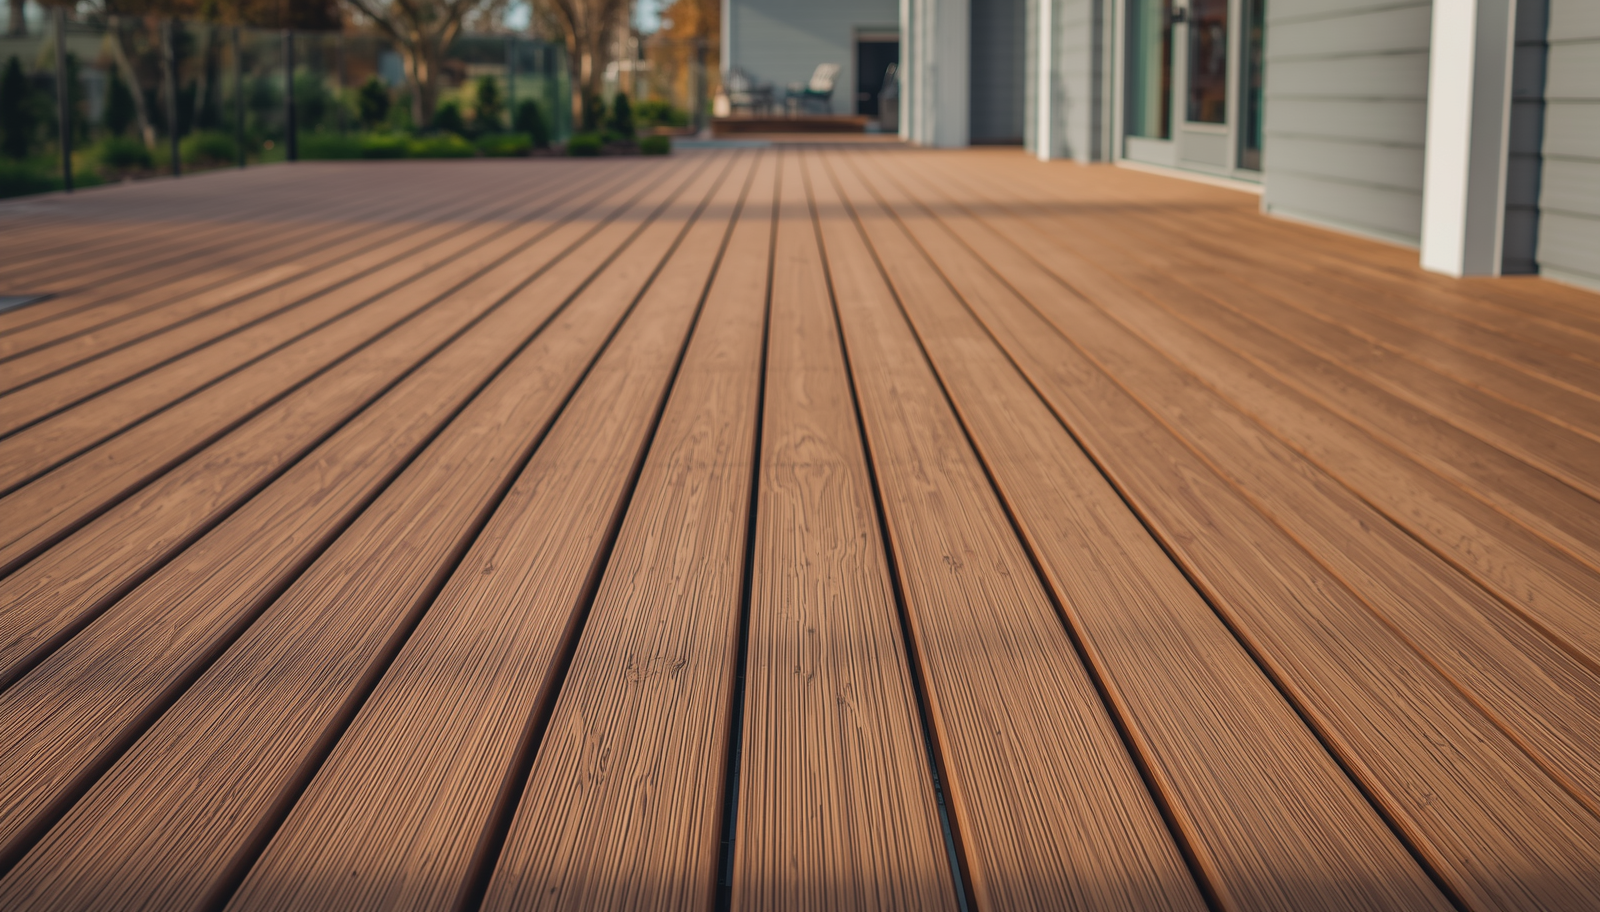
Fastening subsequent boards with Trex Hidden Deck Fasteners requires attention to detail. Proper installation ensures a clean, seamless deck surface. Each board must fit tightly while maintaining consistent gaps for expansion.
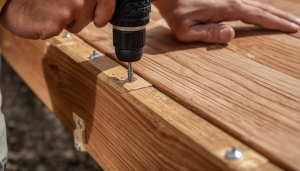
Inserting Hidden Fasteners
Place the hidden fastener into the groove of the installed board. Align the fastener clip so it grips firmly. Use a drill to drive the screws through the fastener into the joist. Keep the screw straight to avoid damage. Repeat this for each joist along the board.
Once secured, slide the new deck board tightly against the fasteners. The fasteners hold the board while you fasten it. This method keeps the deck surface smooth and free of visible screws.
Ensuring Proper Spacing And Alignment
Check the spacing between boards to allow for expansion. Use spacers or the fastener design to maintain even gaps. Verify each board is level and aligned with the previous one. Adjust by shifting the board before fully tightening screws.
Consistent alignment helps prevent uneven surfaces and gaps. Periodically step back and inspect the deck rows. Correct any misalignment early to avoid problems later.
Handling Deck Edges And Corners
Handling deck edges and corners can feel tricky when installing Trex hidden deck fasteners. These spots need extra attention to keep your deck looking seamless and sturdy. If you overlook them, the edges may end up uneven or vulnerable to damage.
Using Edge Clips
Edge clips are designed specifically to secure the last deck board along the perimeter. They hold the board firmly without any visible screws, maintaining a clean look.
To install, slide the edge clip under the last board’s lip and screw it into the joist. Make sure the clip fits tightly to prevent movement or gaps.
From my experience, using edge clips reduces the chance of boards warping over time. Have you ever noticed how loose edges can spoil the whole deck appearance? Edge clips solve that problem neatly.
Finishing Corner Details
Corners require careful trimming and fastening to avoid sharp edges or gaps. Cut the boards at a precise 45-degree angle for a neat miter joint, or butt them together for a simpler finish.
Use a corner clip or fastener designed for Trex decks to secure these joints firmly. This prevents the boards from shifting as the deck expands and contracts.
Don’t rush corner finishing—poorly done corners can lead to water seepage and wood damage. Think about how much time you’ll save later by sealing these joints properly now.
Final Checks And Maintenance Tips
Once your Trex hidden deck fasteners are securely installed, it’s essential to perform final checks and set up a maintenance routine. This ensures your deck remains safe, durable, and visually appealing for years to come. Let’s dive into the critical steps for inspecting your work and keeping everything in tip-top shape.
Inspecting Fastener Installation
After completing the installation, take a close look at each fastener. Ensure they are flush with the boards and securely in place. Loose fasteners can lead to shifting boards, so tighten any that feel unstable.
Pay attention to alignment. Run your hand along the edges of the boards to check for uneven gaps. Consistent spacing not only looks better but also allows for proper board expansion and contraction.
Did you notice any damaged fasteners during installation? Replace them immediately. It’s better to address small issues now than deal with costly repairs later.
Cleaning And Upkeep Recommendations
Keeping your deck clean will extend its life and preserve its beauty. Sweep regularly to remove dirt, leaves, and debris that can scratch the surface or trap moisture. A simple broom or a leaf blower works wonders.
Every few months, give your deck a gentle wash. Use a garden hose or a bucket of soapy water with a soft-bristle brush. Avoid high-pressure washers, as they can damage the boards and fasteners.
Check for mold or mildew, especially in shaded areas. If you spot any, scrub it off with a mixture of warm water and vinegar. This prevents buildup and keeps your deck looking fresh.
How often do you inspect your deck? Adding a quick visual check to your seasonal maintenance routine can help you catch small issues before they become big problems.
Frequently Asked Questions
What Tools Are Needed To Install Trex Hidden Fasteners?
To install Trex hidden fasteners, you'll need a power drill, screw bit, rubber mallet, and safety gear. Trex fasteners come with installation instructions. Ensure you also have Trex decking boards and joists ready for the process.
Can Trex Hidden Fasteners Be Used With All Deck Boards?
Trex hidden fasteners are designed for grooved-edge boards. They may not work with square-edge boards or non-Trex decking. Always check product compatibility.
How Much Spacing Is Required Between Trex Deck Boards?
Trex recommends a consistent spacing of 1/4 inch between boards. This ensures proper ventilation and accommodates expansion and contraction.
Are Trex Hidden Fasteners Weather-resistant?
Yes, Trex hidden fasteners are made from stainless steel or high-quality materials. They resist weather, corrosion, and rust, ensuring durability.
Conclusion
Installing Trex hidden deck fasteners is simple and neat. Follow each step carefully for the best results. These fasteners keep your deck smooth and safe. They also help your deck last longer. Take your time and use the right tools.
Clean work makes your deck look great. Enjoy a strong, beautiful deck without visible screws. This method saves you effort and gives a clean finish. Now, you are ready to build a deck that stands out.