

Have you ever wondered if your circuit breaker is truly reliable? Imagine the peace of mind knowing your home's electrical system is running smoothly, protecting you and your loved ones.
Testing a circuit breaker might sound complex, but it's easier than you think. This guide will show you exactly how to test a circuit breaker safely and efficiently. You'll discover simple steps that could prevent electrical mishaps and save you from potential hazards.
Ready to take control of your home's safety? Let's dive in and ensure your circuit breaker is up to the task.
Credit: reversepcb.com
Tools Needed
Testing a circuit breaker requires the right set of tools to ensure safety and accuracy. Using improper equipment can lead to incorrect readings or even dangerous situations. Getting familiar with these tools will make your testing process smooth and reliable.
Multimeter Basics
A multimeter is your primary tool for testing circuit breakers. It measures voltage, current, and resistance, helping you understand if the breaker is functioning correctly.
Look for a multimeter that can test AC voltage since most circuit breakers handle alternating current. Digital multimeters are easier to read, especially in low light conditions.
Have you checked the battery of your multimeter recently? A weak battery can give false readings, so always ensure it’s fully charged before starting your test.
Additional Equipment
Besides a multimeter, a few other tools can make your job easier and safer. A screwdriver set is essential for opening breaker panels and accessing terminals.
Consider using insulated gloves to protect yourself from accidental shocks. A non-contact voltage tester is a handy device to quickly check if wires are live without touching them.
Don’t forget a flashlight or headlamp if you work in dimly lit areas. Having these extra tools ready can save time and prevent accidents during your testing.
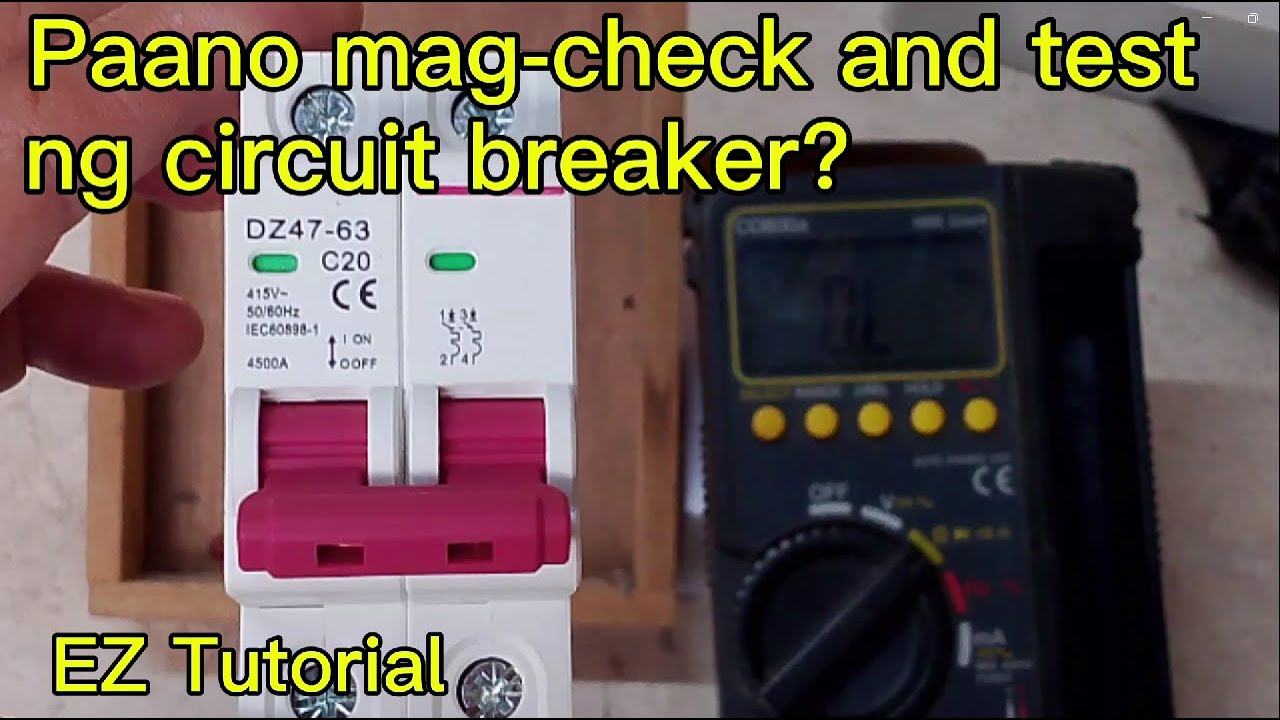
Credit: www.youtube.com
Safety Precautions
Testing a circuit breaker involves working with electrical systems that can be dangerous if not handled correctly. Prioritizing safety is not optional—it’s essential to protect yourself and your property. Before you start, understanding and applying proper safety precautions can prevent accidents and ensure your testing process goes smoothly.
Power Shutoff
Always turn off the main power supply before you begin testing a circuit breaker. This step is crucial to avoid electric shocks and damage to your testing equipment.
After shutting off the power, use a voltage tester to confirm that the circuit is indeed de-energized. Don’t rely solely on turning off the breaker; double-checking gives you peace of mind and ensures safety.
Personal Protective Gear
Wearing the right protective gear is a must. Use insulated gloves and safety glasses to shield yourself from accidental sparks or short circuits.
Even if the power is off, unexpected issues can arise. Having rubber-soled shoes and flame-resistant clothing adds an extra layer of protection. Think about the last time you underestimated safety gear—was it worth the risk?
Visual Inspection
Visual inspection is the first and simplest way to check your circuit breaker’s condition. Before using any tools, take a close look at the breaker itself. Sometimes, signs of trouble are right in front of your eyes, saving you time and preventing potential hazards.
Signs Of Damage
Look for any physical damage such as cracks, burn marks, or discoloration on the breaker’s body. These signs often indicate overheating or electrical faults that could cause failure.
Have you ever noticed a faint burning smell near your electrical panel? That’s a warning sign you shouldn’t ignore. Also, check if the breaker feels unusually warm when touched—heat can mean internal damage.
Loose Connections
Loose wiring is a common cause of breaker problems and can be dangerous. Gently wiggle the wires connected to the breaker to see if any move or feel unstable.
It’s easy to overlook this step, but a loose connection might cause intermittent power issues or trips. Make sure all screws and terminals are tight, but be careful not to overtighten and damage the wires.
Testing With A Multimeter
Testing a circuit breaker with a multimeter helps confirm its condition safely and accurately. This tool checks if the breaker allows electricity to flow or if it has tripped. Using a multimeter requires careful steps to avoid damage and ensure correct readings.
Setting The Multimeter
First, set your multimeter to the correct mode. Choose the continuity test or resistance mode to check if the circuit is complete. For voltage tests, switch to the appropriate AC voltage range. Always start with the multimeter off, then turn it on after setting the mode.
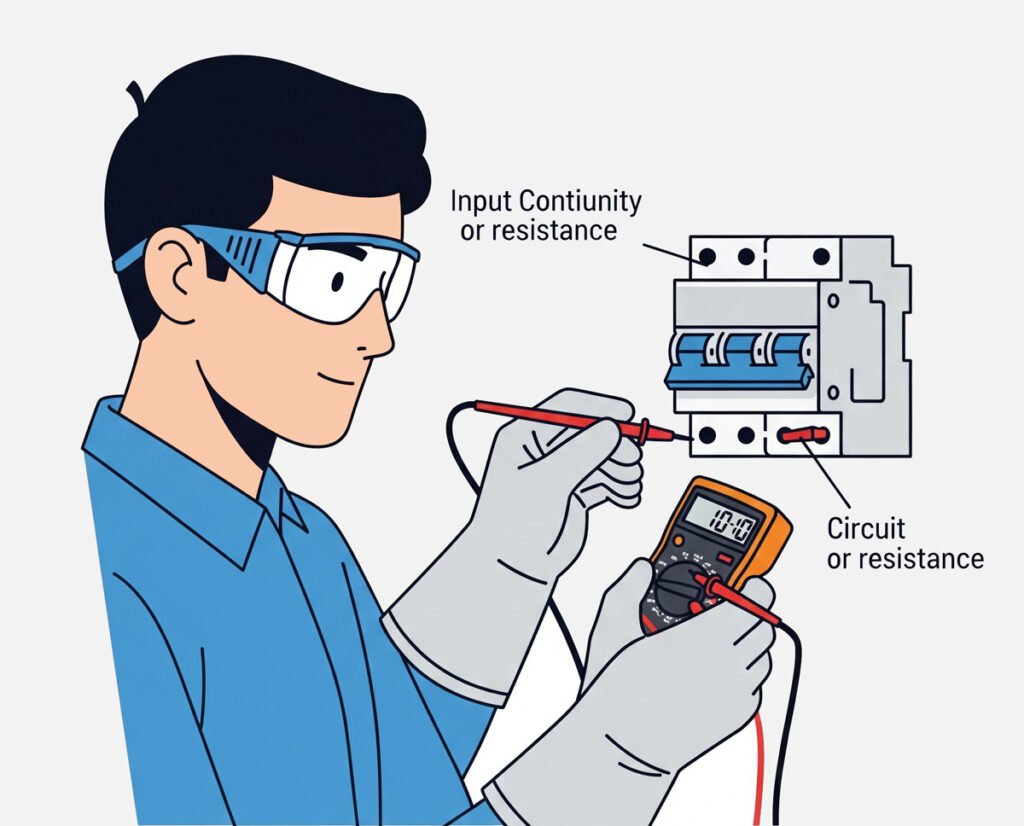
Measuring Continuity
Turn off the power before testing continuity. Place one probe on each terminal of the breaker. A beep or low resistance reading means the breaker is good and allows current. No beep or infinite resistance shows the breaker is open or faulty.
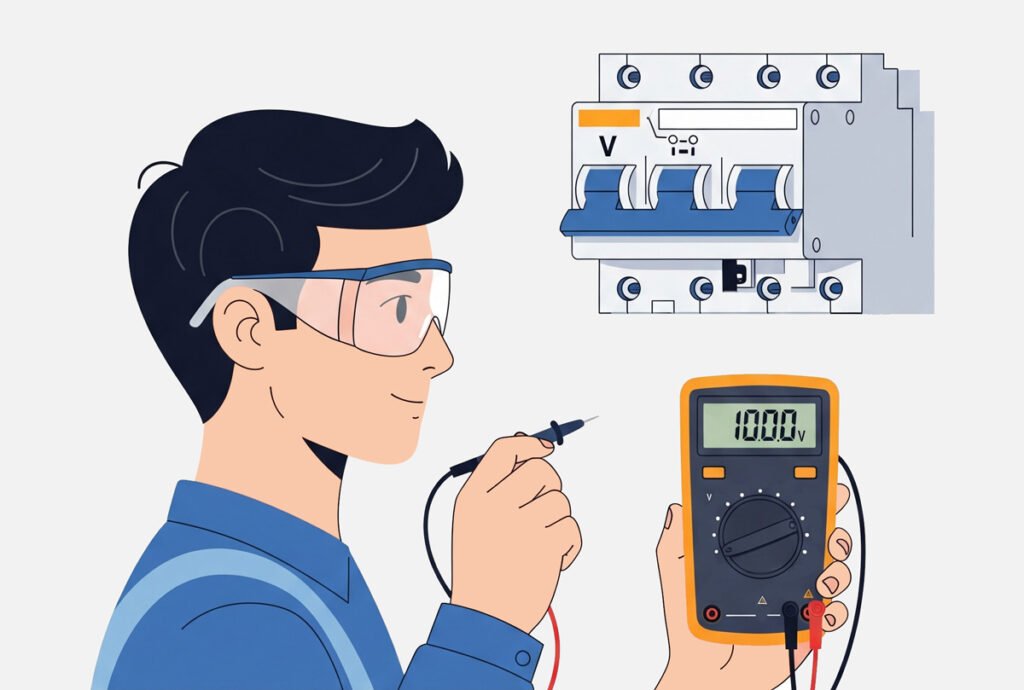
Checking Voltage
Turn the power back on carefully for voltage testing. Place the probes on the input and output terminals. The multimeter should show voltage when the breaker is on. No voltage or inconsistent readings indicate a problem with the breaker or wiring.
Using A Circuit Breaker Tester
Using a circuit breaker tester helps check if the breaker works correctly. This tool simulates a fault to see if the breaker trips as it should. Testing ensures safety and prevents electrical hazards. The process is simple and fast with the right tester.
Connecting The Tester
Turn off the main power before connecting the tester. Attach the tester leads to the breaker terminals. Make sure connections are tight and secure. Follow the tester’s instructions carefully for your specific model. Double-check the setup to avoid mistakes.
Interpreting Results
The tester shows if the breaker trips within the proper time. A quick trip means the breaker is good. If it does not trip or trips late, it may need replacement. Some testers display a pass or fail message. Always compare results with the breaker’s specifications.
Resetting And Retesting
Resetting and retesting a circuit breaker ensures it works properly after a trip. This process helps confirm the breaker can protect your home or device from electrical faults. Performing these steps carefully improves safety and prevents future issues.
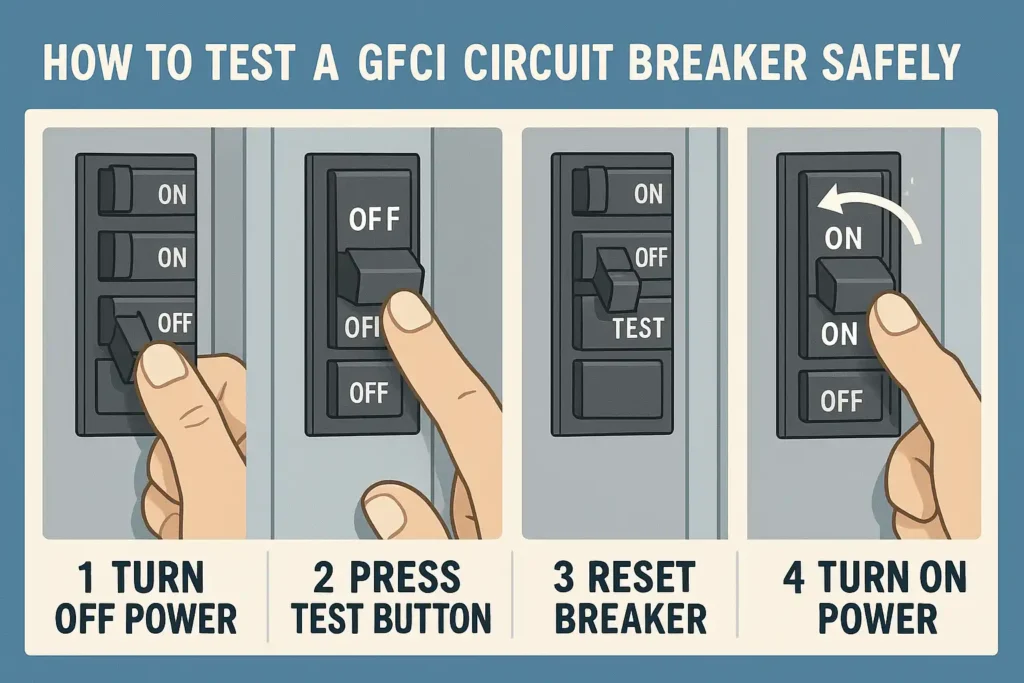
Reset Procedure
First, locate the tripped breaker in your electrical panel. It usually sits between the ON and OFF positions. Push the breaker fully to the OFF position. Hold it there for a moment to ensure it resets. Then, flip the breaker back to the ON position. You should feel a click when it resets correctly.
Never force the breaker to switch if it resists. Forcing can damage the breaker or panel. If the breaker won’t reset, there might be an electrical problem that needs professional help.
Verifying Functionality
After resetting, test the breaker’s function to confirm it works well. Turn on the devices or circuits controlled by the breaker. Check if power flows normally without interruptions. If the breaker trips again immediately, there may be a short circuit or overload.
Use a circuit tester or multimeter to check the breaker’s voltage output. The reading should match your home’s standard voltage. No voltage or fluctuating readings mean the breaker may be faulty. In that case, replace the breaker or call an electrician.
When To Replace
Knowing when to replace a circuit breaker is key to keeping your home safe. Circuit breakers protect your electrical system from damage. Over time, they wear out or fail. Replacing them at the right time prevents power issues and hazards.
Common Failure Signs
- Breaker trips frequently without clear reasons
- Burning smell near the breaker panel
- Visible damage or corrosion on the breaker
- Breaker feels hot to touch during use
- Failure to reset after tripping
- Electrical outlets or lights flicker often
Any of these signs mean it is time to consider replacement.
Consulting A Professional
Electricity is dangerous. A professional can test and replace breakers safely. They know local codes and proper procedures. This ensures your system works correctly and safely. Do not try to replace breakers yourself unless you have training.
Credit: reversepcb.com
Frequently Asked Questions
How Do You Test If A Circuit Breaker Is Working?
Turn off power, press the test button on the breaker. If it trips, it works. Use a multimeter to check voltage continuity for accuracy.
When Should You Test Your Circuit Breaker?
Test circuit breakers every six months or after electrical issues. Regular checks prevent hazards and ensure proper functioning of your electrical system.
Can A Circuit Breaker Be Tested Without Removing It?
Yes, use the built-in test button or a multimeter on the breaker terminals. Testing without removal is safe and effective for most breakers.
What Tools Do You Need To Test A Circuit Breaker?
You need a multimeter, insulated screwdriver, and safety gloves. These tools help safely measure voltage and continuity during breaker testing.
Conclusion
Testing a circuit breaker keeps your home safe and your system working well. Always switch off power before you start testing. Use simple tools like a multimeter for clear results. Check the breaker regularly to catch problems early. Stay cautious and follow safety steps every time.
Testing helps avoid bigger electrical issues later. Keep your circuit breaker in good shape with easy checks. Safety first. Stay smart. Stay safe.

