

Light plug in wall solutions can make all the difference when it comes to brightening up your space. Have you ever struggled to find the perfect spot to plug in your lights?
Whether you're aiming to create a cozy ambiance or improve your room’s functionality, knowing how to choose and use the right wall plug is key. In this guide, you’ll discover simple tips to make your lighting setup easier and more efficient.
Keep reading to learn how to transform your space with just the right light plug in your wall.

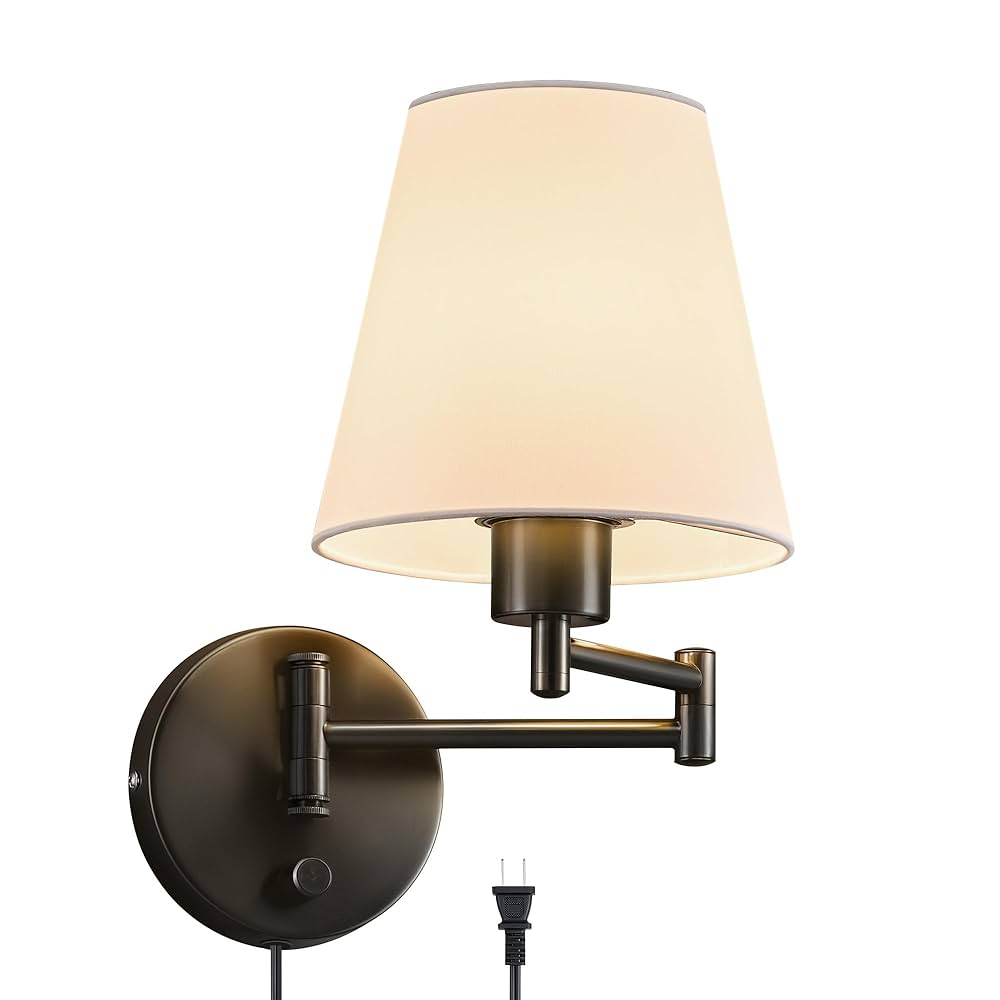
Credit: www.amazon.ca
Choosing The Right Wall Plug
Choosing the right wall plug is important for safe and strong installations. The right plug holds screws firmly in the wall.
Different walls need different plugs. Picking the right one helps avoid damage and keeps things secure.
Types Of Wall Plugs
Wall plugs come in many types. Each type fits a certain wall material and load type.
- Plastic plugs: Good for light loads and solid walls
- Metal plugs: Strong and good for heavy loads
- Expanding plugs: Fit tightly in hollow walls
- Wall anchors: Used for drywall and weak walls
Materials And Durability
Wall plugs are made from plastic, metal, or nylon. Each material has different strength and durability.
Metal plugs last longer and hold heavy items better. Plastic plugs are cheaper but less strong.
- Plastic: Easy to use, best for light loads
- Metal: Very strong, ideal for heavy loads
- Nylon: Flexible and durable, good for most uses
Size And Weight Considerations
Choose the plug size based on screw size and wall thickness. The right size improves holding power.
Heavier items need bigger plugs and stronger walls. Small plugs work for light objects only.
| Item Weight | Recommended Plug Size | Wall Type |
|---|---|---|
| Light (under 5 kg) | Small | Solid or hollow walls |
| Medium (5-20 kg) | Medium | Solid walls |
| Heavy (over 20 kg) | Large, metal plugs | Solid walls only |
Tools And Materials Needed
Installing a light plug in the wall needs the right tools and materials. This helps the job go smoothly and safely.
Below are the main tools and supplies you will need for the installation.
Essential Installation Tools
These tools help you connect the light plug to the wall power safely and correctly. You should have each tool ready before starting.
- Screwdriver (flathead and Phillips)
- Wire stripper
- Voltage tester
- Drill with bits
- Measuring tape
- Level
- Needle-nose pliers
Safety Equipment
Safety gear protects you from electric shocks and injuries. Always use the right safety equipment to stay safe.
- Insulated gloves
- Safety goggles
- Dust mask
- Rubber-soled shoes
- Flashlight or headlamp
Additional Supplies
Extra supplies help finish the installation and make the plug secure. Have these on hand for best results.
- Electrical tape
- Wire nuts/connectors
- Wall box or mounting bracket
- Replacement light plug or outlet
- Wall anchors and screws
Preparing The Installation Site
Installing a light plug in wall requires careful planning. This ensures safety and effectiveness.
Follow these steps to prepare your site properly. This will make the installation smooth and efficient.
Selecting The Perfect Location
Choosing the right spot for your light plug is crucial. It affects both functionality and aesthetics.
- Ensure the location is easily accessible.
- Avoid placing it near water sources.
- Consider the light coverage area.
Checking For Wiring And Pipes
Before drilling, check the wall for wires and pipes. This prevents accidental damage.
Marking And Measuring
Accurate marking and measuring are essential. This ensures the light plug fits perfectly.
| Tool | Purpose |
| Measuring Tape | Measure wall dimensions |
| Pencil | Mark the installation points |
| Level | Ensure straight alignment |

Credit: www.amazon.ca
Step-by-step Installation Process
Installing a light plug in the wall is a simple task you can do yourself. Follow these clear steps to ensure a safe and secure setup.
Gather your tools and materials before you start. This will help you work smoothly and avoid mistakes.
Drilling The Wall
Mark the spot where you want to install the light plug. Use a drill bit that matches the plug size for a perfect fit.
- Wear safety glasses to protect your eyes.
- Use a pencil to mark the drilling point.
- Drill a hole straight into the wall at the marked point.
- Clean out any dust from the hole before inserting the plug.
Inserting The Plug
Insert the plastic plug into the drilled hole. Make sure it fits snugly and sits flush with the wall surface.
| Plug Type | Recommended Wall Material | Fit Check |
|---|---|---|
| Plastic Expansion | Drywall, Brick | Should be tight without wobbling |
| Masonry | Concrete, Stone | Must not move when pressed |
| Toggle | Hollow Walls | Should open behind the wall securely |
Securing The Fixture
Attach the light fixture to the wall by aligning it with the plug. Use screws to fasten it firmly in place.
- Insert screws through the fixture holes.
- Tighten screws with a screwdriver until secure.
- Check that the fixture does not move or wiggle.
- Connect the light plug to the power source safely.
Safety Tips And Precautions
Installing a light plug in the wall can be safe if you follow simple rules. Taking precautions helps avoid accidents and damage.
Use the right tools and check your work to make sure everything works well and safely.
Avoiding Electrical Hazards
Always turn off the power at the circuit breaker before starting. This stops electricity from flowing to the area.
Wear rubber-soled shoes and use insulated tools to protect yourself from shocks. Never touch wires with wet hands.
- Switch off the main power supply.
- Use insulated gloves and tools.
- Keep your hands dry.
- Do not work near water.
- Check wires for damage before use.
Proper Handling Of Tools
Use the right tools for each job. This helps you work faster and safer. Avoid using damaged or broken tools.
Keep tools clean and store them properly after use. Handle sharp or heavy tools carefully to avoid injury.
- Choose tools made for electrical work.
- Inspect tools for damage before use.
- Store tools in a safe place.
- Keep cutting tools away from your body.
- Use tools with insulated handles.
Testing The Installation
After installing the light plug, turn the power back on. Use a voltage tester to make sure the plug is live and safe.
Check that the light works correctly and that there are no sparks or unusual sounds. If you find problems, turn off power and fix them.
- Turn power on at the breaker.
- Use a voltage tester on the plug.
- Look for sparks or smells.
- Test the light switch and bulb.
- Fix issues before final use.
Design Ideas For Stylish Installations
Light plugs in walls add both function and style to a room. They offer easy ways to brighten spaces.
Choosing the right design can change the look and feel of your home or office. Let's explore some ideas.
Choosing Complementary Fixtures
Select light plugs that match or complement other fixtures in the room. This keeps the space balanced.
Consider the style of ceiling lights, lamps, and switches near your wall plug for a unified look.
- Use similar shapes for plugs and fixtures
- Match metal finishes like chrome or brass
- Keep fixture sizes proportional to room size
Color And Finish Options
Light plugs come in many colors and finishes. Choose one that fits your room’s color scheme.
Neutral colors work well for most rooms. Bold colors add a pop of interest.
- White or beige for a clean, simple look
- Black or dark gray for a modern style
- Brushed metal for an industrial feel
- Wood finishes for a natural touch
Incorporating Smart Lighting
Smart lighting plugs let you control lights with your phone or voice. They add convenience and style.
Choose smart plugs that fit your design and work with your home system for easy use.
- Pick slim, compact smart plugs
- Match smart plug color to wall or fixtures
- Use smart plugs to control multiple lights
- Set schedules or scenes for mood lighting
Troubleshooting Common Issues
Light plugs in walls can have problems that stop them from working well. Fixing these issues helps keep your home safe and bright.
This guide covers common problems with wall plugs and how to handle them simply.
Loose Or Wobbly Plugs
Loose plugs can cause poor connections and may be unsafe. They often move around or fall out easily.
Check if the plug fits tightly in the socket. If it wiggles, the socket might be worn out or damaged.
- Turn off power before touching the socket
- Tighten screws holding the socket if accessible
- Replace the socket if it is damaged or too loose
- Use plugs that fit the socket size
Wall Damage Repairs
Plugs can cause damage to the wall around them. Cracks or holes may appear from frequent use or accidents.
Repairing wall damage keeps the area neat and stops further harm. Use simple tools and materials for small fixes.
- Turn off electricity before working near the plug
- Fill holes or cracks with spackling paste
- Sand the area smooth once dry
- Paint to match the wall color
- Replace damaged socket covers if needed
Electrical Problems
Electrical issues with plugs can cause power loss or shocks. These problems need careful handling to stay safe.
Look for signs like sparks, burning smells, or no power from the plug. Do not use plugs showing these signs.
- Switch off the circuit breaker before inspection
- Test the plug with a voltage tester
- Replace fuses or reset breakers if tripped
- Call a professional electrician for serious faults

Credit: www.lightformshop.com
Maintenance And Upkeep
Light plugs in walls need regular care to work well and stay safe. Proper upkeep helps avoid problems and extends their life.
Follow simple steps to keep your wall plugs clean and check their condition. Knowing when to replace them keeps your home safe.
Cleaning Tips
Dust and dirt can build up on light plugs. Cleaning them keeps connections clear and stops damage.
- Turn off power before cleaning the plug
- Use a dry cloth to wipe the surface gently
- Avoid water or liquid cleaners near the plug
- Use a soft brush to remove dust inside holes
- Check for any cracks or damage during cleaning
Periodic Safety Checks
Regular safety checks can spot problems early. Check plugs at least twice a year for signs of wear or loose parts.
| Check Item | What to Look For |
| Plug Surface | Cracks, discoloration, or burn marks |
| Connection | Loose or wobbly plugs |
| Power Supply | Unusual sounds or smells |
| Surrounding Area | Signs of moisture or damage |
When To Replace Wall Plugs
Replace wall plugs if they show damage or stop working well. Old plugs can cause sparks or power loss.
- Plug surface has cracks or burn marks
- Plug feels loose and does not hold sockets firmly
- Power cuts off or flickers when connected
- Signs of moisture inside or near the plug
- Plug is over 10 years old or damaged by impact
Frequently Asked Questions
What Is A Light Plug In Wall?
A light plug in wall is a socket designed to connect lighting fixtures. It provides power safely and efficiently. This allows easy installation and replacement of lights without rewiring.
How Do Light Plugs In Walls Work?
Light plugs in walls transmit electrical current to lighting devices. When connected, they complete an electrical circuit. This powers the light bulb or fixture for illumination.
Are Light Plugs In Walls Safe To Use?
Yes, light plugs in walls are safe when installed properly. They follow electrical codes and standards. Using certified products reduces risks of shocks or fire.
Can I Install A Light Plug In Wall Myself?
If you have basic electrical knowledge, yes. Turn off power before installation. Follow instructions carefully or consult a professional to ensure safety.
Conclusion
A light plug in the wall adds ease to daily life. It saves space and keeps rooms tidy. You can control lights without moving much. These plugs fit most sockets and are simple to use. Choosing the right one helps with safety and energy saving.
Small but useful. A smart choice for any home.

