If you’ve ever struggled to hold materials tightly while working on a project, a C clamp can be your best friend. But using it the right way is key to getting strong, secure results without damaging your work.
In this guide, you’ll discover exactly how to properly use a C clamp step-by-step. By the time you finish reading, you’ll know how to apply the perfect amount of pressure and position your clamp like a pro. Ready to take your skills up a notch and make every clamp count?
Let’s dive in!
Choosing The Right C Clamp
Using a C clamp correctly starts with picking the right one. The right clamp makes your work safer and easier.
Consider the clamp type, size, and material to find the best fit for your project.
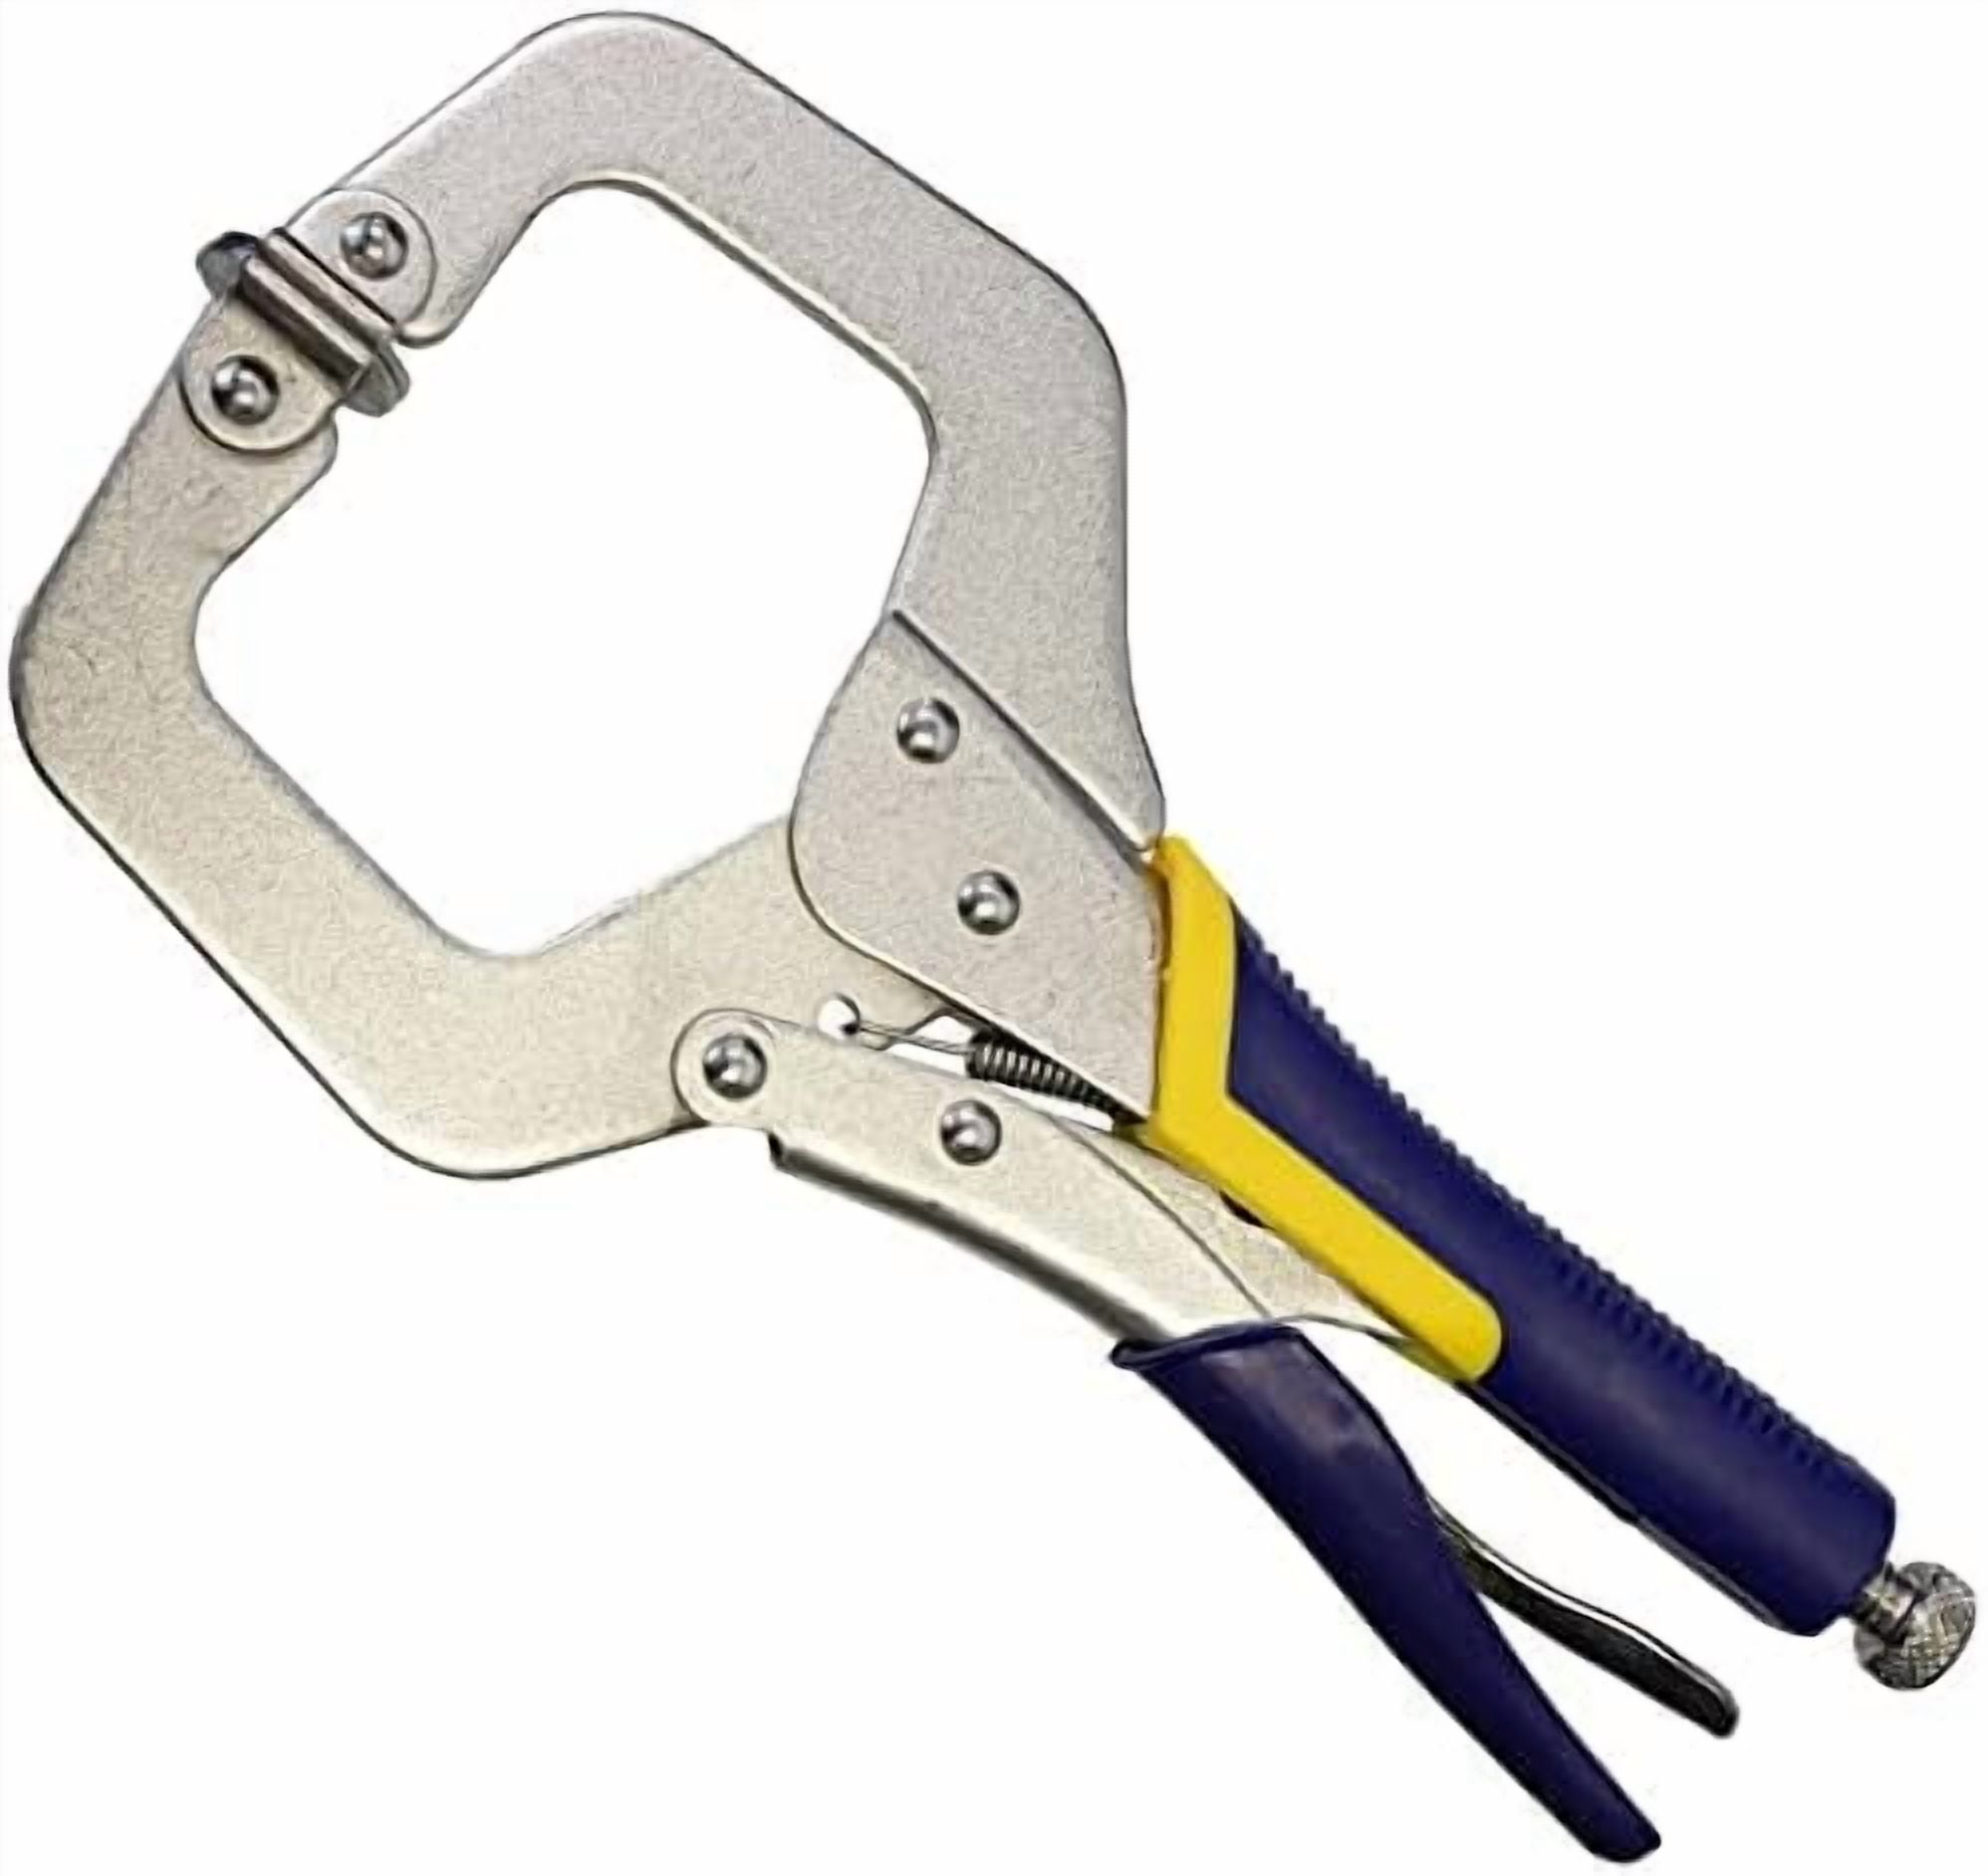
Types Of C Clamps
C clamps come in several types. Each type fits different tasks and materials.
- Standard C clamps: Used for general clamping jobs.
- Deep throat clamps: Allow clamping further from the edge.
- Locking C clamps: Have a locking mechanism for a firm hold.
- Heavy-duty C clamps: Designed for strong, heavy clamping.
Size And Capacity Considerations
Choose a clamp size that fits your project. The clamp must open wide enough and hold firmly.
| Clamp Size | Max Opening | Common Use |
| 2 inches | 2 inches | Small crafts, light woodwork |
| 4 inches | 4 inches | General wood and metal work |
| 6 inches | 6 inches | Larger projects, heavy materials |
| 8 inches or more | 8+ inches | Industrial, large frames |
Material And Build Quality
C clamps come from different materials. Stronger materials last longer and hold better.
- Steel clamps: Very strong and durable.
- Cast iron clamps: Heavy and stable, good for tough jobs.
- Aluminum clamps: Lightweight but less strong.
- Plastic clamps: For light, non-heavy tasks only.

Credit: www.wikihow.com
Preparing Your Workspace
Using a C clamp safely starts with a clean and organized workspace. Preparing your area helps you work faster and avoid accidents.
Clear space and have all your tools ready before you begin. This keeps the process smooth and safe.
Clearing The Area
Remove any items that may get in the way or cause harm. A tidy workspace helps you focus on your task.
- Clear off your workbench or table
- Put away loose tools not in use
- Make sure there is enough light
- Keep your floor free from clutter
Safety Precautions
Safety is very important. Always protect yourself and others around you.
| Precaution | Reason |
| Wear safety goggles | Protect eyes from flying debris |
| Use gloves | Prevent hand injuries and improve grip |
| Check clamp condition | Avoid malfunction or breakage |
| Keep others away | Reduce risk of accidental harm |
Gathering Necessary Tools
Have all the tools ready before starting. This saves time and stops interruptions.
- C clamp of suitable size
- Workpiece to clamp
- Protective padding (optional)
- Measuring tools (if needed)
- Cleaning cloth to wipe surfaces
Positioning The C Clamp
Using a C clamp properly ensures a secure hold on your workpiece. Correct positioning helps avoid damage and keeps the clamp stable during use.
This guide covers key points to position your C clamp safely and effectively.
Aligning With The Workpiece
Place the clamp so its frame and screw line up with the workpiece edges. Proper alignment distributes pressure evenly and prevents slipping.
- Open the clamp wide enough to fit the workpiece.
- Position the fixed jaw on one side of the piece.
- Turn the screw to bring the moving jaw against the opposite side.
- Check that the clamp is square to the workpiece surface.
Avoiding Surface Damage
Clamp jaws can leave marks or dents if placed directly on soft or finished surfaces. Protect your workpiece by adding padding.
| Material | Use |
|---|---|
| Wooden blocks | Protects soft wood and painted surfaces |
| Rubber pads | Prevents slipping and marks on metal |
| Cardboard pieces | Easy disposable cushion for temporary clamping |
Place these materials between the clamp jaws and the workpiece before tightening the clamp.
Ensuring Stability
A stable clamp holds the workpiece firmly without shifting. Check the clamp’s grip and adjust as needed to maintain control.
- Use a clamp size that fits your project. Too small or too large reduces stability.
- Tighten the screw until the workpiece feels secure but not crushed.
- Place clamps near the work area to minimize movement.
- If needed, use more than one clamp for large or irregular shapes.
Tightening The Clamp Correctly
Using a C clamp properly ensures your workpieces stay secure. Tightening the clamp the right way helps avoid damage.
Follow these simple tips to apply the right pressure and protect your materials.
Applying Even Pressure
Make sure the clamp applies pressure evenly across the surfaces. Uneven pressure can cause slipping or damage.
- Place the clamp jaw flat against the workpiece
- Adjust the screw slowly to distribute pressure evenly
- Check alignment before fully tightening
Avoiding Over-tightening
Over-tightening can damage your materials or the clamp itself. Use only enough force to hold items firmly.
| Effect | Cause | Solution |
| Wood dents | Too much pressure | Tighten gently |
| Clamp damage | Excessive force | Stop when firm hold is felt |
| Workpiece slips | Not tight enough | Increase pressure carefully |
Using Proper Hand Techniques
Hold the clamp handle firmly and turn slowly. This helps control the tightening process and prevents sudden slips.
- Grip the handle with your dominant hand
- Use your other hand to steady the clamp body
- Turn the screw clockwise slowly
- Stop tightening when resistance increases
Checking The Hold
After tightening the C clamp, it is important to check if it holds the workpiece firmly. A secure hold ensures safety and accuracy in your project.
Use simple tests to confirm that the clamp does not slip or loosen during work. This step prevents damage and keeps your materials steady.
Testing Stability
Test the clamp’s grip by gently moving the workpiece. If it shifts or moves, the hold is not stable enough.
- Try pushing the workpiece sideways with light pressure.
- Lift the material slightly to see if it slips.
- Tap the clamped area softly to check for movement.
Adjusting If Needed
If the clamp does not hold well, adjust its position or tighten the screw more. Make sure the clamp pads touch the material evenly.
| Adjustment Action | Purpose |
|---|---|
| Tighten screw | Increase clamp pressure for better hold |
| Reposition clamp | Place clamp on a stable part of the workpiece |
| Add protective pads | Prevent damage and improve grip |
Removing The C Clamp Safely
Removing a C clamp carefully is important to avoid accidents. If you rush, you could hurt yourself or damage your project.
Follow these steps to loosen and remove the clamp safely. Take your time and keep control of the tool.
Loosening Techniques
Turn the screw handle slowly to loosen the clamp. Avoid quick or jerky movements that might cause the clamp to slip.
Keep your hands away from the clamping area. Make sure the clamp releases pressure evenly as you turn.
- Hold the clamp steady with one hand.
- Turn the screw handle counterclockwise gently.
- Watch for sudden releases of pressure.
- Stop if the clamp feels stuck and try to adjust its position.
Handling Post-clamp Work
After removing the clamp, check your work surface and the clamp itself. Clean any debris or residue left behind.
Store the C clamp properly to keep it in good condition. This helps the clamp last longer and work safely next time.
- Inspect the clamped area for damage or marks.
- Wipe the clamp with a dry cloth to remove dust.
- Lubricate the screw threads if needed.
- Keep the clamp in a dry place to avoid rust.
Maintaining Your C Clamp
Taking care of your C clamp keeps it working well for a long time. Proper maintenance stops rust and damage.
Learn simple ways to clean, store, and check your C clamp regularly for best results.
Cleaning And Lubrication
Clean your C clamp after each use. Dirt and dust can cause it to stick or wear out. Wipe the clamp with a dry cloth. For tough grime, use a damp cloth and dry it well.
Lubricate the screw and moving parts to keep them smooth. Use light machine oil or a lubricant spray. Apply a small amount, then move the screw back and forth to spread it evenly.
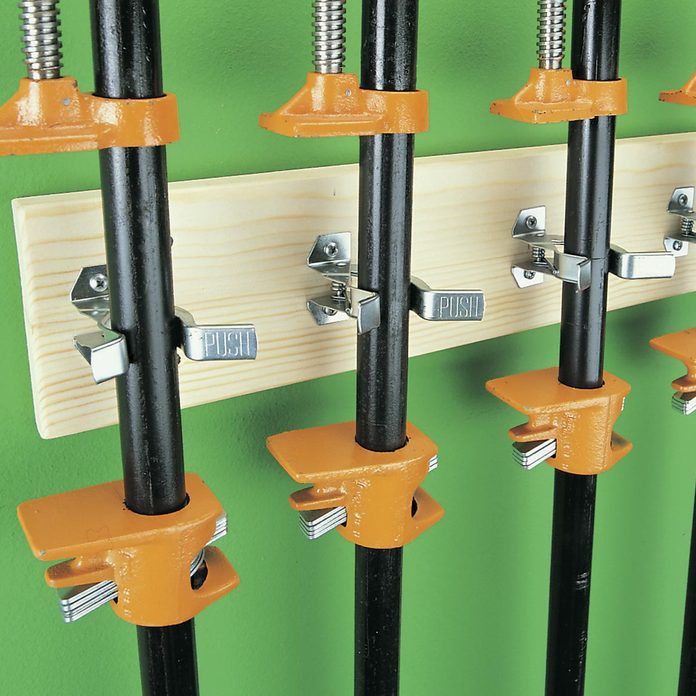
Storage Tips
- Store your C clamp in a dry place to avoid rust.
- Hang it on a tool rack or place it in a toolbox.
- Avoid placing heavy items on top of the clamp.
- Keep it away from chemicals that can damage metal.
Regular Inspection
| Part | What to Check | Action if Problem |
| Screw | Turns smoothly without sticking | Clean and lubricate |
| Frame | No cracks or bends | Replace if damaged |
| Clamp Pads | Not worn or missing | Replace pads |
| Handle | Firm and not loose | Tighten or replace |

Credit: www.familyhandyman.com
Common Mistakes To Avoid
Using a C clamp correctly keeps your work safe and steady. Mistakes can cause damage or injury. Avoid these common errors for better results.
Learn where to place the clamp, how tight to make it, and the safety steps to follow. This will help you work with confidence.
Incorrect Clamp Placement
Placing the clamp in the wrong spot can damage your materials or cause slipping. Always find a flat, strong area to clamp.
- Do not clamp near edges where materials can break.
- Avoid placing the clamp on uneven surfaces.
- Make sure the clamp jaws sit fully on the material.
- Check that the clamp does not block your work area.
Over-tightening Risks
Tightening the clamp too much can harm your work and the clamp. Use just enough pressure to hold the pieces firmly.
| Problem | Cause | Effect |
| Material damage | Too much force applied | Cracks or dents |
| Clamp damage | Over-tightening screw | Warped or broken clamp |
| Work slipping | Not tight enough | Unsafe and inaccurate work |
Ignoring Safety Measures
Safety steps protect you from injury. Do not skip wearing gloves and eye protection. Keep your hands clear when tightening the clamp.
- Wear safety glasses to protect your eyes.
- Use gloves to avoid pinches and cuts.
- Keep fingers away from the clamp screw and jaws.
- Check the clamp for damage before use.
Credit: www.familyhandyman.com
Frequently Asked Questions
How Do You Position A C Clamp Correctly?
Position the C clamp so its screw aligns with the workpiece. Ensure the clamp’s frame is stable and the screw tightens evenly. This setup prevents damage and holds materials firmly in place for accurate work.
What Materials Can A C Clamp Securely Hold?
C clamps can hold wood, metal, plastic, and other solid materials. They work best on flat or slightly curved surfaces. Always check the clamp size and pressure to avoid damaging delicate materials.
How Much Pressure Should Be Applied With A C Clamp?
Apply firm but controlled pressure to avoid damaging the workpiece. Tighten until the material is secure without causing dents or cracks. Over-tightening can deform both the clamp and the material.
Can C Clamps Be Used For Welding Projects?
Yes, C clamps are ideal for holding metal pieces during welding. They stabilize parts, ensuring precise alignment and safety. Use heat-resistant clamps designed specifically for welding to prevent damage.
Conclusion
Using a C clamp correctly keeps your work safe and steady. Tighten the clamp just enough to hold materials firmly. Avoid over-tightening to prevent damage or slipping. Always check the clamp’s condition before starting any job. Practice these simple steps to improve your results.
Your projects will stay secure, making work easier. Remember, patience and care make all the difference. Keep these tips in mind for every use. The C clamp is a handy tool when used right.