Imagine transforming your living space with a sleek, minimalist touch that doesn't just look impressive, but also showcases your DIY skills. Bracketless shelves offer the perfect blend of style and function, allowing you to display your favorite items without the clutter of bulky brackets.
You might be wondering how you can achieve this look without professional help or expensive tools. The good news is that you can do it yourself with just a few materials and some simple steps. In this guide, we'll walk you through the process of making your own bracketless shelves.
By the end, you'll not only have learned a new skill but will also have a stunning new addition to your home decor. Ready to unleash your inner craftsman and elevate your space? Let’s get started!

Credit: www.create-enjoy.com
Materials Needed
Gathering the right materials is the foundation of making sturdy and stylish bracketless shelves. Choosing quality supplies not only affects the shelf’s strength but also its appearance and longevity. Let’s break down what you’ll need before you start your project.
Types Of Wood
Picking the right wood matters. Solid hardwoods like oak, maple, or walnut offer great durability and a beautiful finish. If you want a budget-friendly option, pine or plywood can work, but make sure they’re thick enough to hold weight without bending.
Think about where you’ll place the shelf. Will it hold heavy books or light decor? This will guide your choice of wood thickness and type. Have you considered how wood grain and color will match your room’s style?
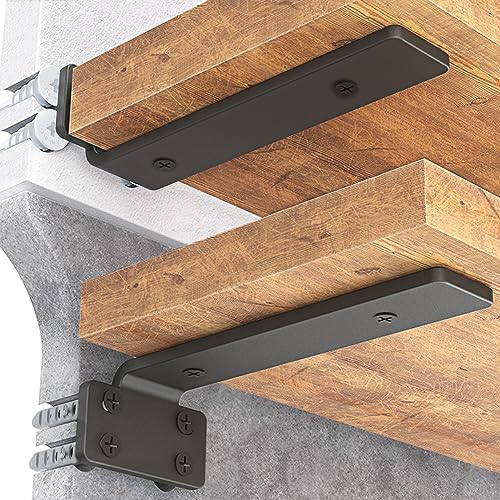
Mounting Hardware
Bracketless shelves rely on hidden supports, so you’ll need strong mounting hardware. Steel floating shelf brackets or cleats are popular choices that provide unseen support. Make sure the hardware fits the thickness of your wood and can handle the intended load.
Don’t forget wall anchors if you’re mounting on drywall—these keep your shelf secure and prevent accidents. Have you checked if the hardware comes with detailed instructions or templates? That can save you time and headaches during installation.
Tools Required
Having the right tools makes the process smoother. You’ll typically need a drill, screwdriver, level, tape measure, and stud finder. A sander or sandpaper helps you smooth edges and surfaces before finishing.
Consider if you’ll add a finish like paint or varnish—then brushes or rags are essential. Do you have a workspace that’s comfortable and well-lit? Proper setup helps avoid mistakes and keeps the project enjoyable.
Credit: www.christeneholderhome.com
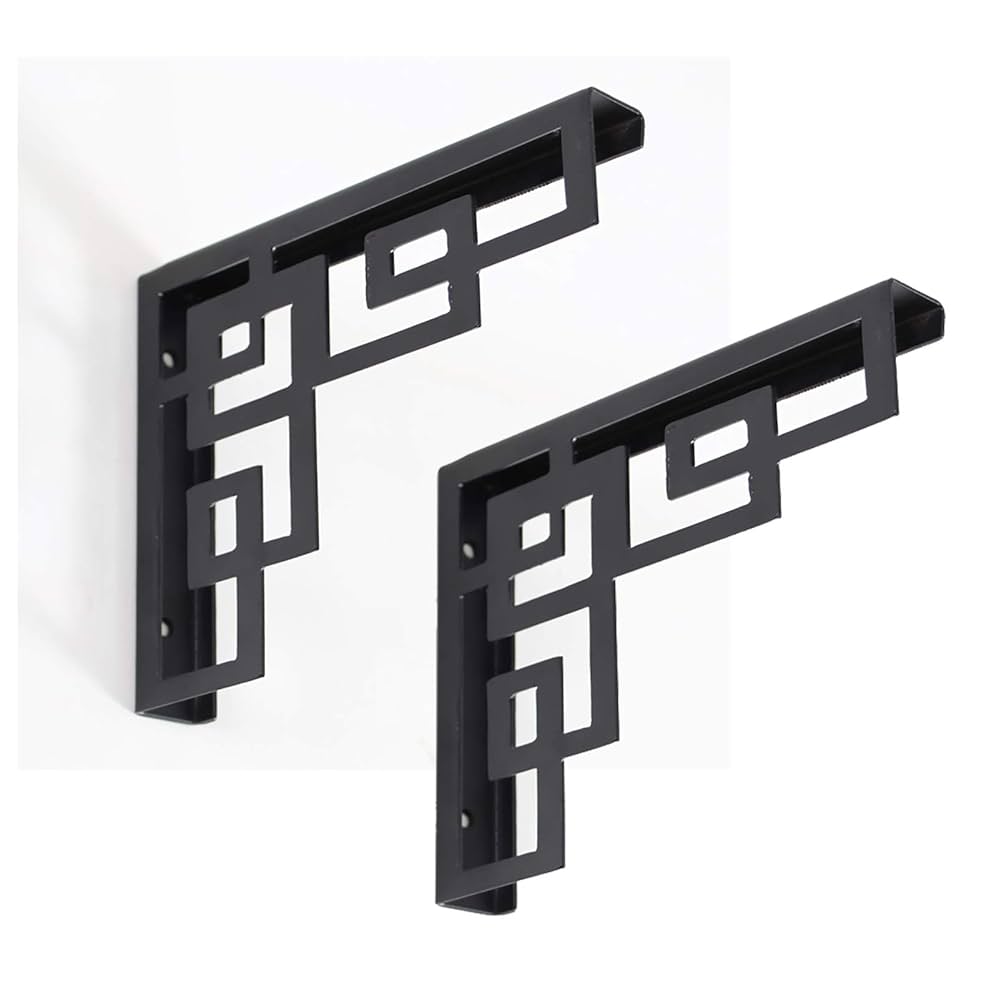
Choosing Shelf Design
Choosing the right design for bracketless shelves affects both function and style. This choice sets the tone for the room and determines how much weight the shelf can hold. Consider the space available and what items you plan to place on the shelves. Design also influences the ease of installation and maintenance. Think about how the shelves will blend with your existing decor.
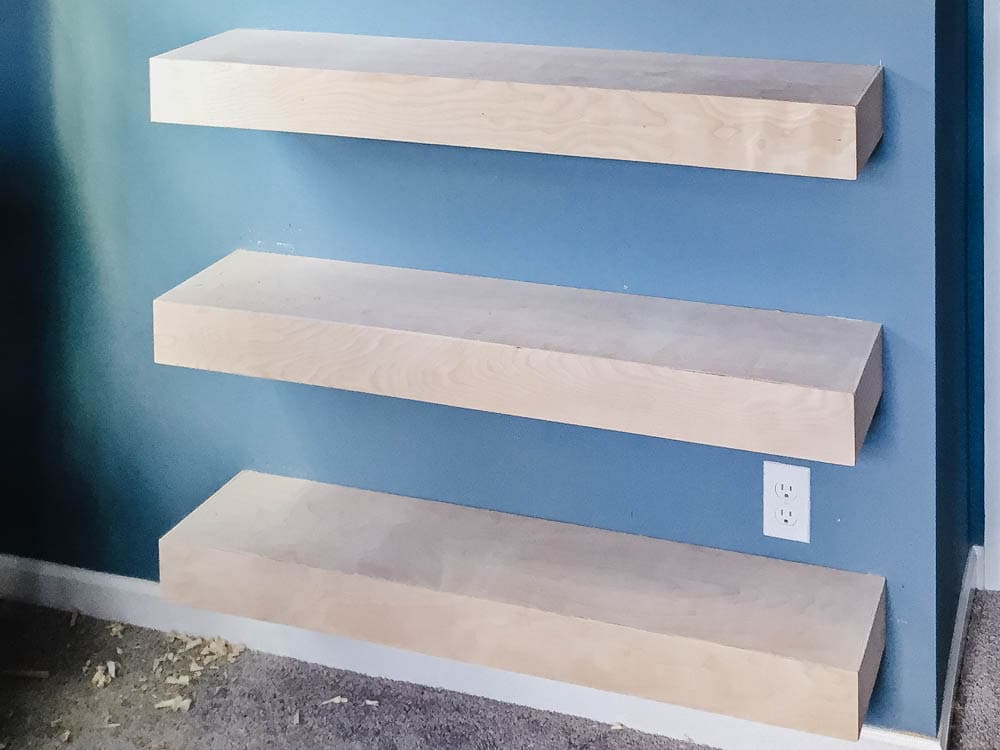
Floating Shelf Styles
Floating shelves appear to hover on the wall without visible supports. They create a clean and modern look. Common styles include:
- Simple rectangular planks for a minimalist feel
- Thick, chunky shelves for a bold statement
- Curved or shaped edges to add softness
- Reclaimed wood for a rustic touch
Choose a style that matches your room’s mood and your personal taste.
Size And Shape Options
Size matters in both aesthetics and functionality. Narrow shelves suit small spaces and light objects. Wide shelves hold larger items but need stronger support inside the wall. Shapes can vary from standard rectangles to more creative forms like:
- Squares for uniformity
- Long, thin planks for horizontal emphasis
- Asymmetrical or staggered arrangements for visual interest
Measure your wall space carefully. Keep the shelf depth enough to hold your items safely without overcrowding the room.
Preparing The Wood
Preparing the wood is a key step in making bracketless shelves. Proper preparation ensures your shelves are strong and look great. It involves measuring, cutting, sanding, and finishing the wood carefully. Taking time here makes installation easier and the final product durable.
Measuring And Cutting
Start by measuring the space where the shelves will go. Measure twice for accuracy. Mark the wood according to the measurements. Use a pencil to draw straight lines on the wood.
Cut the wood along the marked lines. A handsaw or circular saw works well for this. Keep the cuts clean and straight. Use clamps to hold the wood steady while cutting. Smooth cuts help the shelf fit perfectly and look neat.
Sanding And Finishing
Sanding smooths the edges and surfaces of the wood. Use medium-grit sandpaper first to remove rough spots. Follow with fine-grit sandpaper for a smooth finish. Sand in the direction of the wood grain to avoid scratches.
Finish the wood to protect it and enhance its look. Choose paint, stain, or clear varnish based on your style. Apply thin, even coats and let each coat dry fully. Proper finishing prevents damage from moisture and wear.
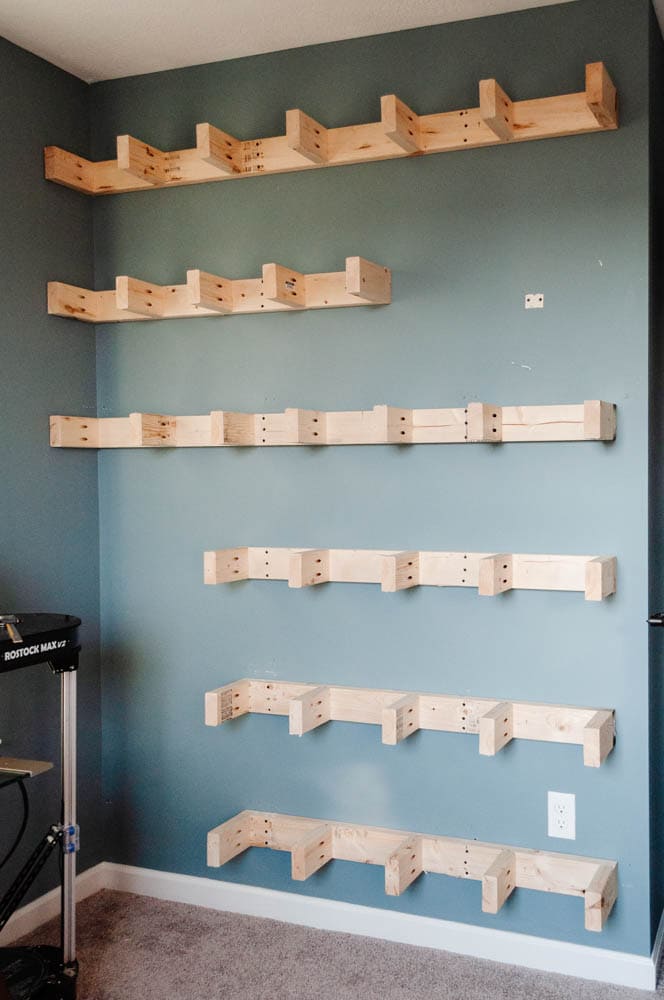
Installing Hidden Supports
Installing hidden supports is key to creating sleek bracketless shelves. These supports hold the shelf securely inside the wall. They stay out of sight, giving a clean and modern look. The process requires choosing the right rods, fixing them firmly to the wall, and fitting the shelf carefully over them.
Selecting Support Rods
Choose metal rods that are strong and rust-resistant. Steel rods with a diameter of about 10mm work well. The rods must be long enough to go deep into the wall and into the shelf. Look for rods with threaded ends for easy installation. Avoid thin or weak rods that may bend under weight.
Attaching Supports To Wall
Find studs in the wall using a stud finder. Drill holes aligned with the studs for the rods. Use a level to keep holes straight and even. Insert the rods into the holes, then secure with wall anchors or heavy-duty screws. Make sure rods stick out about 3-4 inches from the wall. Check that rods are sturdy and do not wobble.
Fitting The Shelf Onto Supports
Drill matching holes in the shelf where rods will enter. The holes should be deep enough to fully cover the rods. Slide the shelf carefully onto the rods, pushing it flush against the wall. Test the shelf’s stability by applying gentle pressure. Sand or paint the shelf edges for a smooth finish. Hidden supports keep the shelf strong and clean-looking.
Mounting The Shelf
Mounting the shelf is a key part of making bracketless shelves. It requires careful attention to ensure the shelf is secure and looks neat. Proper mounting keeps the shelf stable and able to hold weight without sagging or falling.
Leveling And Aligning
Start by marking the wall where the shelf will go. Use a spirit level to draw a straight line. This ensures the shelf will be perfectly horizontal. Check the marks twice before drilling holes.
Align the shelf with the marks on the wall. Hold it up and make sure the edges match the level line. Adjust the position slightly if needed. This step prevents a crooked shelf.
Securing The Shelf
Drill holes at the marked points using the right drill bit for your wall type. Insert wall anchors if necessary for extra support. Screw in the hidden mounting hardware firmly but avoid over-tightening.
Slide the shelf onto the mounting hardware carefully. The hardware should fit snugly inside the shelf slots or holes. Press the shelf against the wall to secure it fully.
Checking Stability
Test the shelf by pressing down gently in different spots. It should not wobble or move. If it does, tighten the screws or check the anchors.
Place a few light items on the shelf first to ensure it holds weight well. Increase the load gradually to avoid damage. A stable shelf gives confidence for everyday use.
Decorating And Styling
Decorating and styling bracketless shelves brings personality to any room. These shelves offer a clean, modern look that highlights your favorite items. Thoughtful decoration makes the shelves stand out without cluttering the space.
Choosing the right objects and arranging them well creates visual balance. Mixing textures and colors adds interest. Leaving some empty space helps the shelves look neat and inviting.
Placing Decorative Items
Start with larger pieces like vases or books. Place them on the sides or in the center for stability. Add smaller items such as candles or picture frames around them. Use groups of odd numbers for a natural feel.
Mix materials like wood, glass, and metal. This contrast makes the display more attractive. Keep similar colors together to create harmony. Avoid overcrowding to keep the open look of bracketless shelves.
- Use plants to add freshness and color.
- Stack books horizontally and vertically for variety.
- Include personal items to reflect your style.
Maintenance Tips
Regular dusting keeps shelves clean and fresh. Use a soft cloth to avoid scratches. Check the shelf stability often to ensure safety. Avoid placing heavy items that could damage the shelves.
Keep the shelves dry to prevent warping. Clean spills immediately with a damp cloth. Rearrange items occasionally to prevent wear marks. These simple steps extend the life and beauty of your shelves.
Troubleshooting Common Issues
Building bracketless shelves can give your space a sleek and modern look, but sometimes things don’t go as planned. Troubleshooting common issues helps you save time and avoid frustration. Whether your shelf feels unstable or the wall looks worse for wear, addressing these problems early keeps your project on track and your walls looking great.
Fixing Wobbly Shelves
A wobbly shelf is not just annoying—it can damage your items and the wall. First, check if the shelf is properly anchored into studs or solid backing. Drywall anchors alone might not support the weight, causing movement.
If you notice slight movement, try tightening the screws or adding more support along the shelf’s length. Sometimes, uneven mounting surfaces create gaps that lead to wobbling. Use a level to ensure the shelf sits flat, and if needed, add thin shims behind the shelf for a snug fit.
Have you ever felt your shelf shift when placing a heavy object? This often means your mounting hardware isn’t strong enough. Switching to heavy-duty wall anchors or toggle bolts can make a big difference.
Dealing With Wall Damage
Drilling holes for bracketless shelves can sometimes damage your walls, leaving cracks or chipped paint. Don’t panic—small holes are easy to repair with spackle or wall filler. Apply it smoothly, let it dry, then sand it down before repainting.
If the wall surface crumbles or the drywall is too soft, reinforce the area by installing a backer board behind the shelf. This spreads the load and prevents further damage. It's a simple fix that protects your walls in the long run.
What if you accidentally drilled in the wrong spot? Use a patch kit for larger holes or place the shelf slightly away from the damaged area. Moving the installation point a few inches can save you from unnecessary repairs.
Credit: www.christeneholderhome.com
Frequently Asked Questions
What Materials Are Needed For Bracketless Shelves?
You need sturdy wood planks, wall anchors, screws, a drill, a level, and a stud finder. These materials ensure strong, secure, and stable bracketless shelves for your space.
How Do Bracketless Shelves Support Weight Without Brackets?
Bracketless shelves use hidden support systems or recessed wall mounts. These methods distribute weight evenly, providing a clean, minimalist look without visible brackets.
Can I Install Bracketless Shelves On Drywall Alone?
Drywall alone is not strong enough. Use wall anchors or find studs for secure installation. This prevents shelves from falling or damaging walls.
What Tools Are Essential For Making Bracketless Shelves?
Essential tools include a drill, level, stud finder, screwdriver, measuring tape, and pencil. These help ensure accurate, safe, and level installation of bracketless shelves.
Conclusion
Making bracketless shelves can save space and look neat. You only need a few tools and some patience. Follow the steps carefully to get strong, steady shelves. These shelves fit well in any room or style. They help keep your things organized and easy to reach.
Try this project to add simple, clean storage to your home. Enjoy your new shelves and the extra space they create.