Are you looking to transform your living space effortlessly? Floating shelves could be your perfect solution.
Not only do they offer a sleek and modern look, but they also maximize your space without the bulkiness of traditional shelving. Imagine showcasing your favorite books, plants, or decorative items in a way that feels almost magical, as if they're floating on air.
But how do you get them up on your walls securely and stylishly? That's what we're diving into today. By the end of this guide, you’ll have the confidence and know-how to fit floating shelves like a pro, enhancing your home’s aesthetics and functionality. So, are you ready to make your walls pop? Let’s get started!
Tools And Materials Needed
Preparing to fit floating shelves requires gathering the right tools and materials. This ensures a smooth and secure installation. Using proper equipment saves time and avoids damage to walls. Understanding what you need helps to plan the project well.
Essential Tools
- Drill with different bits for screws and anchors
- Level to keep shelves straight
- Measuring tape for accurate placement
- Pencil to mark drilling spots
- Screwdriver or electric driver for screws
- Stud finder to locate wall studs
- Hammer for tapping in anchors
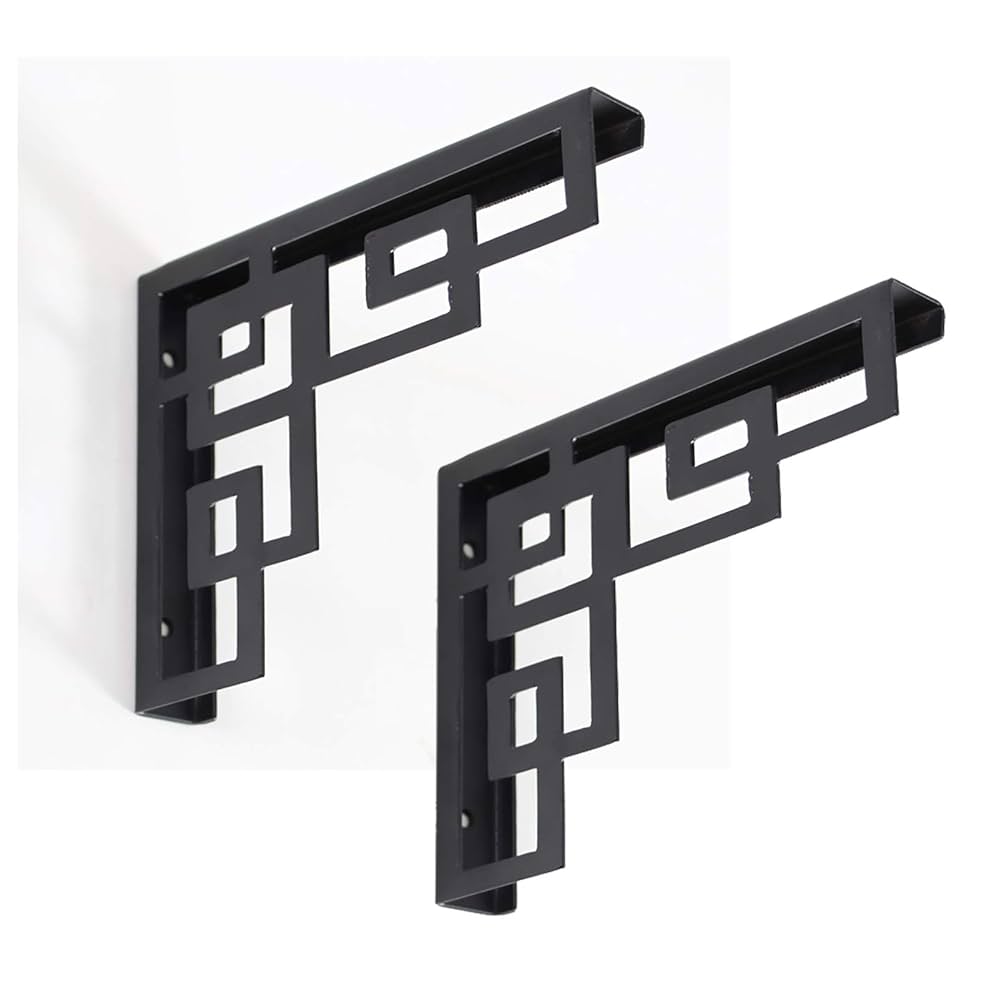
Choosing The Right Shelves
Pick shelves that fit your space and style. Consider material such as wood, metal, or glass. Check the weight capacity to match what you plan to store. Shelves with hidden brackets provide a clean floating look. Size matters; measure the wall before buying.
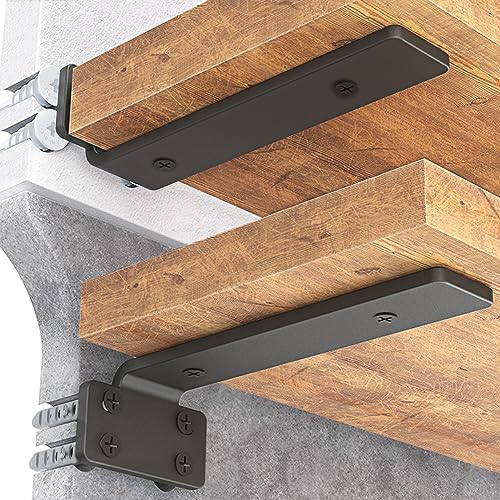
Wall Anchors And Brackets
Select wall anchors based on your wall type—drywall, plaster, or brick. Use heavy-duty anchors for heavier shelves. Brackets must support the shelf’s weight safely. Some shelves come with custom brackets for easy fitting. Always match anchors and brackets for a secure hold.

Credit: www.youtube.com
Preparing The Wall
Preparing the wall properly is key to ensuring your floating shelves stay secure and look great. Skipping or rushing this step can lead to unstable shelves and potential damage to your wall. Taking time to prepare means your shelves will hold weight safely and last longer, giving you peace of mind.
Finding Studs
Studs are the wooden or metal supports inside your wall that provide the strongest anchor points. You’ll want to locate these to securely attach your floating shelves. Using a stud finder is the easiest way—slide it across the wall until it beeps or lights up, indicating a stud.
If you don’t have a stud finder, try tapping the wall lightly and listen for a solid sound instead of a hollow one. You can also look for electrical outlets or switches, which are usually mounted on the side of a stud. Mark the edges of the stud with a pencil to know where to drill.
Measuring And Marking
Accurate measurements make all the difference in how your shelves look and function. Measure the width of the shelf and decide where you want it to sit on the wall. Use a pencil to mark the exact points where the brackets or mounting hardware will go.
Double-check your measurements before drilling. Imagine the shelf’s weight and what you plan to place on it—this can help you decide the best spot to fix the brackets. Precise marks save you from unnecessary holes and uneven shelves.
Checking For Level
Even a slight tilt can ruin the look and function of your floating shelves. Use a spirit level to check that your marked points are perfectly horizontal. Place the level along the marks and adjust until the bubble is centered.
If you don’t have a level, a smartphone app can work as a handy substitute. Taking this extra minute ensures your shelves will sit straight and items won’t slide off. Would you want your new shelves to lean or hold your favorite books crookedly?
Installing The Brackets
Installing the brackets is a crucial part of fitting floating shelves. It sets the foundation for the shelf's strength and durability. If the brackets aren’t properly secured, the whole shelf can become unstable and unsafe.
Drilling Pilot Holes
Start by marking the exact spots where the brackets will attach to the wall. Use a pencil and a level to ensure your marks are even. Drilling pilot holes before inserting screws helps prevent the wall from cracking and guides the screws straight in.
Choose a drill bit slightly smaller than your screws for the pilot holes. This creates a tight grip for the screws and reduces the chance of the wall material breaking. Have you noticed how much easier it is to screw in without forcing the drill?
Securing Brackets To Wall
Once the pilot holes are ready, align the brackets with the holes. Use a screwdriver or drill to drive the screws firmly into the wall. If you’re attaching to drywall, make sure to use wall anchors or find studs for extra support.
Pay attention to the type of screws and anchors you use. Heavy shelves require heavy-duty anchors. Have you checked whether your wall is drywall, plaster, or concrete? Each needs a different approach.
Ensuring Stability
After securing the brackets, give them a gentle shake to test stability. The brackets should feel rock solid without any wiggle. If they move, double-check the screws and anchors, and tighten or reposition as needed.
Remember, floating shelves carry weight, so stability isn’t optional—it’s essential. Think about what you'll place on the shelves and make sure the brackets can handle it. Would you trust your favorite book collection or fragile decor on a shaky shelf?

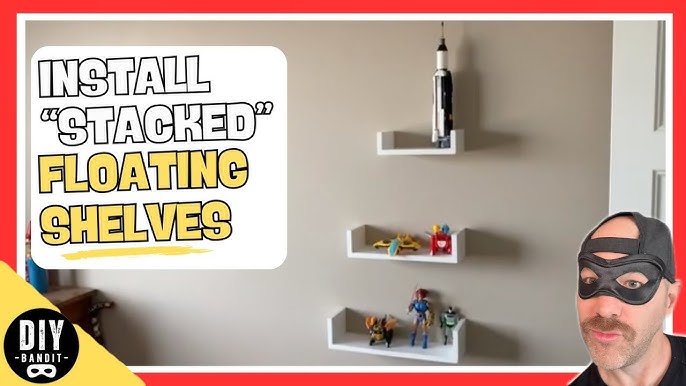
Credit: www.youtube.com
Mounting The Shelves
Mounting floating shelves properly is key to ensuring they hold weight securely and look clean on your walls. It’s not just about placing the shelf; it’s about sliding, adjusting, and firmly securing it to guarantee stability. Let’s break down these essential steps to help you achieve a flawless installation that lasts.
Sliding Shelves Onto Brackets
Start by aligning the shelf with the metal or wooden brackets fixed on your wall. Gently slide the shelf onto these brackets, making sure it fits snugly without forcing it. If you feel resistance, check that the brackets are level and correctly spaced; this prevents damage to both the shelf and the wall.
Have you noticed some shelves come with pre-cut holes or channels? These guide the shelf onto the brackets and make sliding easier. Taking your time here can save you from uneven shelves and extra adjustments later.
Adjusting Position
Once the shelf is on the brackets, step back and evaluate its position. Is it perfectly horizontal? Is it aligned with other shelves or furniture in the room? Small adjustments now prevent future frustrations and ensure your shelf looks intentional and balanced.
You can use a spirit level or even a smartphone app to check the alignment precisely. Don’t rush—sometimes shifting the shelf just a few millimeters makes all the difference in appearance and function.
Securing Shelves In Place
Securing the shelf is your final step to prevent any wobbling or accidental slips. Many floating shelves come with small screws or locking mechanisms that you can tighten once the shelf is positioned correctly. Use a screwdriver or drill to fasten these securely, but avoid overtightening which could crack the shelf.
If your shelf lacks built-in locks, consider using clear adhesive pads or brackets underneath for extra support. This extra step can be a lifesaver if you plan to place heavier items on the shelf. How confident are you that your shelves can hold your favorite books or decor without slipping?
Finishing Touches
Finishing touches bring your floating shelves to life. They make shelves look neat and complete. Small details can change the whole look of your wall.
Hiding Brackets
Brackets can spoil the clean look of floating shelves. Use paint that matches the wall color to cover them. Another option is to use decorative covers. These covers blend the brackets with the shelf design. Choose covers that are slim and simple.
Touching Up Paint
Drill holes or marks may appear after fitting shelves. Use a small brush to fix these spots. Match the paint color to the wall exactly. Apply paint gently to avoid lumps. Let the paint dry fully before adding items on shelves.
Styling Your Shelves
How you place items affects the shelf’s appeal. Mix books, plants, and small decorations for balance. Use different heights and shapes to create interest. Leave some space to avoid clutter. Change items seasonally to keep the look fresh.

Credit: shelfology.com
Common Mistakes To Avoid
Floating shelves add style and storage to any room. Yet many face common problems during installation. Avoid these mistakes to ensure your shelves stay secure and look great.
Ignoring Wall Type
Different walls need different anchors. Drywall alone cannot hold heavy shelves. Brick and concrete require special tools. Know your wall type before drilling. Use the right fixings to keep shelves safe.
Overloading Shelves
Shelves have weight limits. Putting too many items causes shelves to bend or fall. Check the manufacturer's weight capacity. Spread items evenly to avoid stress on brackets. Keep heavy things off floating shelves.
Skipping Level Checks
A crooked shelf looks unprofessional and can cause items to slide off. Always use a spirit level during installation. Check the shelf’s position before fixing it firmly. Small adjustments make a big difference in appearance.
Frequently Asked Questions
How Do I Install Floating Shelves Securely?
Use wall anchors or screws into studs for strong support. Measure and level carefully before drilling. Proper mounting ensures shelves hold weight safely.
What Tools Are Needed To Fit Floating Shelves?
You need a drill, level, measuring tape, pencil, stud finder, and screwdriver. These tools help ensure accurate and secure shelf installation.
Can Floating Shelves Hold Heavy Items Safely?
Yes, if mounted on wall studs or with strong anchors. Check weight limits of brackets and shelves before placing heavy objects.
How Do I Find Studs For Floating Shelves?
Use a stud finder or tap the wall to locate studs. Mark their position to ensure secure shelf mounting for better support.
Conclusion
Fitting floating shelves can improve any room’s look and space. Measure twice, drill carefully, and use the right tools. Choose the right wall and anchors for safety. Take your time and follow each step clearly. Enjoy a neat, stylish shelf that holds your items well.
Small effort brings big changes to your home. Try it yourself and see the difference. Simple projects can make rooms feel fresh and organized. Keep practicing to get better each time. Your space will thank you.