

Are you tired of wobbly wooden joints and unreliable fixes? If you're in search of a strong, dependable solution for bonding wood to wood, you're in the right place.
Choosing the right adhesive can transform your DIY projects, ensuring durability and precision every time. Imagine the satisfaction of seeing your creations stand the test of time with seamless, sturdy connections. We'll explore the best adhesives available, empowering you to make informed choices for your woodworking needs.
Get ready to unlock the secrets to perfect wood bonding, and take your projects to the next level of quality and craftsmanship.

Credit: jeffmacksupply.com
Types Of Wood Adhesives
Choosing the right adhesive for wood-to-wood bonding can make or break your project. Different adhesives offer varying strengths, drying times, and resistance to moisture or heat. Understanding these types helps you pick the best glue that fits your woodworking needs and ensures a durable, long-lasting bond.
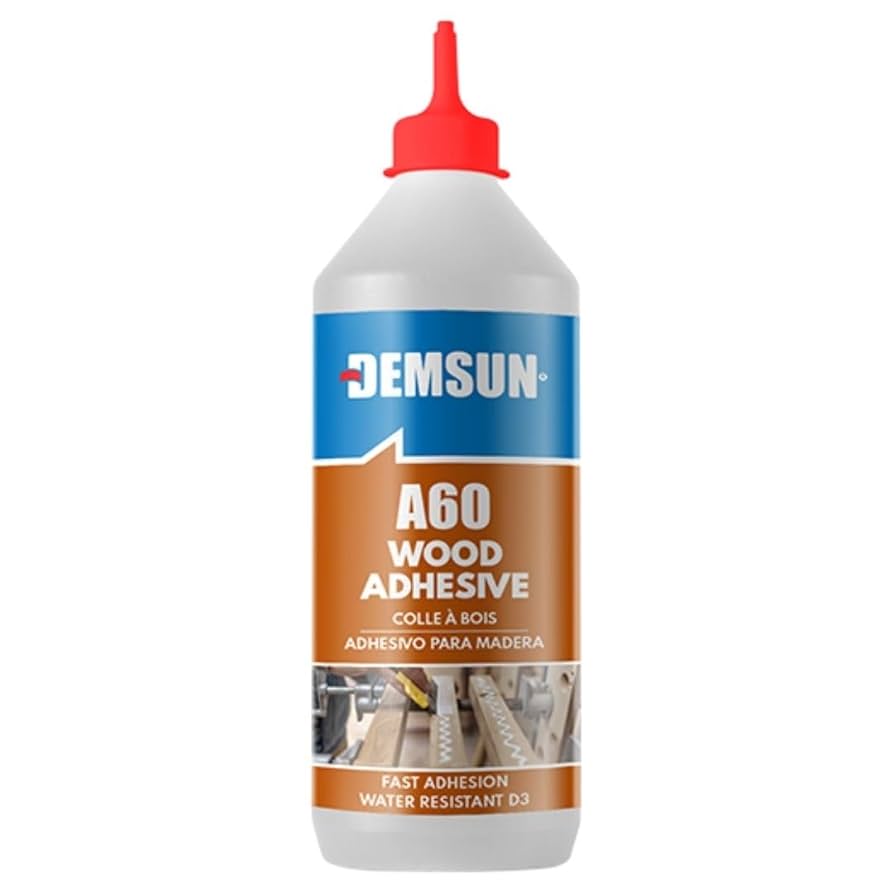
Pva Glue
PVA (Polyvinyl Acetate) glue is a popular choice for many woodworkers. It’s easy to use, dries clear, and provides a strong bond for indoor projects. You might have used white school glue as a kid—PVA glue works similarly but is much stronger and designed specifically for wood.
Epoxy Resin
Epoxy resin is a two-part adhesive that you mix before application. It offers excellent strength and is water-resistant, making it ideal for outdoor or heavy-duty projects. If you need to fill gaps or bond uneven surfaces, epoxy’s thick consistency can be a lifesaver.
Polyurethane Adhesive
This adhesive expands as it cures, which helps it fill cracks and create a tight seal. It’s waterproof and works well on different materials, including wood. Keep in mind, polyurethane glue requires clamping and can be messy, so prepare your workspace carefully.
Hide Glue
Hide glue is a traditional adhesive made from animal collagen. It’s reversible with heat and moisture, allowing woodworkers to make repairs or adjustments later. If you work on antique furniture or need a glue that won’t interfere with finishes, hide glue might be your best friend.
Cyanoacrylate (ca) Glue
Also known as super glue, CA glue bonds wood very quickly. It’s perfect for small repairs or when you need an instant hold. However, it isn’t ideal for large surfaces because it can become brittle over time and lacks gap-filling capabilities.
Choosing The Right Adhesive
Choosing the right adhesive for wood to wood projects can make all the difference in the strength and longevity of your work. Not all glues are created equal, and selecting the best one depends on where and how you plan to use it. Understanding key factors like environment, drying time, and wood type compatibility will help you avoid common mistakes and achieve professional results.
Indoor Vs Outdoor Use
Think about where your wood project will live. Indoor adhesives usually focus on smooth finishes and quick bonding, while outdoor adhesives need to resist moisture, temperature changes, and UV rays.
If you’re building a garden bench or a birdhouse, look for waterproof or weather-resistant glues. For indoor furniture or crafts, a simple PVA wood glue often works well and is easy to clean up.
Drying Time Considerations
How fast do you want your project to be ready? Some adhesives set within minutes but may require clamping to hold the bond strong. Others take longer to dry but allow more time for adjustments.
Quick-drying glues are great for small repairs or crafts, but for larger pieces, a slower drying adhesive might prevent mistakes. Have you ever rushed a project only to see the bond fail later? Choosing the right drying time can save you from that frustration.
Strength And Durability
Not every wood glue is built for heavy loads or constant stress. Consider what your project will endure—will it hold weight, face impact, or flex with movement?
Epoxy adhesives offer exceptional strength for structural joints, while traditional yellow wood glue works well for general use. Don’t overlook durability; a strong bond now means less maintenance down the road.
Wood Type Compatibility
Different woods have unique textures and moisture content that affect adhesion. Softwoods absorb glue differently than hardwoods, influencing how well the adhesive performs.
Test the glue on a scrap piece if you’re using exotic or oily woods like teak or cedar. Matching the adhesive to the wood type ensures a secure bond and a clean finish every time.
Preparing Wood Surfaces
Preparing wood surfaces is essential for a strong bond with adhesive. Proper preparation ensures better glue penetration and lasting joints. It also prevents weak spots and gaps that cause failure. Follow these key steps to ready your wood for gluing.
Cleaning And Sanding
Remove dirt, dust, and grease from the wood surface. Use a clean cloth or brush for cleaning. Sand the wood lightly with fine-grit sandpaper. This creates a smooth, even surface and opens wood pores for better glue grip. Avoid over-sanding, which can weaken the wood.
Moisture Content
Check the wood’s moisture level before applying adhesive. Wood should be dry but not too dry. Ideal moisture content is between 6% and 12%. Too much moisture weakens glue bonds. Use a moisture meter for accurate reading. Let wood acclimate to the room’s humidity if needed.
Surface Fit And Alignment
Ensure wood pieces fit tightly without gaps. Test the fit by clamping pieces together before gluing. Adjust edges by sanding or trimming for perfect alignment. Good fit prevents glue squeeze-out and weak joints. Proper alignment helps distribute glue evenly and strengthens the bond.
Application Techniques
Applying adhesive for wood to wood joints effectively is key to building strong, lasting projects. The way you apply glue influences how well your pieces bond and how clean your finished work looks. Paying attention to small details during application can save you from costly mistakes and extra sanding later on.
Glue Application Methods
Choosing the right glue application method depends on the type of wood and the project size. You can use a brush to spread glue evenly on large surfaces or a roller for quick coverage. For smaller joints, a glue bottle with a precision tip helps you apply the right amount without waste.
Some woodworkers prefer using a glue spreader or a small piece of scrap wood to distribute glue evenly. This prevents glue pooling, which weakens the bond and creates a mess. Remember, a thin, even layer usually works better than thick blobs of glue.
Clamping Tips
Clamping your glued wood pieces properly is essential for a tight bond. Use clamps that fit the size of your project to apply steady pressure without damaging the wood. Tighten clamps just enough to close the gap but not so much that glue squeezes out excessively.
Place wax paper or scrap wood between clamps and your project to avoid marks. If you only have one clamp, reposition it along the joint every 10-15 minutes to maintain even pressure. Have you ever noticed how uneven clamping leads to weak spots in your joints? Consistency matters.
Avoiding Common Mistakes
Applying too much glue can cause longer drying times and a weaker bond because excess glue doesn’t cure properly. On the other hand, too little glue leaves gaps and weak points. Aim for a thin, consistent layer that covers the entire joint surface.
Another mistake is not cleaning the wood surfaces before gluing. Dust, dirt, or oil can prevent good adhesion. Always sand and wipe your wood pieces before applying glue to ensure a solid connection.
Have you ever tried to separate glued wood too early? Patience is key—allow the glue to fully cure before removing clamps or stressing the joint. Rushing this step can undo all your careful work.
Curing And Drying Times
Understanding the curing and drying times of adhesive for wood to wood is essential for any woodworking project. These times determine how long you need to wait before handling or applying stress to the joint. Rushing this process can weaken the bond and ruin your hard work.
Factors Affecting Cure Time
Cure time can vary widely depending on several key factors. Temperature plays a big role—warmer conditions speed up curing, while cold slows it down. Humidity also affects drying; high moisture in the air can extend the time needed for the adhesive to set.
The type of wood matters too. Dense hardwoods absorb less glue and might take longer to cure compared to softer woods that soak up the adhesive quickly. The amount of glue applied influences curing as well; too much glue means more time for excess moisture to evaporate.
Testing Joint Strength
You can’t just guess when your glued wood pieces are ready to handle. A simple way to test joint strength is to apply light pressure after the recommended drying time. If the bond holds firm without any movement, you’re likely good to go.
For more precision, try gently tapping or flexing the joint. If you notice any creaking or separation, wait longer before putting the joint under stress. Have you ever had a project fail because you didn’t wait long enough? It’s a common mistake that teaches the value of patience.
Post-cure Treatments
Once the adhesive is fully cured, some extra steps can boost your joint’s durability. Light sanding around the glued area can smooth out any excess glue and prepare the surface for finishing. Applying a finish like varnish or paint helps protect the wood and glue from moisture and wear.
In certain cases, clamping the joint during curing improves the bond strength. After removing clamps, avoid heavy loads immediately—let the joint settle fully. What post-cure routine do you follow to ensure your wood joints last?

Credit: www.homehardware.ca
Repairing Wood Joints
Repairing wood joints restores strength and extends furniture life. Proper repair keeps wood pieces tightly connected. The right adhesive and method ensure lasting bonds.
Removing Old Adhesive
Start by softening old glue with warm water or heat. Use a scraper or putty knife to gently lift the softened adhesive. Sand the joint surfaces to remove residue and create a clean area. Clean dust and debris with a damp cloth before applying new glue.
Re-gluing Techniques
Apply wood glue evenly on both surfaces for a strong bond. Press the pieces together firmly and clamp them tightly. Keep clamps in place for the recommended drying time. Wipe away excess glue quickly to avoid stains. Use a slow-drying glue for large joints for better adjustment.
Reinforcement Options
Strengthen repaired joints with dowels, screws, or biscuits. These support the glue and prevent movement. Drill pilot holes before inserting screws to avoid splitting. Use corner brackets for extra stability in heavy furniture. Reinforcement extends joint life and improves durability.
Safety And Storage
Handling adhesives for wood to wood bonding requires attention not just to the application but also to how you manage their safety and storage. Improper handling can cause health risks and reduce the adhesive's effectiveness. Knowing how to store and dispose of these products correctly helps protect both you and the environment.
Handling Adhesives Safely
Always work in a well-ventilated area to avoid inhaling fumes. Wear gloves to protect your skin from irritation or allergic reactions. Avoid direct contact with eyes by wearing safety goggles, especially when using strong adhesives like epoxy or polyurethane.
Think about the last time you accidentally spilled glue on your hands—did you wash it off immediately? Quick action prevents long-term damage. Keep adhesives away from children and pets, and never eat or drink around your work area to prevent accidental ingestion.
Storage Tips For Longevity
Store adhesives in a cool, dry place to maintain their bonding power. Extreme heat or cold can change their consistency and make them unusable. Keep containers tightly sealed to prevent air exposure, which can cause the glue to dry out or thicken.
Label your adhesives with the date you opened them. This simple step helps you track freshness and avoid using expired products. Have you ever opened a bottle only to find it clumpy or unusable? Proper storage prevents this frustration and saves money.
Disposal Guidelines
Never pour leftover adhesives down the drain or into the trash without checking local regulations. Many adhesives contain chemicals harmful to water systems and wildlife. Instead, let small amounts dry out completely before disposing of them with regular waste.
For larger quantities, take them to a hazardous waste disposal facility. Some hardware stores offer take-back programs for unused adhesives. Ask yourself—are you disposing of your adhesives responsibly or risking environmental damage?

Credit: www.homehardware.ca
Frequently Asked Questions
What Is The Best Adhesive For Wood To Wood Bonding?
The best adhesive for wood to wood is PVA glue, also known as wood glue. It dries clear and forms a strong bond.
How Long Does Wood Glue Take To Dry?
Wood glue typically takes 30 minutes to set and 24 hours to fully cure for maximum strength.
Can Epoxy Be Used To Glue Wood To Wood?
Yes, epoxy works well for wood to wood bonding. It offers a strong, durable, and water-resistant bond.
Is Super Glue Effective For Wood Joints?
Super glue bonds wood quickly but may not be as strong or flexible as wood glue for larger joints.
Conclusion
Choosing the right adhesive helps your wood projects last longer. Strong bonds keep pieces tightly joined and stable. Easy-to-use glues save time and effort. Always clean surfaces before applying glue for best results. Let the glue dry fully to ensure a firm hold.
Using the proper adhesive makes woodworking simpler and more fun. Trust the glue to keep wood parts together well. Small details like this make big differences in your work.

