

If you’re tired of digging through piles of tools or losing track of your favorite screwdriver, building your own tool storage cabinet could be the game-changer you need. Imagine having a dedicated, organized space where every tool has its place—easy to find and ready when you are.
With a book on how to build a tool storage cabinet, you’ll get step-by-step guidance to create a sturdy, efficient cabinet tailored to your needs. By the end, you’ll not only have a practical storage solution but also the pride of building it yourself.
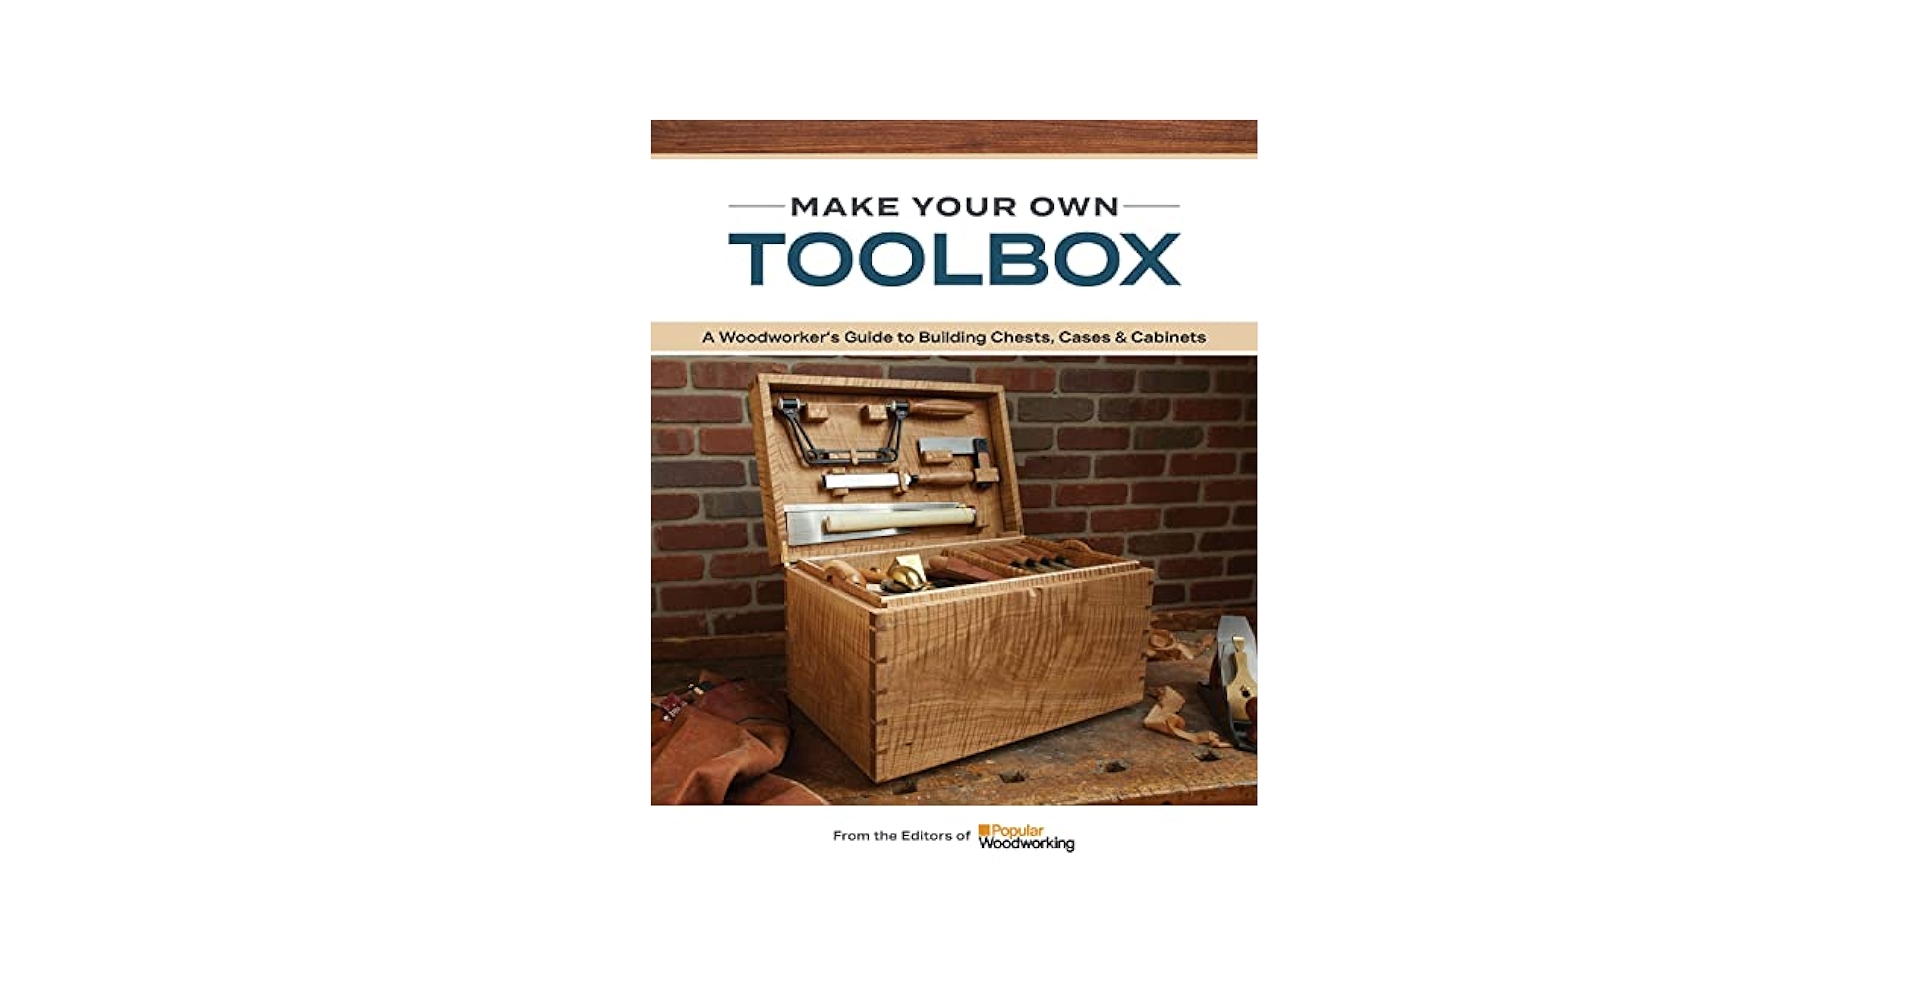
Ready to turn your clutter into order? Let’s get started.

Credit: lostartpress.com
Planning Your Cabinet
Planning your tool storage cabinet is the key to success. It ensures your cabinet meets your needs and fits your workspace. Careful planning saves time and materials later.
Start by thinking about what tools you need to store. Consider how much space you have. Think about the cabinet's durability and style. This will guide your choices in materials, size, and layout.
Choosing The Right Materials
Select materials that are strong and last long. Wood is classic and easy to work with. Plywood offers good strength and smooth surfaces. Metal adds durability but is harder to cut.
Consider moisture and dust in your workspace. Choose materials that resist damage. Good finishes protect the cabinet and keep tools safe.
Determining Dimensions
Measure your workspace carefully. Note the height, width, and depth limits. Your cabinet must fit without blocking paths.
Think about the size of your tools. Leave extra room for larger items. Plan for future tool additions too. Balance storage space with room to move.
Designing Storage Layout
Organize tools by type and size. Group frequently used items for easy reach. Use shelves, drawers, and hooks for variety.
- Shelves for power tools and boxes
- Drawers for small hand tools and parts
- Hooks for hanging cords and tape
Plan spaces for labels or clear bins. This keeps tools visible and tidy. A well-designed layout speeds up work and reduces clutter.
Gathering Tools And Supplies
Gathering the right tools and supplies is the first step in building a tool storage cabinet. Having everything ready saves time and avoids frustration during the project. It also ensures the cabinet is sturdy and well-built. Below are key items needed for this task.
Essential Tools
- Measuring tape for accurate dimensions
- Power drill for creating holes and driving screws
- Saw (circular or handsaw) to cut wood pieces
- Screwdriver set for various screw heads
- Clamps to hold parts in place during assembly
- Level to ensure surfaces are even
- Hammer for nails or adjusting pieces
- Pencil for marking measurements
Hardware And Fasteners
- Wood screws in different lengths
- Nails for additional support
- Hinges for cabinet doors
- Handles or knobs for easy access
- Wood glue to strengthen joints
- Brackets or corner braces for extra stability
Safety Equipment
- Safety goggles to protect eyes from dust and debris
- Work gloves to prevent splinters and cuts
- Dust mask to avoid inhaling sawdust
- Ear protection if using loud power tools
- Proper clothing to avoid loose sleeves near tools
Preparing The Workspace
Preparing your workspace is the foundation of building a tool storage cabinet efficiently. It shapes how smoothly your project flows and affects the quality of your work. Taking time to organize and set up the right environment can save you hours of frustration and mistakes.
Setting Up A Work Area
Choose a space with enough room to move around comfortably. You need space not just for the cabinet materials but also for tools, assembly, and finishing touches.
Clear out clutter and make sure there is good lighting. Natural light works best, but if that’s not possible, add bright work lamps to avoid shadows on your project.
Think about ventilation too, especially if you plan to use paints or finishes. A garage with open doors or a well-ventilated workshop is ideal.
Organizing Materials
Sort all your materials before you begin. Group screws, nails, wood pieces, and hardware separately. This prevents scrambling for parts mid-project.
Use small containers or labeled boxes to keep everything visible and accessible. I once lost half an hour searching for a specific screw because I didn’t organize ahead — it’s a waste you can avoid.
Lay out your tools nearby, but not in the way. Your drill, hammer, measuring tape, and clamps should be within arm’s reach to keep your workflow steady.
Ensuring Safety
Safety goggles and gloves should be your first gear. Protect your eyes from flying debris and your hands from splinters or sharp edges.
Check your tools before use to ensure they are in good condition. A dull blade or loose handle can lead to accidents.
Keep a first-aid kit close by and have a fire extinguisher ready if you’re working with power tools or flammable finishes. Are you prepared to handle small emergencies without panic?
Cutting And Assembling Panels
Cutting and assembling panels is a key part of building a tool storage cabinet. This stage shapes the cabinet's structure and ensures stability. Precise cutting and strong joints create a sturdy, functional cabinet. Careful preparation reduces mistakes and saves time.
Measuring And Marking
Accurate measurements are the foundation of panel cutting. Use a tape measure and pencil for clear, straight lines. Double-check each measurement before marking. Mark all edges clearly to avoid confusion. Use a square tool to keep lines at right angles. Proper marking helps achieve perfect panel sizes.
Cutting Techniques
Choose the right saw for clean, straight cuts. A circular saw works well for large panels. Use a fine-tooth blade to reduce splintering. Cut slowly and steadily to keep control. Clamp panels firmly to avoid movement during cutting. Sand edges lightly after cutting for a smooth finish.
Joining Panels
Strong joints hold the cabinet together securely. Use wood glue along edges before joining panels. Reinforce joints with screws or nails for extra strength. Countersink screws to prevent surface damage. Use clamps to hold panels tightly until glue dries. Check alignment often to keep panels square.
Building The Frame
Building the frame sets the foundation for a sturdy tool storage cabinet. Careful measuring and cutting of wood ensure all parts fit perfectly. Strong joints keep the cabinet stable and ready for use.
Building a tool storage cabinet begins with crafting a sturdy frame. This is the backbone of your cabinet. A well-built frame ensures your tools are safe and organized. Let's dive into the essential steps.
Constructing The Base
Start by measuring the area for the base. Use strong wood like plywood or MDF. Cut the pieces according to your measurements. Assemble them with screws for a solid foundation. Ensure the base is level and stable. This will support the entire cabinet structure.
Adding Support Structures
Next, add support beams to the base. These beams provide extra strength to the cabinet. Attach vertical supports at each corner. Use brackets for more stability. Check the alignment frequently. This step prevents the cabinet from wobbling.
Securing The Frame
Finally, secure the frame with additional crossbars. These crossbars connect the vertical supports. They keep the frame from twisting. Use clamps to hold pieces in place while screwing. Double-check all connections for tightness. A secure frame means your cabinet will last longer.
Installing Shelves And Drawers
Installing shelves and drawers is a key part of building a tool storage cabinet. It organizes your tools and makes them easy to reach. Proper installation ensures strength and smooth use. This section guides you through shelf placement, drawer assembly, and hardware installation.
Shelf Placement Tips
Place shelves based on the size of your tools. Leave enough space for tall items. Measure twice before fixing shelves. Use a level to keep shelves straight. Adjust shelf height for flexibility. Strong shelves support heavy tools safely.
Drawer Assembly
Start by assembling the drawer box with screws or nails. Use wood glue for extra strength. Sand the edges to avoid splinters. Attach the drawer bottom firmly. Check that corners are square. Test the drawer for smooth movement before installation.
Hardware Installation
Choose sturdy slides for easy drawer movement. Attach slides to the drawer and cabinet sides. Align hardware carefully to avoid sticking. Use screws that fit well and hold tight. Install handles or knobs last. Check all hardware moves smoothly without noise.
Adding Doors And Finishing Touches
Adding doors and finishing touches to your tool storage cabinet is where your project truly comes to life. This stage not only enhances the cabinet’s functionality but also gives it a polished, professional look. Paying close attention here can transform a simple storage solution into a centerpiece of your workspace.
Hinges And Handles
Choosing the right hinges and handles affects both the usability and style of your cabinet. Soft-close hinges can prevent slamming and extend the life of your doors, while sturdy handles make accessing tools quick and easy.
Think about your workflow: do you need large handles for quick grabs or discreet knobs for a sleek design? Installing hinges requires careful alignment—misaligned doors can cause frustration and damage over time. I once rushed this step, and the doors didn’t close properly until I readjusted every hinge, which taught me patience pays off.
Sanding And Painting
Sanding smooths out rough edges and prepares the surface for painting, ensuring a clean finish. Use fine-grit sandpaper and sand along the grain to avoid scratches.
Painting isn’t just about color—it protects your wood and makes cleaning easier. Choose a durable paint designed for wood, especially if your cabinet will see heavy use. Applying multiple thin coats works better than one thick coat, preventing drips and unevenness.
Protective Coatings
Adding a protective coating extends your cabinet’s life by shielding it from moisture, scratches, and stains. Polyurethane is a popular choice because it’s clear, durable, and easy to apply.
Consider your environment: if your workshop is humid, a waterproof sealant can save you from future damage. Applying the coating with a brush or cloth in thin, even layers lets you control the finish and avoid sticky spots. Have you thought about how a protective finish might change the texture or look of your cabinet?

Credit: www.amazon.co.uk
Maximizing Storage Efficiency
Building a tool storage cabinet helps save space and keeps tools organized. Smart design ideas make every inch useful and easy to access. Efficient storage means less clutter and faster work.
Maximizing Storage Efficiency Building a tool storage cabinet isn't just about creating a space to stash your tools. It's about maximizing storage efficiency to save you time and frustration. Imagine never having to rummage through a cluttered drawer again. It's achievable with a few strategic steps and insights.
Tool Organization Ideas
One of the best ways to start is by categorizing your tools by type or use. Grouping similar items together helps you know exactly where to reach when you need them. Consider hanging commonly used tools on pegboards for easy access. Additionally, using clear containers for smaller items can prevent chaos. Stackable bins or trays can make use of vertical space. Ask yourself, could this space be better utilized?
Labeling Systems
Labeling is a powerful yet often overlooked tool for maintaining order. Clear labels on drawers and shelves can save you precious minutes. Use a label maker or simple stickers to mark sections clearly. Think about color-coding for quick visual cues. For example, red labels for frequently used items, blue for seasonal tools. How much time could this save you in a year?
Custom Inserts
Custom inserts can transform your cabinet from cluttered to streamlined. Foam organizers can be cut to fit your specific tool shapes, preventing movement and damage. This is especially useful for delicate or precision tools. Additionally, adjustable dividers offer flexibility for growing collections. Tailor your storage to fit your needs exactly. Have you considered how a custom fit could protect your investments? By implementing these strategies, your tool storage cabinet can become a model of efficiency. With a little planning, you can create a space that works for you, not against you.
Maintaining Your Cabinet
Maintaining your tool storage cabinet is essential to keep it functional and looking good over time. A well-maintained cabinet not only protects your tools but also saves you money on repairs or replacements. Simple upkeep routines can extend the life of your cabinet and make your workspace more efficient.
Regular Cleaning
Dust and debris can quickly build up inside your cabinet, making it harder to find tools and potentially causing damage. Wipe down shelves and surfaces with a damp cloth every few weeks to keep everything clean. Use a vacuum with a brush attachment to remove dirt from corners and crevices.
Don’t forget to clean the exterior as well. A clean cabinet looks professional and helps you spot issues early, like rust or scratches. You might be surprised how much easier it is to maintain order when your cabinet is clean.
Checking For Wear
Look over your cabinet regularly for signs of wear such as loose hinges, sagging shelves, or rust spots. Pay attention to the handles and drawer slides because these parts get the most use and can fail without warning. Catching these issues early can prevent bigger problems later.
Ask yourself: Have you noticed any drawers sticking or doors not closing properly? These are clues that your cabinet needs some attention. A quick check every month or two can help you stay ahead of wear and tear.
Repairing Damage
Fix small problems as soon as you find them. Tighten loose screws, oil squeaky hinges, and sand down any rough edges. These small repairs keep your cabinet safe and functional.
If you see rust, treat it promptly with a rust remover and repaint the affected area to prevent it from spreading. Ignoring damage can lead to costly repairs or even the need to replace the entire cabinet.
Have you ever waited too long to fix a small issue only to find it got worse? Taking action early keeps your cabinet in top shape and your tools secure.

Credit: www.ebay.ca
Frequently Asked Questions
What Materials Are Best For Building A Tool Storage Cabinet?
Wood like plywood or MDF is ideal for durability and ease of customization. Metal can be used for added strength and longevity. Choose materials based on your tools' weight and workshop environment.
How Much Time Does It Take To Build A Tool Cabinet?
A basic tool storage cabinet can take 4-8 hours to build. Complex designs or added features like drawers may require more time. Planning and preparation can speed up the process.
What Essential Tools Are Needed For Building The Cabinet?
You’ll need a saw, drill, screws, measuring tape, and clamps. Sandpaper and wood glue are helpful for finishing touches. Having the right tools ensures a smooth and accurate build.
How Can I Customize My Tool Storage Cabinet?
Add adjustable shelves, drawers, or pegboards for better organization. Use labels and compartments to separate tools by type. Customization improves accessibility and maximizes storage space.
Conclusion
Building a tool storage cabinet saves space and keeps tools organized. The book guides you step-by-step, making the process simple. You learn to choose materials and use basic tools safely. This project suits beginners and helps improve your skills. A well-made cabinet lasts long and makes work easier.
Start your project today and enjoy a tidy workspace. Small efforts bring big benefits. Ready to build?

