

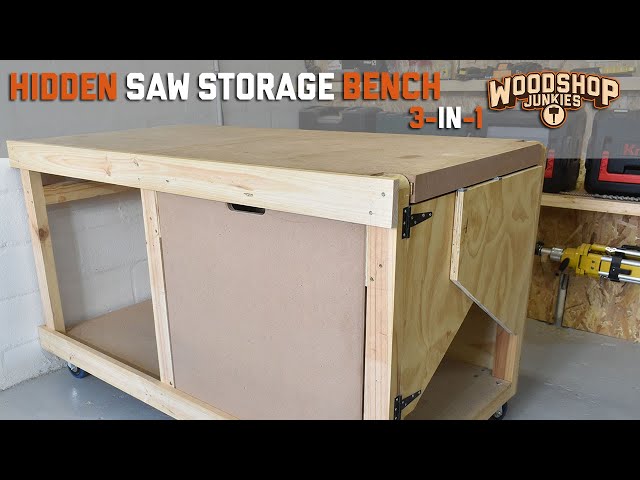
Are you tired of cluttered workspaces that slow you down? Learning how to build a workbench with storage can be a game-changer. Imagine having a sturdy surface to work on and smart storage built right in to keep your tools and materials organized.
A well-designed workbench with storage can transform your garage or workshop into a more efficient, enjoyable space. In this guide, you’ll discover simple, step-by-step instructions to help you create a custom workbench that fits your space and workflow—saving you time, effort, and frustration.
Ready to take control of your workspace and boost your productivity? Let’s get started.

Credit: medium.com
Choosing The Right Materials
Building a workbench with storage needs careful choice of materials. The right materials ensure strength and durability.
This guide covers wood types and the tools needed for the project. Select materials that fit your budget and skill level.
Selecting Wood Types
Wood is the main material for your workbench. Choose wood that is strong and easy to work with. Common options include pine, oak, and plywood.
- Pine:Affordable and easy to cut. Good for light use.
- Oak:Very strong and durable. Best for heavy-duty workbenches.
- Plywood:Stable and smooth surface. Use for shelves and storage.
- Maple:Hard and smooth. Great for a sturdy work surface.
Tools And Hardware Needed
| Tool/Hardware | Purpose |
| Saw | Cut wood to size |
| Drill | Make holes and drive screws |
| Screws and Nails | Hold parts together |
| Wood Glue | Strengthen joints |
| Sandpaper | Smooth rough edges |
| Measuring Tape | Measure dimensions accurately |
| Clamps | Hold pieces while gluing or screwing |
Planning Your Workbench Design
Building a workbench with storage starts with a clear plan. Good planning helps you create a sturdy and useful bench that fits your space and needs.
Focus on size, shape, and storage options before you begin. This will save time and materials later.
Determining Size And Dimensions
First, measure the area where you want to place your workbench. Think about how much room you need to work comfortably.
- Measure the length and width of your workspace.
- Decide the height based on your comfort, usually between 34 to 36 inches.
- Consider extra space for tools and materials.
- Leave room to move around the bench easily.
Incorporating Storage Options
Storage keeps your tools and supplies organized. Plan what types of storage you need before building.
| Storage Type | Use | Example |
|---|---|---|
| Drawers | Small tools and hardware | Hand tools, screws |
| Shelves | Larger items and boxes | Power tools, paint cans |
| Cabinets | Secure and hidden storage | Valuable or hazardous items |
| Pegboards | Easy access and display | Hammers, screwdrivers |
Cutting And Preparing Components
Building a workbench with storage needs careful cutting and preparation. This ensures all parts fit well and the bench is strong.
Take your time to measure and cut precisely. Good preparation saves effort during assembly.
Measuring And Marking
Measure your wood pieces twice to avoid mistakes. Mark cutting lines clearly with a pencil or chalk.
- Use a tape measure for accuracy
- Mark edges with a square tool
- Draw straight lines with a ruler
- Label each piece to know its place
- Check measurements before cutting
Safe Cutting Techniques
Cut wood pieces on a stable surface. Wear safety glasses and keep your hands clear of blades.
| Safety Tip | Explanation |
| Wear Safety Glasses | Protect eyes from flying debris |
| Use Sharp Blades | Make cleaner cuts and avoid slips |
| Clamp Wood | Hold pieces steady to prevent movement |
| Cut Slowly | Maintain control and accuracy |
| Keep Hands Away | Stay clear of cutting path |
Credit: www.makergray.com
Assembling The Frame
Building a strong frame is key for a solid workbench. The frame holds everything together and supports weight.
This section explains how to join legs and supports and how to keep the frame stable and level.
Joining Legs And Supports
Start by cutting the legs and supports to the right size. Use wood screws or bolts to join them.
- Attach the legs to the side supports with screws.
- Use wood glue on joints for extra strength.
- Check that all corners are square before tightening.
- Add cross supports for better rigidity.
Ensuring Stability And Leveling
A stable frame prevents wobbling and keeps your workbench safe. Use these tips to level the frame.
| Task | How to Do It |
| Check for wobble | Gently rock the frame and find loose joints |
| Tighten connections | Use a screwdriver or wrench on all screws and bolts |
| Level the frame | Use a carpenter’s level on top of the frame |
| Adjust legs | Shim or trim legs to fix uneven height |
Building The Work Surface
The work surface is the most important part of your workbench. It needs to be strong and smooth for all your projects.
Choosing the right materials and attaching the top properly will make your workbench last a long time.
Attaching The Top
Start by selecting a sturdy board like plywood or hardwood for the top. Make sure it is flat and cut to size.
Secure the top to the base with screws or bolts. Use clamps to hold it steady while you work.
- Place the top on the base evenly
- Mark screw locations along the frame
- Pre-drill holes to avoid splitting wood
- Use wood screws that are long enough
- Tighten screws evenly around the surface
Adding Surface Protection
Protect the work surface with a finish or cover. This helps it resist damage from tools and spills.
| Protection Type | Benefits | Notes |
| Polyurethane Finish | Water and scratch resistant | Apply multiple coats |
| Laminated Cover | Easy to clean and replace | Glue firmly to surface |
| Rubber Mat | Cushions tools and materials | Non-permanent, easy to remove |

Credit: www.familyhandyman.com
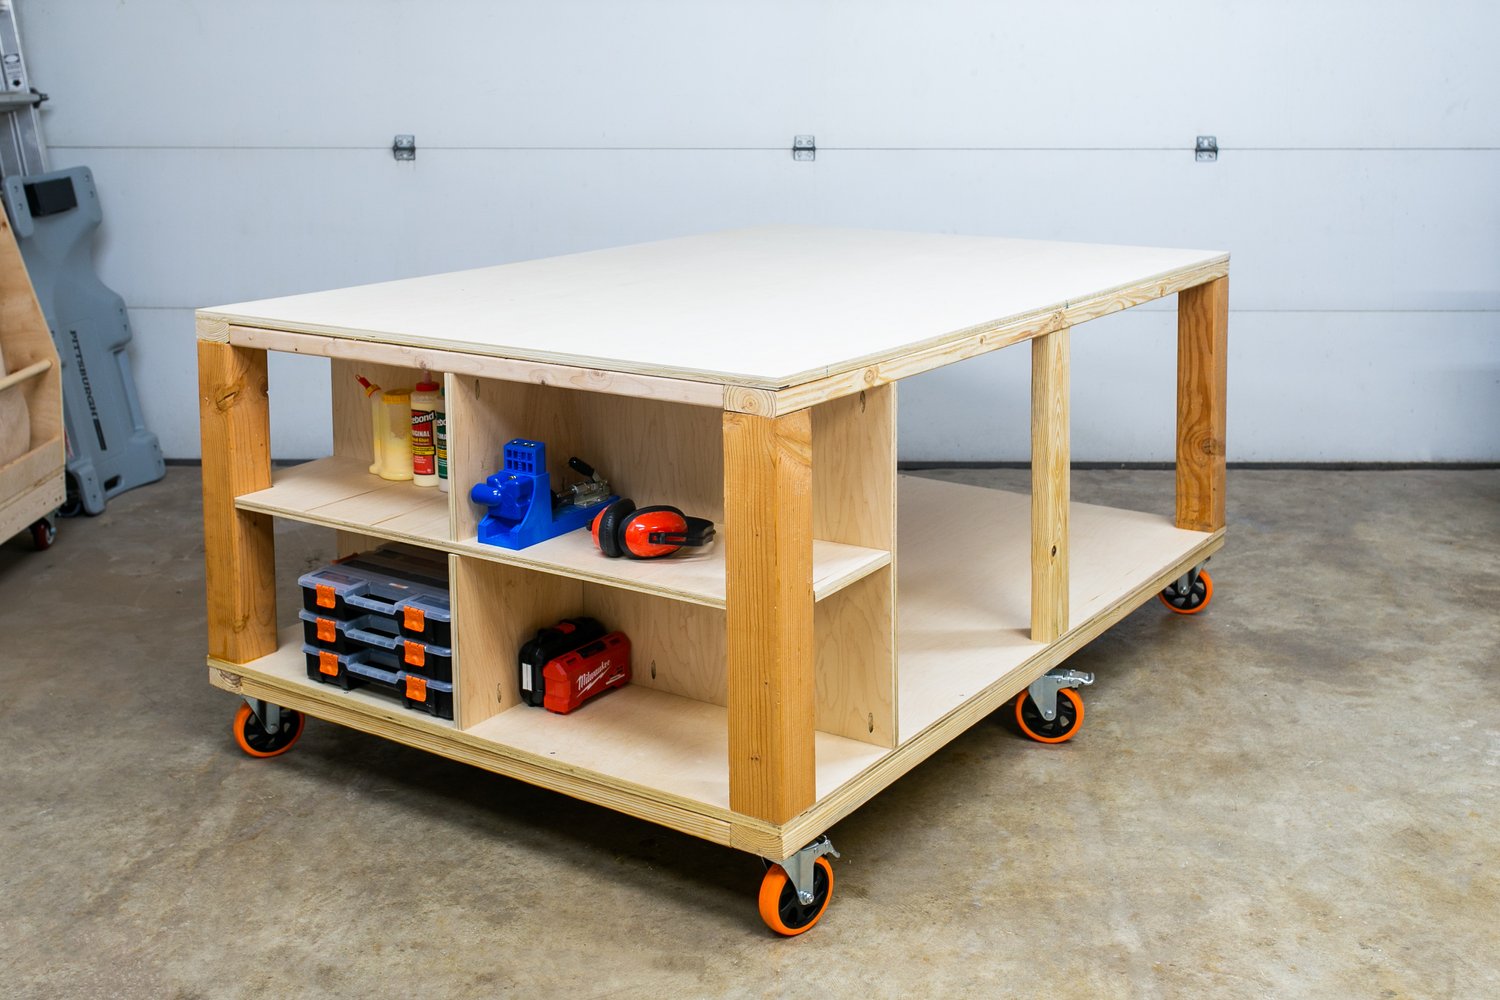
Creating Storage Features
Adding storage to your workbench helps keep tools and materials organized. It also makes your workspace cleaner and easier to use.
This guide covers ways to install shelves and drawers, plus how to use pegboards and hooks for more storage options.
Installing Shelves And Drawers
Shelves and drawers provide hidden and open storage. You can store big and small items safely and access them quickly.
- Measure the space under or above your workbench where shelves or drawers will fit.
- Cut wood pieces to size for shelf boards or drawer parts.
- Attach shelf brackets firmly to the workbench frame.
- Assemble drawers using screws and wood glue for strength.
- Install drawer slides so drawers open smoothly.
- Mount shelves on brackets and secure drawers in place.
- Label drawers or use dividers inside for better organization.
Using Pegboards And Hooks
Pegboards keep tools visible and easy to reach. Hooks can hold many items and free up drawer space.
| Tool | Recommended Hook Type | Tip |
| Hammer | Single peg hook | Hang by the handle for easy grab |
| Screwdrivers | Multi-prong hook | Group by size or type |
| Wrenches | Loop hook | Arrange from smallest to largest |
| Measuring Tape | Small hook | Keep near the workbench edge |
| Safety Glasses | Clip hook | Place at eye level for quick access |
Finishing Touches
After building your workbench, finishing it properly helps protect the wood. It also makes your workbench look neat and last longer. Two key steps are sanding and applying a paint or sealant.
These final steps add a smooth surface and guard against damage from moisture and wear. Follow these tips to complete your workbench finish.
Sanding And Smoothing
Sanding removes rough spots and sharp edges on your workbench. It helps the finish stick better and gives the wood a clean look.
- Start with coarse sandpaper (80-100 grit) to smooth large imperfections.
- Use medium grit (150-180) to even out the surface.
- Finish with fine grit (220) for a soft, smooth touch.
- Sand with the wood grain to avoid scratches.
- Remove all dust with a brush or cloth before finishing.
Applying Paint Or Sealant
Choose paint or sealant based on how you will use the workbench. Paint adds color and hides marks. Sealant keeps the natural wood look and protects from moisture.
What Is Ordinary Wear and Tear vs. Damage? - LegalClarity
| Finish Type | Best Use | Application Tips |
|---|---|---|
| Oil-Based Polyurethane | Heavy use, moisture protection | Apply 2-3 coats with a brush; sand lightly between coats |
| Water-Based Polyurethane | Quick drying, low odor | Use thin coats; dries fast, so work quickly |
| Paint | Color and full surface coverage | Prime first; use multiple thin coats |
| Wood Oil (e.g., Tung or Linseed) | Natural finish and easy maintenance | Apply with cloth; reapply yearly |
Maintaining Your Workbench
A well-maintained workbench is essential for any workshop or home DIY project. Regular maintenance helps prevent damage and keeps your tools organized.
Regular Cleaning Tips
Cleaning your workbench regularly keeps it free from dust, debris, and stains. Use a soft cloth and mild soap to wipe down the surface.
- Daily: Wipe down the surface after each use
- Weekly: Clean the tools and storage containers
- Monthly: Deep clean the workbench and surrounding area
Repairing Wear And Tear
Regular wear and tear can cause damage to your workbench. Identify and repair issues promptly to prevent further damage.
- Check for loose screws and tighten as needed
- Replace worn-out parts, such as drawer glides or hinges
- Fill scratches or dents with wood filler and sand smooth
Frequently Asked Questions
What Materials Do I Need to Build a Workbench with Storage?
You need plywood, 2x4 lumber, screws, wood glue, drawer slides, and handles. Choose durable materials for strength and longevity. These basics ensure a solid and functional workbench with ample storage space.
How Much Time Does Building A Workbench With Storage Take?
Building a workbench with storage typically takes one to two days. Time depends on your skill level and complexity. Proper planning and preparation speed up the process and improve the final result.
Can I Customize Storage Options In My Workbench?
Yes, you can customize storage with drawers, shelves, or cabinets. Tailor the design to fit your tools and workspace needs. Custom storage increases organization and efficiency in your workshop.
What Tools Are Essential For Building A Workbench?
Essential tools include a saw, drill, screwdriver, measuring tape, and level. These tools help you cut, assemble, and ensure accuracy. Having the right tools makes the build easier and more precise.
Conclusion
Building a workbench with storage saves space and keeps tools organized. You can customize it to fit your needs. A sturdy workbench makes projects easier and more enjoyable. Start with basic materials and add storage that works for you. Taking time to plan helps avoid mistakes.
With patience, anyone can build a useful workbench. Try it yourself and see the difference it makes in your workspace. A well-built bench supports your work every day.

