

Have you ever stopped to think about what makes your door swing open smoothly or stay firmly closed? The small but mighty door hinge plays a crucial role in how your doors function every day.
Whether you’re fixing a squeaky noise, upgrading your home’s look, or simply curious about how things work, understanding door hinges can save you time, money, and frustration. You’ll discover everything you need to know about door hinges—how they work, different types, and tips to choose the right one for your needs.
Keep reading, and you’ll never look at your doors the same way again.

Credit: www.ebay.ca
Types Of Door Hinges
Door hinges connect a door to its frame. They allow the door to open and close smoothly. Different hinges serve different functions and fit various door types.
Understanding hinge types helps in choosing the right one for your door. Each type has unique features and uses.
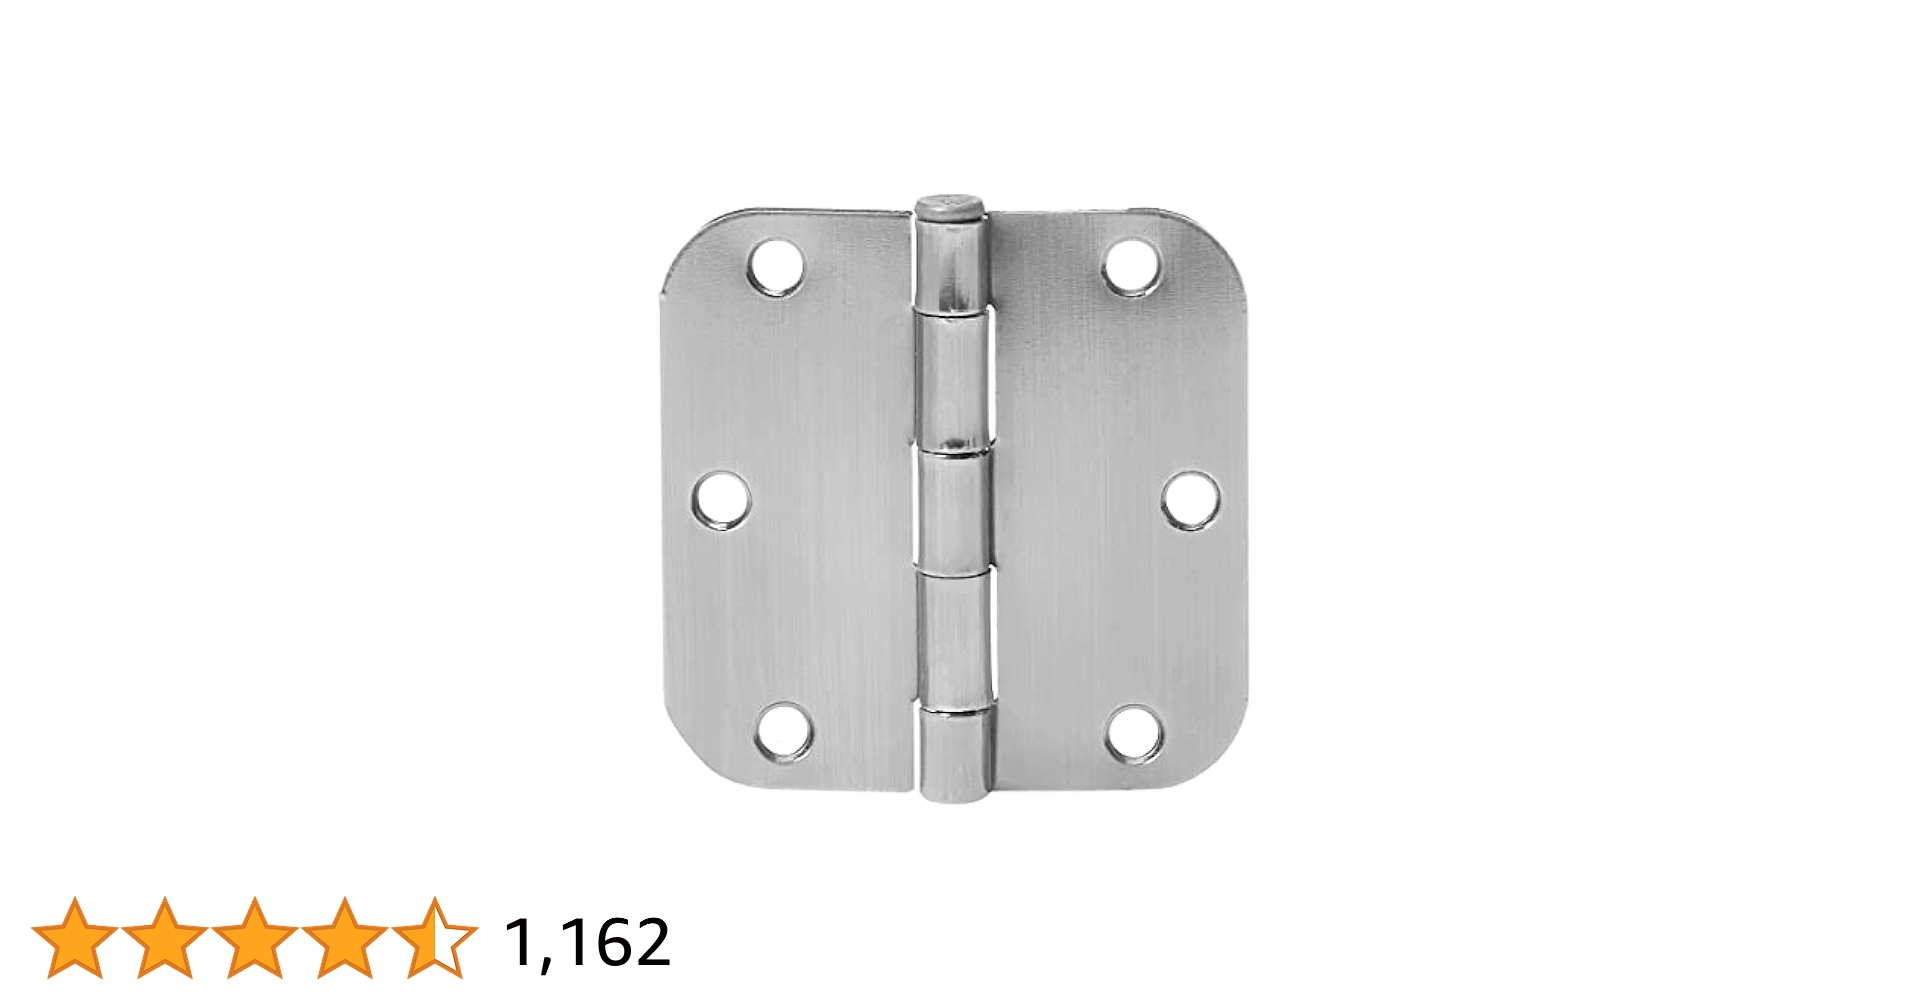
Butt Hinges
Butt hinges are the most common door hinges. They consist of two plates joined by a pin. One plate attaches to the door and the other to the frame. They are strong and easy to install.
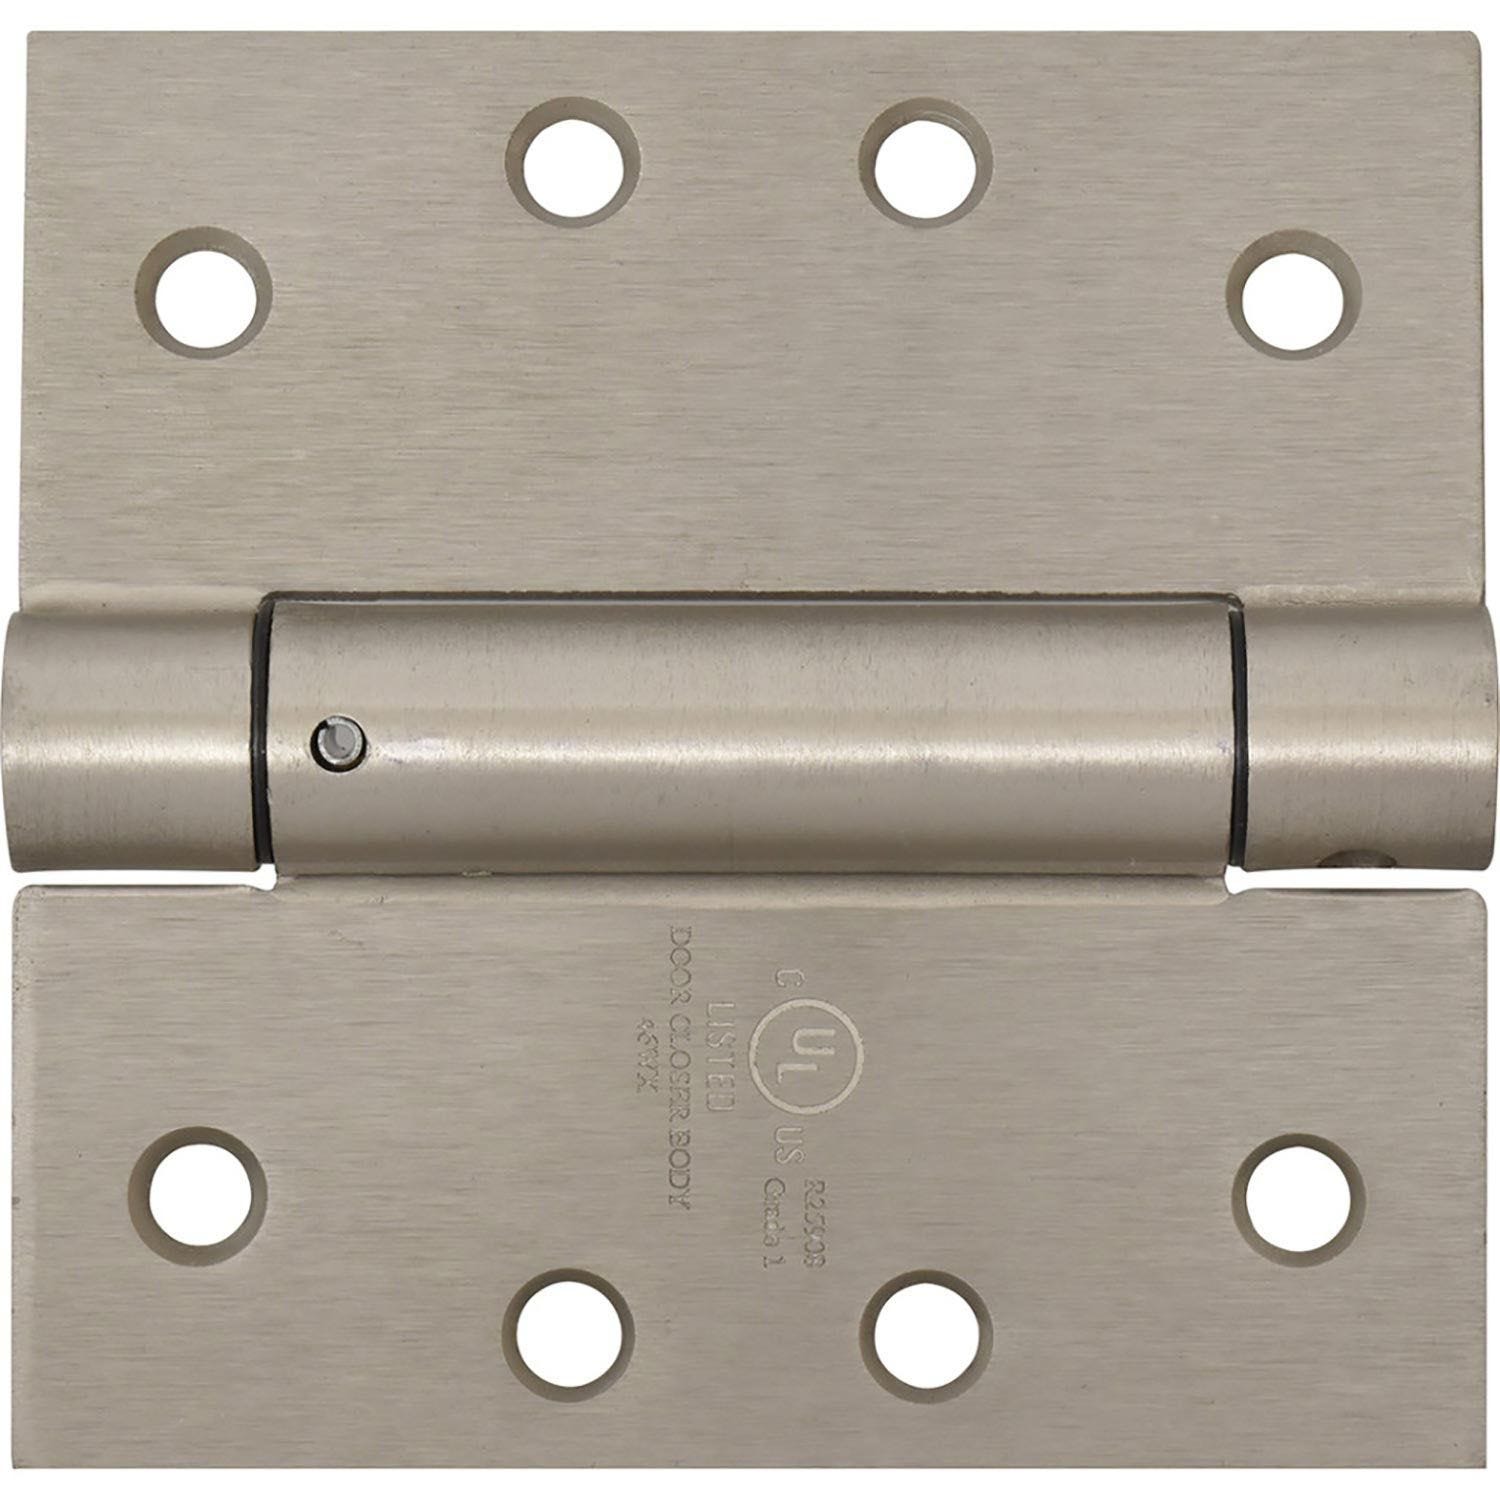
Continuous Hinges
Continuous hinges run the full length of the door. They spread the weight evenly and provide extra support. These hinges are good for heavy or high-traffic doors.
- Also called piano hinges
- Prevent door sagging
- Offer smooth operation
- Provide long-lasting durability
Concealed Hinges
Concealed hinges are hidden when the door is closed. They create a clean look and are popular in modern cabinetry. These hinges allow for easy door removal.
Pivot Hinges
Pivot hinges attach the door at the top and bottom. The door swings on a pivot point. They are used for heavy or tall doors and allow wide opening angles.
Overlay Hinges
| Type | Description | Use |
| Full Overlay | Door covers the cabinet frame completely | Modern cabinets |
| Half Overlay | Door covers part of the cabinet frame | Shared cabinet walls |
| Inset | Door sits flush inside the frame | Traditional cabinets |
Overlay hinges help control how much the door covers the cabinet frame. They come in different styles to fit door design needs.
Materials And Finishes
Door hinges come in different materials and finishes. Each type offers unique strength and look.
Choosing the right material helps match your door style and use. Finishes protect the hinge and add style.
Stainless Steel
Stainless steel hinges resist rust and stains well. They work great for outdoor or moist places.
This material is strong and lasts a long time without bending or breaking.
Brass
Brass hinges have a bright yellow-gold color. They add a classic and elegant look to doors.
They resist corrosion but can darken over time, creating a natural patina.
Bronze
Bronze hinges have a warm, reddish-brown tone. They are strong and resist corrosion well.
Bronze finishes often look good on wood doors or vintage styles.
Nickel
Nickel hinges have a shiny, silver-like finish. They are smooth and stylish for modern doors.
Nickel finishes resist tarnish but may show fingerprints easily.
Antique Finishes
Antique finishes give hinges an aged, classic look. They add character to traditional doors.
These finishes often use dark tones or brushed textures to create a vintage feel.
Factors To Consider
Choosing the right door hinge is important for door function and safety. Several factors affect the hinge selection.
This guide covers key points to help you pick the best hinge for your door.
Door Weight
The weight of the door determines the type and strength of the hinge needed. Heavy doors require strong hinges to support them safely.
- Light doors can use standard hinges.
- Heavy doors need ball bearing or heavy-duty hinges.
- Incorrect hinge strength can cause door sagging or damage.
Door Thickness
Door thickness affects hinge size and style. Thicker doors need larger hinges for better support.
| Door Thickness | Recommended Hinge Size |
|---|---|
| 1 3/8 inches | 3.5 inches |
| 1 3/4 inches | 4 inches |
| 2 inches or more | 4.5 inches or larger |
Hinge Placement
Proper hinge placement ensures smooth door movement and durability. Hinges must be spaced evenly along the door edge.
- Place one hinge 5 inches from the top of the door.
- Place another hinge 10 inches from the bottom.
- For doors over 60 inches tall, add a third hinge in the middle.
Aesthetic Preferences
Hinges come in different finishes and styles to match door designs and room decor. Choose one that fits your style and door look.
Common hinge finishes include:
- Brass
- Chrome
- Oil-rubbed bronze
- Matte black
Styles can be simple or decorative. Pick what suits your door and room best.
Tools And Equipment Needed
Installing or fixing a door hinge needs the right tools. Using proper equipment makes the job easier and safer.
This guide covers the main tools you need for working with door hinges. Each tool has its own role in the process.
Screwdrivers
Screwdrivers help you remove or tighten screws on the door hinge. You need both flathead and Phillips types.
Choose screwdrivers with comfortable handles. This helps reduce hand strain during work.
Drill
A drill makes holes for screws quickly and accurately. Use a drill with variable speed settings.
Make sure to have drill bits that fit the size of your hinge screws. This prevents damage to the door or frame.
Chisel
A chisel helps carve out space for the hinge to sit flush on the door or frame. Use a sharp chisel for clean cuts.
Work slowly and carefully with the chisel. This avoids splitting the wood or making uneven cuts.
Measuring Tape
Measuring tape is essential to mark the exact spot for the hinge. Measure both door and frame carefully.
Use a pencil to mark measurements clearly. Double-check to avoid mistakes during installation.
Level
A level ensures the hinge and door are straight. This prevents the door from sticking or not closing properly.
Place the level on the door edge or hinge to check for alignment. Adjust until the bubble is centered.
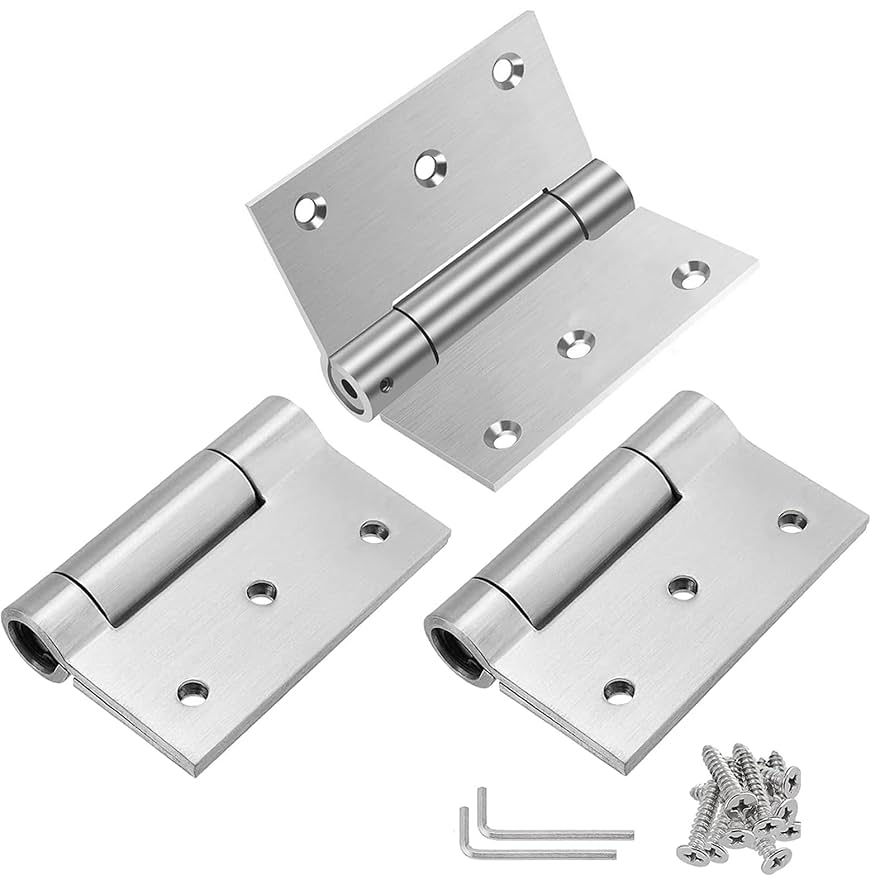
Step-by-step Installation
Installing a door hinge is a simple task if done carefully. Follow these steps to fit the hinge properly. You will need basic tools like a screwdriver and chisel.
This guide shows how to measure, cut, attach, align, and adjust hinges for a smooth door operation.
Measuring And Marking
Start by measuring the door and the frame where the hinge will go. Mark the exact spot for the hinge placement on both the door and the frame.
- Measure the hinge size and thickness.
- Mark the top and bottom points on the door edge.
- Transfer the marks to the door frame.
- Check that marks line up perfectly on door and frame.
Cutting The Mortise
Cut a shallow recess called a mortise where the hinge will sit. This makes the hinge flush with the door and frame.
- Use a chisel to carefully carve out the marked area.
- Check depth regularly to match the hinge thickness.
- Keep edges clean and straight for a tight fit.
Attaching The Hinge
Fix the hinge into place with screws. Make sure it is secure but do not overtighten.
| Tool | Purpose |
| Screwdriver | Drive screws into door and frame |
| Drill (optional) | Pre-drill holes to avoid wood splitting |
| Level | Check hinge is straight |
Aligning The Door
Hang the door on the hinges and check its position. The door should open and close smoothly without rubbing.
- Lift the door and set it on the hinge pins.
- Check gaps around the door edges for even spacing.
- Adjust the hinge screws if needed to align the door.
Final Adjustments
Make small changes to the hinge screws to perfect door movement. Tighten all screws firmly once aligned.
Tips for final checks:
- Ensure the door closes fully without gaps.
- Test the door swing several times.
- Lubricate the hinge if it squeaks.
Credit: www.amazon.ca
Common Mistakes To Avoid
Installing door hinges seems simple but many make errors that cause problems. Avoiding these mistakes saves time and money.
Read on to learn about common hinge installation errors and how to prevent them.
Incorrect Measurements
Wrong measurements lead to poorly fitting hinges and doors. Always measure twice before cutting or drilling.
- Use a reliable tape measure.
- Mark hinge positions clearly on the door and frame.
- Double-check hinge size matches door thickness.
- Account for door swing direction in measurements.
Improper Hinge Placement
Hinges must be placed in the right spots for smooth operation. Incorrect placement causes door sagging or binding.
| Hinge Position | Recommended Distance |
| Top Hinge | 5 to 7 inches from top edge |
| Bottom Hinge | 10 inches from bottom edge |
| Middle Hinge (if needed) | Centered between top and bottom hinges |
Using Wrong Tools
Using incorrect tools can damage hinges and door surfaces. Use the right tools for accurate and clean installation.
Essential tools include:
- Power drill with proper bits
- Screwdriver matching hinge screws
- Chisel for mortising hinge recesses
- Hammer and pencil for marking
Ignoring Door Alignment
Ignoring alignment causes doors to not close or open smoothly. Check alignment during and after installation.
- Ensure door is level in the frame.
- Adjust hinges slightly if door binds.
- Test door swing before final screw tightening.
- Use shims behind hinges if needed for proper fit.
Maintenance Tips
Door hinges need care to last longer and work smoothly. Regular maintenance stops squeaks and wear.
Follow simple steps to keep your door hinges in good shape. This helps your doors open and close easily.
Regular Cleaning
Dust and dirt can build up on door hinges. Clean them often to prevent damage and rust.
- Use a soft cloth to wipe away dust.
- Apply a mild soap with water for tough dirt.
- Dry hinges completely to avoid rust.
- Clean around the hinge pin and knuckles.
Lubrication
Lubricate hinges to keep them moving quietly and smoothly. This stops squeaking sounds.
| Lubricant Type | Use For |
| WD-40 | Removing rust and light lubrication |
| Silicone Spray | Long-lasting lubrication without attracting dust |
| Graphite Powder | Dry lubrication for metal hinges |
| Light Machine Oil | General purpose lubrication |
Checking For Loose Screws
Loose screws can cause doors to sag or not close right. Check screws every few months.
- Look for screws that stick out or spin freely.
- Tighten screws with a screwdriver if needed.
- Replace missing screws with the correct size.
- Check both hinge leaves and the door frame.
Replacing Damaged Hinges
Hinges that are bent, cracked, or rusty need replacement. This keeps doors safe and stable.
Follow these tips when replacing hinges:
- Choose hinges that match size and style.
- Remove the door from old hinges carefully.
- Unscrew damaged hinges from the door and frame.
- Install new hinges firmly and align them properly.
- Test the door to ensure smooth movement.
Credit: kent.ca
Frequently Asked Questions
What Are The Common Types Of Door Hinges?
Common door hinges include butt hinges, ball bearing hinges, continuous hinges, and pivot hinges. Each type suits different door weights and functions, providing durability and smooth operation.
How Do I Choose The Right Door Hinge Size?
Choose a hinge size based on door thickness and weight. Standard residential doors usually require 3. 5 to 4-inch hinges for proper support and alignment.
Can Door Hinges Affect Door Security?
Yes, heavy-duty hinges with non-removable pins enhance door security by preventing forced removal. Proper installation further strengthens the door against break-ins.
How Do I Maintain And Lubricate Door Hinges?
Clean hinges regularly and apply lubricant like WD-40 or silicone spray. This prevents squeaking and ensures smooth door movement over time.
Conclusion
Door hinges play a key role in how doors open and close. Choosing the right hinge ensures smooth movement and good support. Regular checks help keep hinges in good shape and avoid noise. Simple fixes can stop problems before they get worse.
Knowing about different hinge types helps you pick the best one for your door. Small details like screws and materials also matter a lot. Taking care of door hinges keeps your home safe and comfortable. A little attention goes a long way in door maintenance.

