

Have you ever found yourself puzzled by the tangle of wires behind your electrical outlets? You’re not alone.
Understanding an electrical plug wiring diagram can seem like deciphering a foreign language. Yet, having this knowledge is essential for ensuring the safety and functionality of your home’s electrical system. Imagine the confidence you'll feel knowing exactly how each wire fits into the puzzle.
This article is your ticket to mastering the basics without the technical jargon. By the end, you’ll be equipped with the insights to tackle simple electrical tasks or even guide a professional with ease. Ready to unravel the mystery? Let’s dive in and illuminate those wires together!
Types Of Electrical Plugs
Electrical plugs come in various types designed for safety and compatibility. Different plugs serve different electrical devices and power sources. Understanding these types helps in using appliances correctly. Types depend on shape, size, and number of pins. Voltage and current ratings also vary with plug types.
Common Plug Designs
Some plug designs are popular worldwide due to their reliability and ease of use. These include:
- Type A:Two flat parallel pins, common in North America and Japan.
- Type B:Two flat pins and a round grounding pin, also used in North America.
- Type C:Two round pins, used across Europe, Asia, and Africa.
- Type D:Three large round pins in a triangular shape, used in India and Nepal.
- Type G:Three rectangular pins, common in the UK and some Asian countries.
- Type I:Two flat pins in a V shape with a grounding pin, used in Australia and China.
Plug Standards By Region
Plug types vary by region due to historical and electrical standards. Countries adopt plugs that fit their voltage and safety norms.
| Region | Common Plug Types | Voltage | Frequency |
|---|---|---|---|
| North America | Type A, Type B | 120V | 60Hz |
| Europe | Type C, Type F | 230V | 50Hz |
| United Kingdom | Type G | 230V | 50Hz |
| Australia | Type I | 230V | 50Hz |
| India | Type D, Type M | 230V | 50Hz |
Choosing the right plug ensures safe and efficient power use. Always check the plug type before connecting devices abroad.
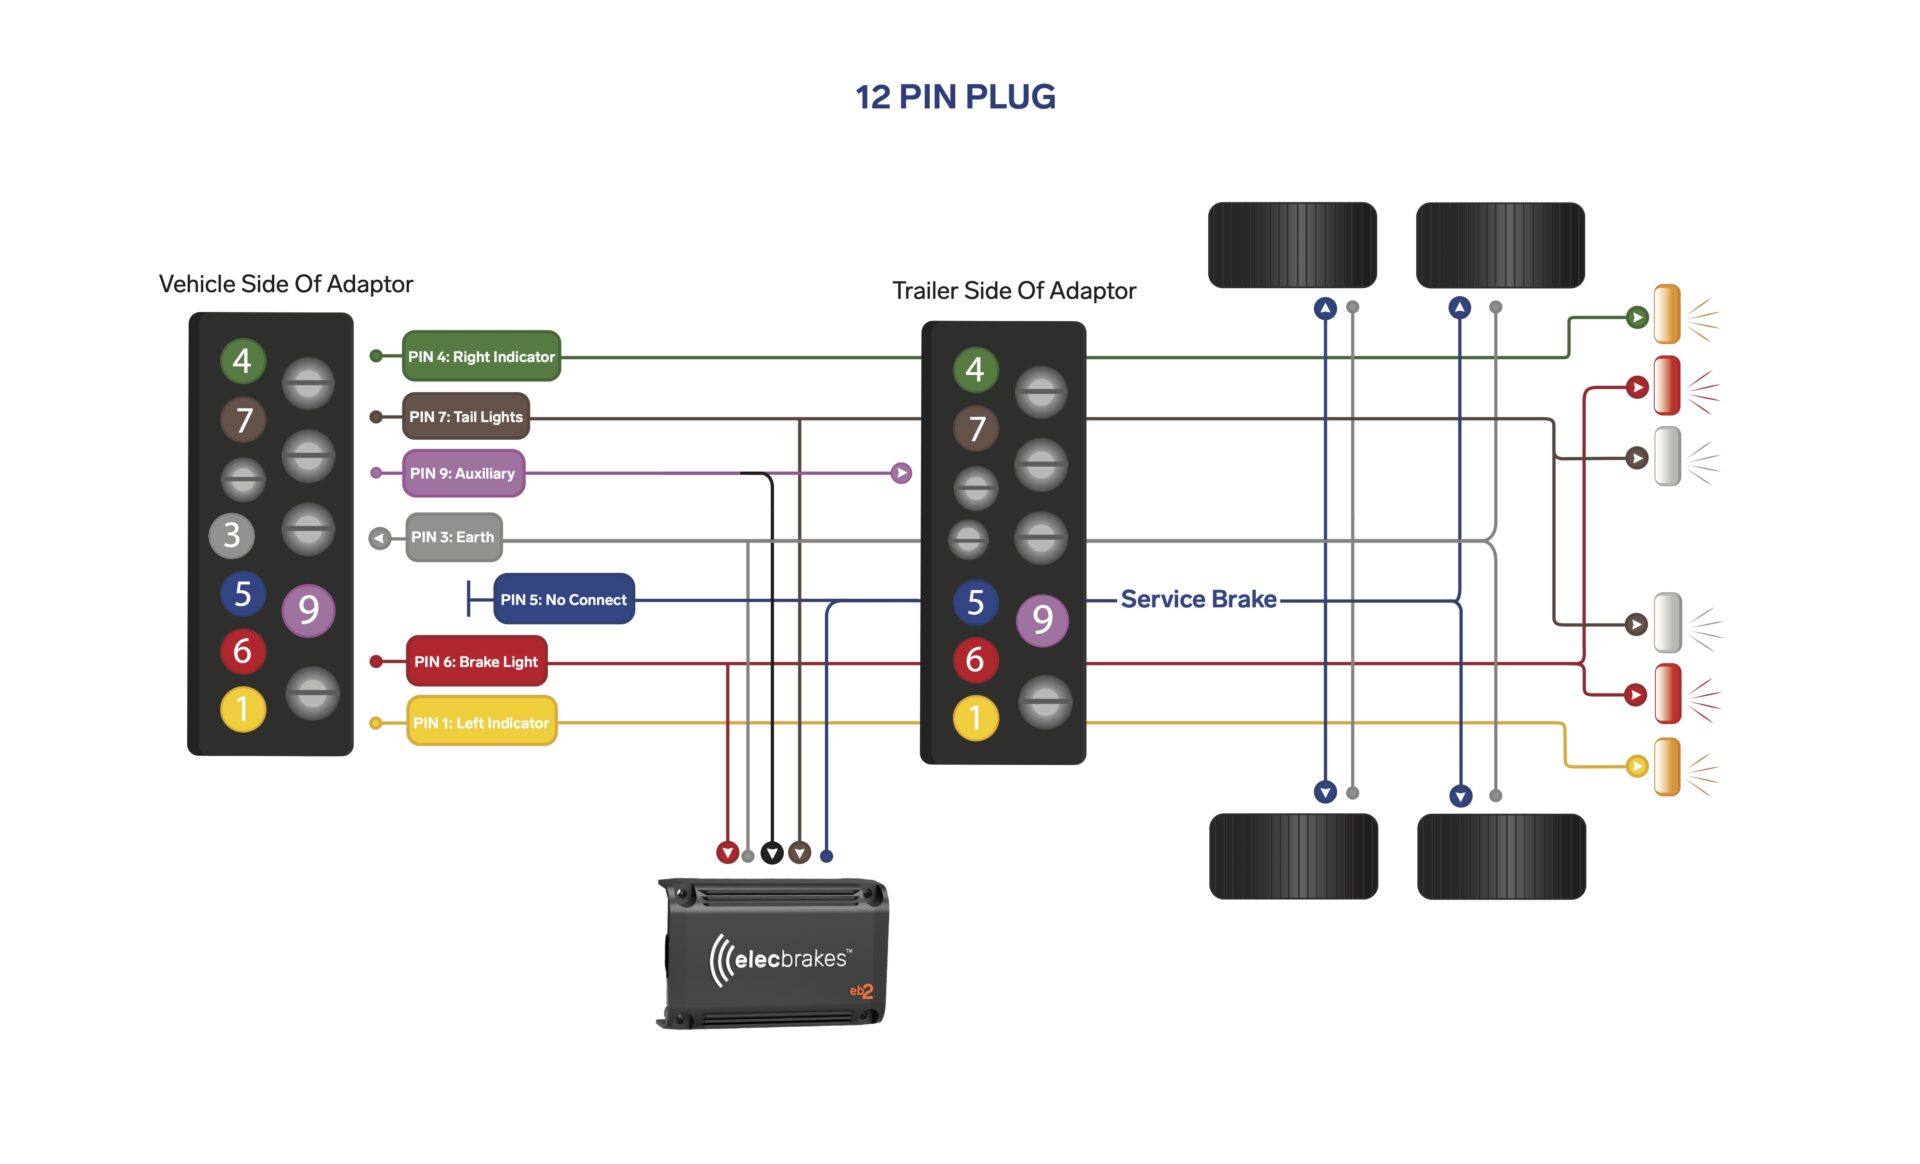
Credit: www.elecbrakes.com
Tools And Materials Needed
Setting up an electrical plug wiring diagram requires the right tools and materials. Using proper equipment makes the job safer and easier. It also ensures the connections are correct and last longer.
Gathering all necessary tools and choosing the right wires can save time. It helps avoid mistakes and reduces the risk of electrical faults. Below are the essentials to prepare before starting the wiring work.
Essential Tools
- Screwdriver set – flathead and Phillips types
- Wire stripper – for removing insulation cleanly
- Wire cutter – to cut wires to the right length
- Voltage tester – to check if wires carry current
- Needle-nose pliers – for bending and holding wires
- Electrical tape – to insulate wire joints securely
- Multimeter – to measure voltage and continuity
Choosing The Right Wire
Select wires with the correct thickness or gauge for your plug type. Thicker wires carry more current safely.
Use wires with proper insulation to avoid short circuits. Copper wires are common for home electrical work.
Check color codes: usually, green or green-yellow is ground, blue is neutral, and brown is live. Following color standards helps prevent wiring errors.
Basic Wiring Components
Understanding the basic wiring components is essential for anyone working with electrical plugs. Each wire serves a specific purpose to ensure safety and proper functioning. Clear knowledge of these parts helps prevent accidents and wiring errors. This section explains the three main wires found in an electrical plug and their standard color codes.
Live, Neutral, And Earth Wires
The live wire carries current to the appliance. It is the source of electrical power and must be handled carefully.
The neutral wire completes the circuit by carrying current away from the appliance. It balances the flow of electricity.
The earth wire provides safety by redirecting excess current to the ground. It helps prevent electric shocks.
Wire Color Codes
Wire colors help identify the function of each wire quickly and safely. Standard colors are used in most regions.
- Live wire:Brown or Red
- Neutral wire:Blue or Black
- Earth wire:Green with Yellow stripes
Following these color codes reduces the risk of wiring mistakes. It also makes electrical work easier and safer.
Step-by-step Wiring Process
Wiring an electrical plug might seem tricky at first, but breaking it down into clear steps makes the process straightforward. Understanding each phase helps you avoid common mistakes and ensures a safe connection. Let’s walk through the wiring process, so you gain confidence with your hands-on skills.
Preparing The Cable
Start by stripping the outer insulation carefully without damaging the inner wires. You want about 2 to 3 centimeters of exposed inner wires to work with. Pay attention to the color coding—usually, brown for live, blue for neutral, and green/yellow for earth. Identifying these correctly is crucial; mixing them up can cause hazards.
Next, trim the individual wires to the right length, making sure none of the copper strands are frayed. Twisting the copper strands tightly before connecting helps create a solid contact. Have you ever struggled with wires that just won’t fit properly? Taking the time to prepare the cable well saves you from that frustration.
Connecting Wires To Terminals
Open the plug casing and locate the terminals marked L (live), N (neutral), and E or the earth symbol. Loosen the screws on each terminal just enough to insert the wire securely. Insert each wire into its correct terminal based on color coding, ensuring no copper strands are left outside.
Tighten the screws firmly but avoid over-tightening, which can damage the wires. A good test is to gently tug each wire to check it’s firmly held in place. It’s tempting to rush this part, but a loose connection can cause sparks or device failure.
Securing The Plug
Once the wires are connected, position the cable clamp around the outer insulation and tighten it. This clamp prevents the wires from pulling out when the cable is tugged. Closing the plug casing carefully without pinching any wires is your final task.
Before sealing everything, double-check the wiring and ensure the cable is secure. Have you ever experienced a plug that sparks or heats up? Often, it’s because the plug wasn’t secured properly. Taking this last step seriously protects your safety and equipment longevity.
Safety Tips For Wiring
Wiring an electrical plug might seem straightforward, but it carries risks if not done carefully. Safety should be your top priority to avoid electrical shocks, short circuits, or even fires. Knowing the right safety tips can protect both you and your devices.
Avoiding Common Mistakes
One frequent mistake is mixing up the live, neutral, and earth wires. Make sure you identify the colors correctly—usually brown or red for live, blue or black for neutral, and green/yellow for earth. Connecting them incorrectly can cause dangerous faults.
Another error is not tightening the screws properly. Loose connections can generate heat and sparks, risking damage or injury. Always double-check each screw to ensure a firm hold.
Have you ever rushed a job, only to realize later that a tiny slip caused a bigger problem? Take your time, follow the diagram, and avoid guessing where wires go.
Testing The Connection
After wiring, testing is crucial. Use a multimeter or plug tester to check if the connections are correct and safe. These tools can detect issues invisible to the eye, like reversed polarity or open circuits.
Try plugging in a low-power device first to confirm the plug works properly. If you notice unusual heat, buzzing, or flickering, switch off immediately and inspect your work again.
Would you trust an untested connection with your expensive electronics or your safety? Testing adds an essential layer of confidence to your wiring project.

Credit: electriciansmesaaz.com
Troubleshooting Wiring Issues
Wiring issues in electrical plugs can be tricky and sometimes dangerous if not handled properly. Troubleshooting these problems requires a careful eye and a systematic approach. Understanding how to spot and fix wiring problems will save you time and ensure your electrical connections are safe and reliable.
Identifying Faulty Connections
Faulty connections often cause plugs to malfunction or pose safety risks. Look for signs like flickering lights, sparks, or a burning smell near the plug. These symptoms usually indicate a poor connection inside the wiring.
Start by visually inspecting the plug's wiring for discoloration or corrosion. Check if the wires are securely attached to the terminals. If the plug feels warm or overheats during use, it’s a strong sign that the connection is faulty.
Have you ever noticed a device that only works when you wiggle the plug? That’s a classic sign of a loose or damaged wire. Don’t ignore it, as this can lead to short circuits or electrical shocks.
Fixing Loose Or Damaged Wires
Loose wires are a common culprit behind electrical plug issues. To fix them, first disconnect the plug from the power source. Safety is your top priority.
Next, open the plug casing carefully and check each wire connection. Tighten any loose screws holding the wires in place. If you spot damaged insulation or broken wires, cut back to solid wire and strip fresh insulation before reconnecting.
Keep in mind that using the right tools, like a wire stripper and screwdriver, makes this process easier and safer. After fixing the wires, test the plug by plugging it into a socket and checking the connected device.
Have you ever had a plug fix that didn’t last? Rechecking your work and ensuring all wires are tight and properly seated can prevent recurring problems. A secure connection means your plug will work reliably and keep you safe.
Maintenance And Inspection
Maintenance and inspection of electrical plugs are essential for safety and performance. Regular care helps prevent electrical hazards and prolongs the life of your plugs. Understanding what to check and when to replace a plug keeps your home or workplace safe.
Regular Checks
Inspect plugs frequently for any signs of damage. Look for cracks, burns, or discoloration on the plug body. Check if the pins are bent or loose. Ensure the cable is firmly attached and not frayed or worn out.
Test the plug by gently wiggling the pins. They should fit snugly in the socket without moving. Listen for any unusual sounds like buzzing or sparking when in use. These signs indicate possible electrical faults requiring attention.
When To Replace A Plug
Replace a plug immediately if you notice any visible damage. Cracked or melted plugs can cause shocks or fires. If the plug feels hot during use, it may have internal faults.
Change plugs that do not fit securely in sockets. Loose connections create sparks and electrical resistance. Also, replace plugs with damaged or missing pins to avoid poor contact and risk of injury.
Regular replacement every few years is recommended for safety. Old plugs may wear out internally even if they look fine outside. Prioritize safety to avoid electrical accidents.

Credit: www.reddit.com
Frequently Asked Questions
What Is An Electrical Plug Wiring Diagram?
An electrical plug wiring diagram shows the connection of wires inside a plug. It helps ensure safe and correct wiring. The diagram illustrates the live, neutral, and earth wire positions. Following it prevents electrical hazards and device damage. It is essential for DIY electrical work.
How Do I Wire A Three-pin Plug Correctly?
To wire a three-pin plug, connect the brown wire to live (L), blue to neutral (N), and green/yellow to earth (E). Ensure wires are tightly secured under the correct terminals. This wiring ensures safety and proper device operation according to standards.
Why Is Earth Wire Important In Plug Wiring?
The earth wire provides a safety path for electrical faults. It prevents electric shocks by directing fault current to the ground. Without proper earthing, electrical appliances can be hazardous. Always connect the earth wire correctly in plug wiring for safety.
Can I Use A Wiring Diagram For Any Plug Type?
Wiring diagrams are specific to plug types and standards. Always use the correct diagram for your plug model and country. Using the wrong diagram may cause improper connections and safety risks. Verify plug type before wiring to ensure accuracy.
Conclusion
Understanding an electrical plug wiring diagram keeps you safe and saves time. It helps connect wires correctly and avoid mistakes. Always follow the color codes and symbols shown in the diagram. Double-check your work before plugging in any device. Simple steps like these make electrical tasks easier and safer.
Keep this guide handy for quick reference. Correct wiring prevents shocks and damage. Stay cautious and take your time. Wiring a plug does not have to be confusing. Clear diagrams make the process straightforward. Safety first, always.

