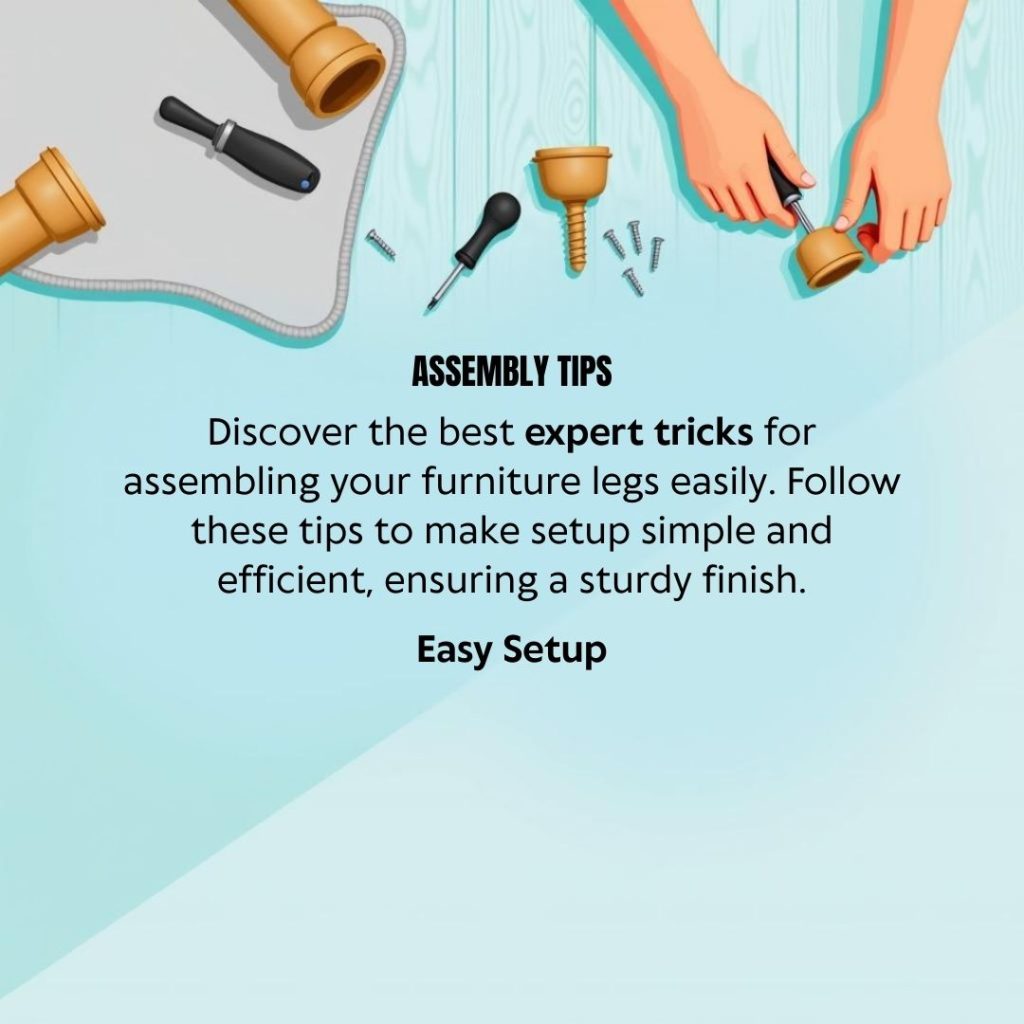
Furniture Leg Assembly Tips: Are you ready to give your furniture a fresh, sturdy look? Assembling furniture legs might seem simple, but a small mistake can lead to wobbly chairs or uneven tables.
You want your furniture to be strong, stylish, and safe. That’s why getting the assembly just right is key. You’ll discover easy, practical tips that save you time and frustration. Keep reading, and you’ll learn how to assemble furniture legs like a pro—making your space look great and feel solid every time.

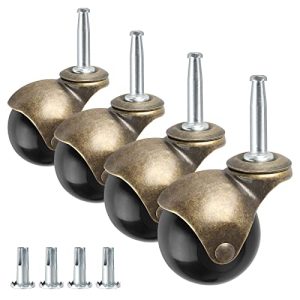
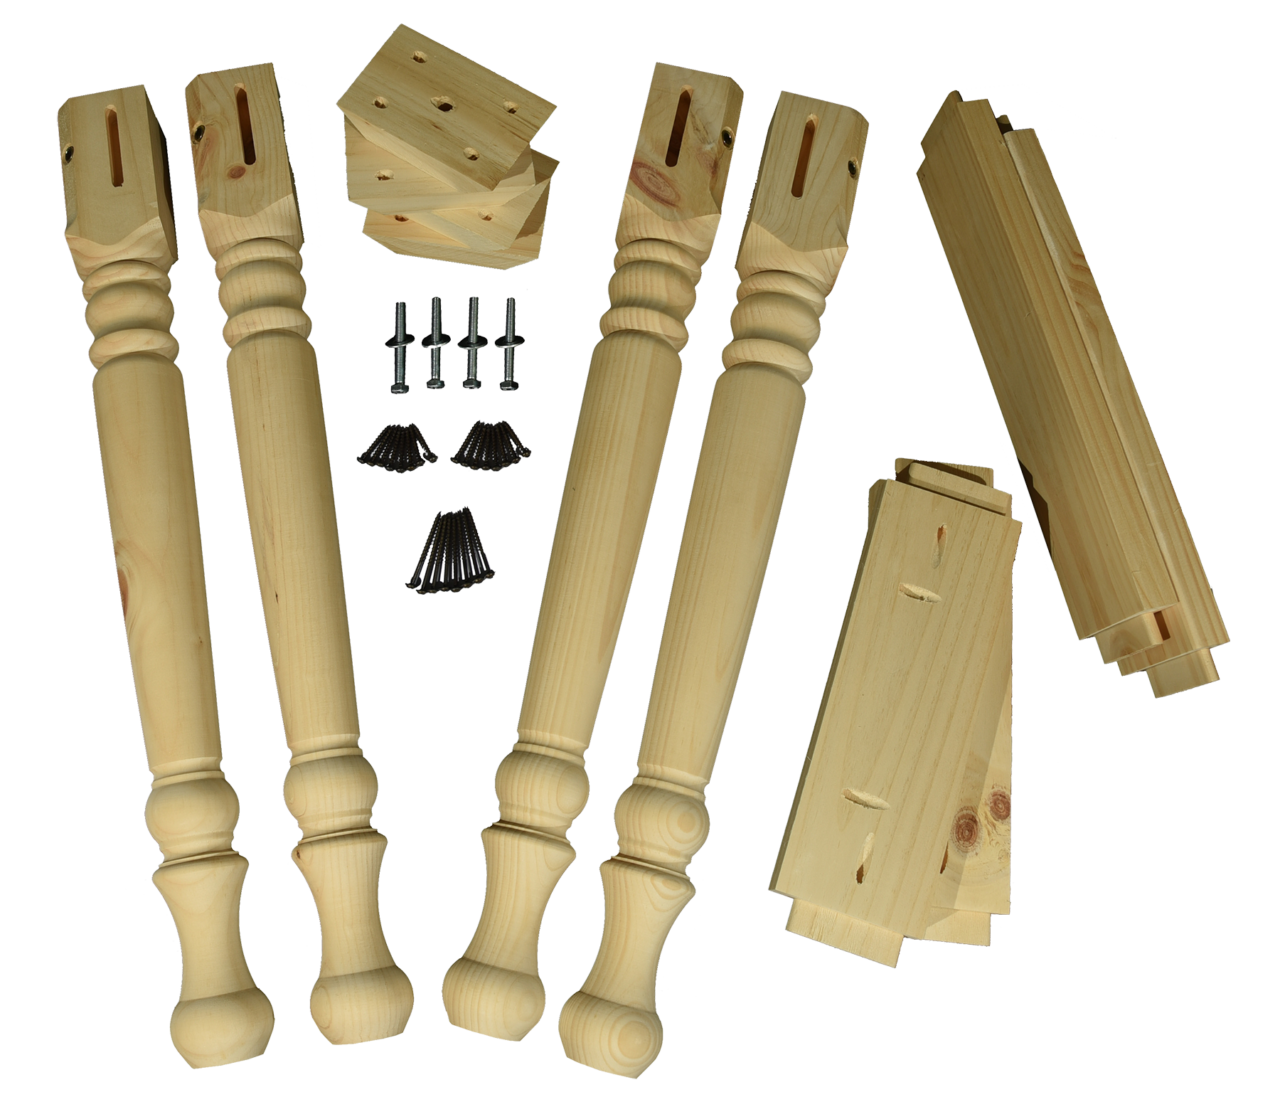
Credit: www.ebay.ca
Choosing The Right Legs
Choosing the right legs for your furniture is more than just picking what looks good. The legs support the entire piece, affect its stability, and influence how it fits into your space. Understanding different types, materials, and styles helps you find legs that not only hold up your furniture but also enhance its overall appeal and function.
Types Of Furniture Legs
Furniture legs come in a variety of shapes and sizes, each serving a distinct purpose. Consider these common types:
- Tapered Legs:Slim and angled, these add a mid-century modern vibe and work well for sofas and chairs.
- Turned Legs:Rounded and carved, perfect for traditional or vintage-style pieces.
- Straight Legs:Simple and sturdy, often used in contemporary or minimalist furniture.
- Cabriole Legs:Curved and elegant, ideal for antique or classic designs.
Which style speaks to your personal taste and the furniture’s purpose? Choosing the right shape can completely change the room’s mood.
Materials And Durability
The material of the legs affects both strength and appearance. Wood is warm and versatile but varies in durability. Hardwoods like oak or maple hold up better than softwoods like pine.
Metal legs offer sleek, modern looks and handle heavy weights well. Aluminum is lightweight but strong, while steel adds industrial toughness.
Plastic or acrylic legs suit lightweight furniture and budget-friendly options but might not last as long. Have you tested how much weight your furniture legs can safely support?
Matching Style And Function
Legs should match the furniture’s style and the function it needs to serve. For example, if you have a heavy dining table, choose thick, sturdy legs that won’t wobble.
Think about the room’s style too — a rustic wooden leg might clash in a sleek, modern living room.
Also, consider the height and comfort. Are the legs the right height for your seating or table needs? Don’t overlook how easy it is to clean around and under the legs.
Tools You’ll Need
Having the right tools makes furniture leg assembly easier and faster. This section covers all the necessary tools to get the job done well. Using proper tools helps avoid damage and ensures sturdy legs.
Essential Hand Tools
- Screwdriver – For tightening screws by hand.
- Allen wrench – Common for hex screws on furniture legs.
- Measuring tape – To check the exact position for legs.
- Hammer – Useful for tapping parts gently into place.
- Level – To confirm legs are even and furniture is stable.
Power Tools For Efficiency
- Electric drill – Speeds up screwing and drilling holes.
- Impact driver – Provides extra force for tough screws.
- Electric screwdriver – Easier on wrists during many screws.
Safety Equipment
- Safety glasses – Protect your eyes from dust and splinters.
- Work gloves – Shield hands from sharp edges and splinters.
- Dust mask – Keeps dust out of your lungs when drilling.
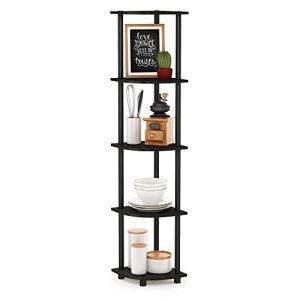
Preparing The Furniture
Clear the workspace and gather all tools before starting the furniture leg assembly. Check each leg for damage and match parts carefully to avoid mistakes. Tighten screws securely but avoid over-tightening to protect the wood.
Preparing the furniture for leg assembly is a crucial step that can determine the durability and stability of your project. Before attaching anything, it’s important to ensure that your furniture is in optimal condition. This not only makes the assembly process smoother but also enhances the overall longevity of your furniture. Let’s dive into some key considerations to keep in mind.
Cleaning And Inspecting Surfaces
Start by giving your furniture a thorough cleaning. Dust and grime can interfere with adhesives and attachment points, leading to loose fittings over time. Use a gentle cleaner suitable for your furniture material, whether it’s wood, metal, or plastic. While cleaning, take the opportunity to inspect the surfaces for any damage. Look for cracks, chips, or any signs of wear that could affect assembly. Addressing these issues early can save you from future headaches. A simple repair now, like filling a crack with wood filler, can prevent further damage later.
Marking Attachment Points
Accurate marking is your best friend here. Begin by planning where each leg will attach to the furniture. Use a ruler or measuring tape to ensure consistency and precision. Even a small misalignment can lead to wobbling or structural instability. Consider using a pencil to lightly mark the exact spots for screws or brackets. This allows you to adjust if needed without leaving permanent marks. Double-check your measurements before making any permanent marks or drilling holes. Have you ever assembled something only to realize one leg was slightly off? Taking these precautions can help you avoid that frustration.
Checking For Levelness
Levelness ensures that your furniture stands evenly and securely. Place your furniture on a flat surface and use a bubble level to check for balance. This step is especially important for tables and chairs where uneven legs can lead to discomfort or instability. If you notice any unevenness, you might need to make small adjustments to the leg heights. This can often be done with adjustable leg glides or by adding small pads to shorter legs. Remember, a stable piece of furniture not only looks better but also performs better in everyday use. Have you ever felt the annoyance of a wobbly table during dinner? Ensuring levelness is key to preventing that.
Credit: www.osbornewood.com
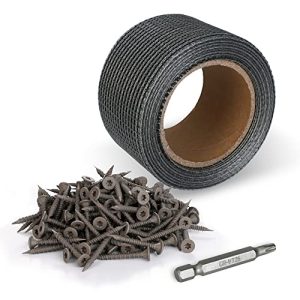
Step-by-step Assembly
Assembling furniture legs might seem straightforward, but skipping details can lead to wobbly or uneven results. Paying attention to each step ensures your piece stands firm and looks great. Let’s break down the process to help you avoid common pitfalls and achieve a professional finish.
Aligning Legs Properly
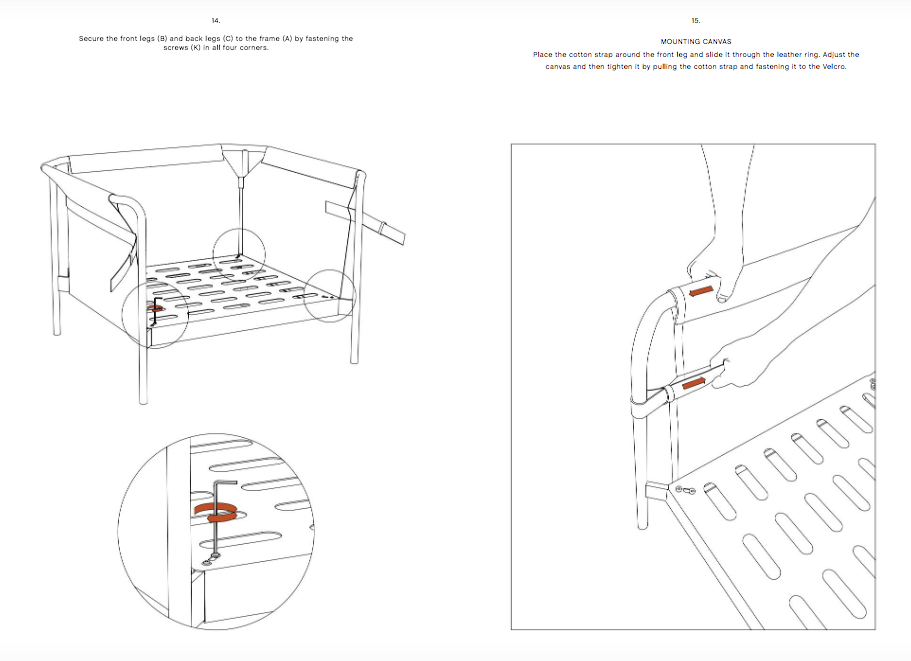
Start by placing the furniture upside down on a soft surface to protect it. Check the leg positions against the assembly guide or markings on the base. Misalignment here can cause instability, so take your time to position each leg exactly where it belongs.
Use a measuring tape or ruler to verify equal distances from the edges. If the legs have angled mounts, double-check the orientation before attaching. Have you ever attached a leg only to find it facing the wrong way? Avoid that frustration by pausing to confirm alignment.
Securing Fasteners
Once the legs are aligned, it’s time to fasten them securely. Use the screws or bolts provided, and match each fastener to its corresponding hole. Don’t force screws in at odd angles; this can strip the wood or metal threads.
It’s helpful to start by loosely screwing all fasteners in place before tightening them fully. This allows slight adjustments to keep legs straight and balanced. Tighten in a crisscross pattern if possible, which ensures even pressure and better stability.
Testing Stability
After assembly, place the furniture on a flat surface and gently apply pressure to check for wobble. If you notice any movement, identify which leg feels loose or uneven. Sometimes, simply tightening the fasteners a bit more solves the problem.
Use a level tool to verify the surface is even, especially for tables or desks. If needed, add small furniture pads or shims under shorter legs for perfect balance. Would you rather deal with small adjustments now or risk damage later? Taking time to test stability pays off in comfort and durability.
Common Assembly Challenges
Assembling furniture legs often comes with a few challenges that can slow down the process. These issues range from uneven surfaces to missing parts. Understanding these common problems helps you prepare and fix them quickly.
Dealing with these challenges ensures your furniture stays stable and looks great. The tips below focus on the most frequent issues people face during leg assembly.
Dealing With Uneven Floors
Uneven floors cause furniture to wobble or rock. This can make the piece unsafe and annoying to use. To fix this:
- Use adjustable leg pads or furniture coasters to level the legs.
- Place thin shims under shorter legs for balance.
- Check floor level with a small spirit level tool.
These simple steps improve stability and prevent damage to the furniture.
Fixing Loose Legs
Loose legs often result from screws not tightened enough or worn-out fittings. Loose legs can lead to instability and damage. To secure them:
- Tighten all screws and bolts firmly with the right tools.
- Apply wood glue inside screw holes for extra hold.
- Replace stripped screws with slightly larger ones if needed.
Regularly check leg tightness to keep the furniture safe and sturdy.
Handling Missing Or Damaged Parts
Missing or damaged parts delay assembly and cause frustration. Identifying these parts early saves time. Try these tips:
- Double-check the parts list before starting assembly.
- Contact the manufacturer for replacements if parts are missing.
- Use temporary fixes like wood filler or brackets for small damages.
Always keep the packaging until assembly is complete to spot missing parts quickly.
Maintenance And Adjustments
Maintenance and adjustments keep furniture legs strong and stable over time. Regular care prevents damage and ensures safety. Small fixes make a big difference in durability and appearance.
Tightening Screws Periodically
Screws can loosen with use. Check them every few months. Use a screwdriver to tighten all screws firmly. Avoid over-tightening to prevent damage. This simple step keeps legs secure and steady.
Replacing Worn Components
Parts like rubber pads or metal brackets wear out. Inspect furniture legs for cracks or breaks. Replace any worn parts quickly. Using original or compatible components helps maintain strength and function.
Protecting Flooring
Furniture legs can scratch floors. Add felt pads or rubber caps under legs. These protect floors and reduce noise. Clean pads regularly to remove dirt. This keeps both furniture and flooring in good shape.
Credit: uxdesign.cc
Frequently Asked Questions
How Do I Assemble Furniture Legs Correctly?
Start by identifying the leg type and matching hardware. Use proper tools and tighten screws firmly. Follow manufacturer instructions carefully for stability.
What Tools Are Needed For Furniture Leg Assembly?
Common tools include a screwdriver, Allen wrench, and drill. These help secure screws and bolts efficiently. Having the right tools ensures a smooth assembly process.
How Can I Prevent Wobbling In Furniture Legs?
Ensure all legs are even and securely tightened. Use a level to check balance. Adding felt pads or shims can improve stability on uneven floors.
Are There Tips For Attaching Metal Furniture Legs?
Align mounting plates precisely with pre-drilled holes. Use appropriate screws and avoid overtightening to prevent damage. Metal legs often require stronger fasteners for support.
Conclusion
Assembling furniture legs can be simple and quick. Follow clear steps for a strong fit. Use the right tools to avoid mistakes. Check each leg for stability before use. Tighten screws evenly to keep balance. Take your time and be patient.
Enjoy your sturdy, well-assembled furniture every day. Small efforts bring big results. Trust your work and stay confident.